Spicy Dill Pickle Recipe – Flavor Bomb Dill Pickles
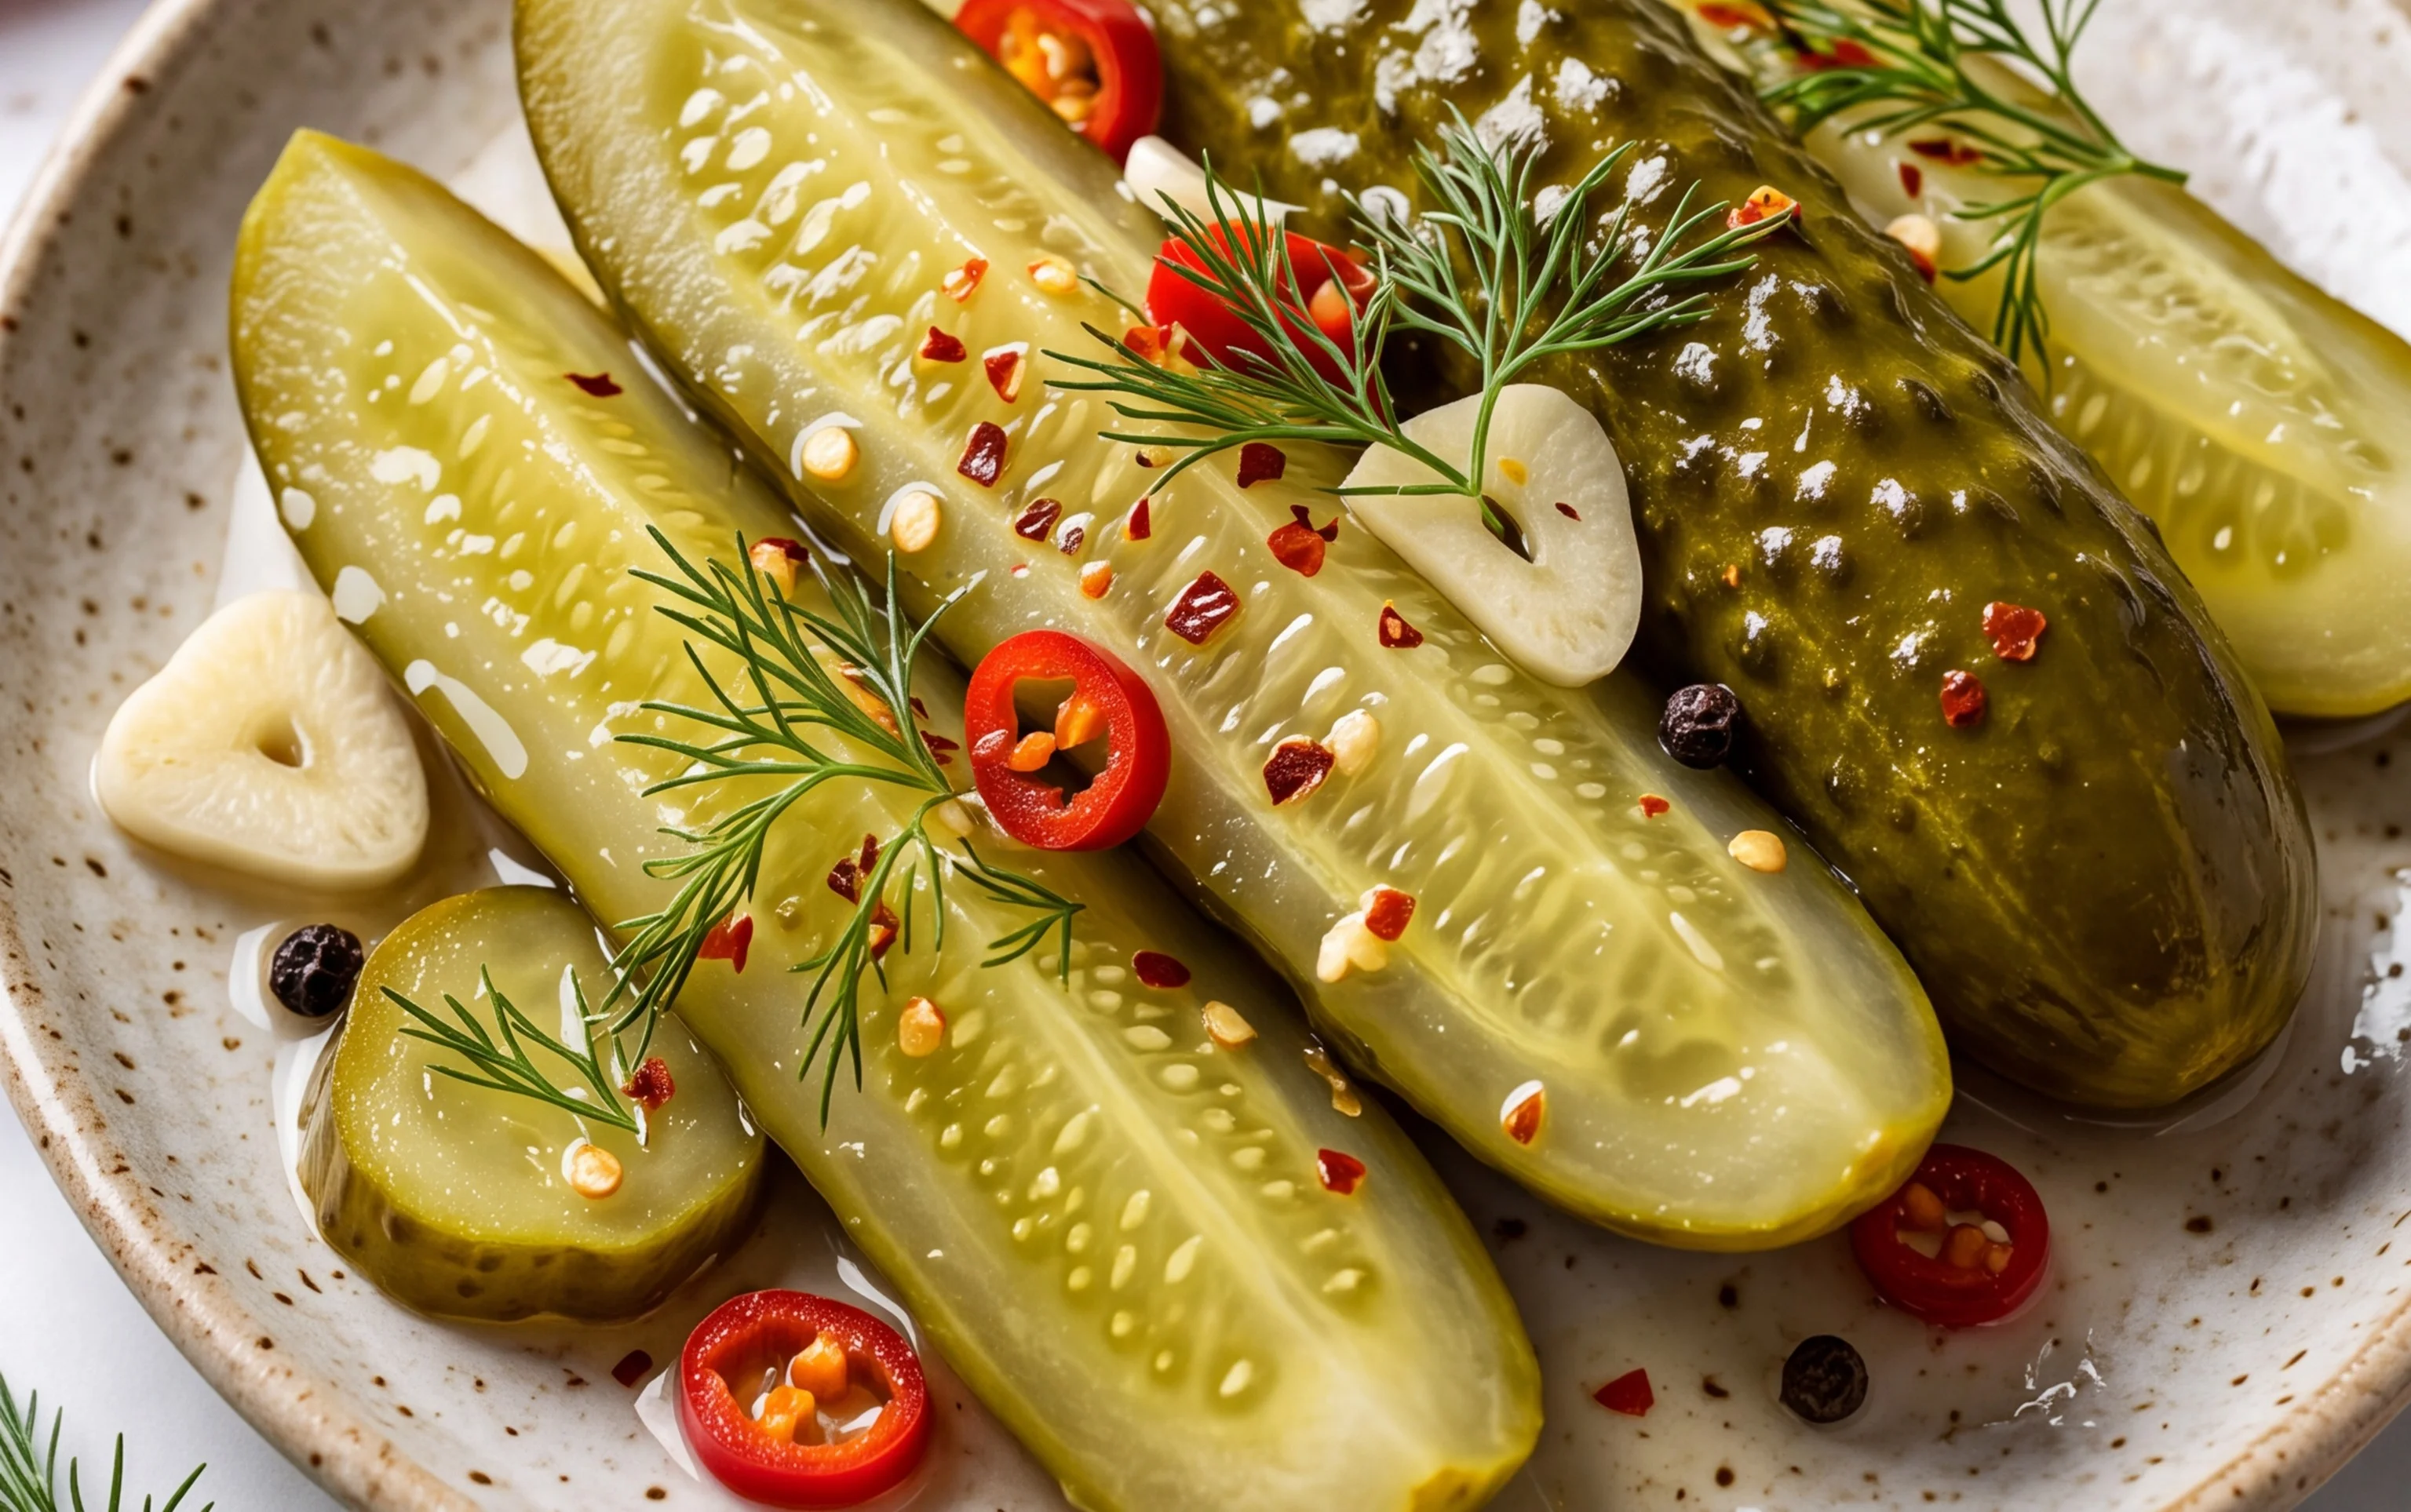
Spicy dill pickle recipes are an absolute revelation for any pickle lover seeking a kick. Forget those bland, store-bought versions; we’re diving headfirst into a world of vibrant flavor and satisfying crunch. There’s something incredibly addictive about a perfectly brined pickle, and when you add a touch of heat, it transforms into a snack or condiment that’s truly unforgettable. People adore these spicy dill pickles because they offer that delightful sweet and sour profile, amplified by a warmth that tingles on the tongue. What makes this particular spicy dill pickle recipe so special is its customizable heat level and the way the dill and garlic meld beautifully with the cayenne and chili flakes, creating a symphony of taste in every bite. Get ready to elevate your sandwiches, burgers, and even your charcuterie boards to a whole new level!
Spicy Dill Pickle Recipe
There’s nothing quite like a crisp, tangy, and spicy dill pickle. Forget those bland store-bought varieties; we’re about to embark on a culinary adventure that will fill your pantry with jars of pure, pickling perfection. This recipe isn’t just about making pickles; it’s about creating a flavor bomb that will elevate sandwiches, charcuterie boards, and even your favorite Bloody Mary. Get ready to impress yourself and everyone lucky enough to get their hands on a jar!
This recipe focuses on bold flavors and a satisfying crunch. We’ll be using a fantastic homemade pickling spice blend that provides a complex aromatic foundation, complemented by the bright acidity of two types of vinegar and the heat of Thai red peppers.
Ingredients:
- 2 tablespoons black peppercorns
- 2 tablespoons mustard seeds
- 2 tablespoons coriander seeds
- 2 tablespoons dill seed
- 1 tablespoon allspice berries
- 1 teaspoon crushed red pepper flakes
- 10-12 bay leaves (, crumbled)
- 10-12 pounds pickling cucumbers (, scrubbed clean and kept whole or sliced)
- 2 cups apple cider vinegar
- 2 cups white vinegar
- 4 cups water
- 5 tablespoons pickling salt
- Homemade pickling spice (recipe above) ((use 2-3 tablespoons per jar))
- Dried dill weed from a 2-ounce package ((use 2-3 fronds and stalks per jar))
- 10-18 small Thai red peppers (, split down the middle but not separated, leaving seeds intact (use 2-3 per jar))
Making Your Homemade Pickling Spice:
Before we dive into the cucumbers themselves, let’s get that all-important pickling spice blend ready. This mixture is the soul of our pickles. In a small, dry skillet over medium heat, toast the black peppercorns, mustard seeds, coriander seeds, dill seed, and allspice berries. Stir them frequently for about 2-3 minutes, until they become fragrant. Be careful not to burn them – just a gentle warming to release their essential oils. Immediately transfer the toasted spices to a mortar and pestle or a spice grinder. Add the crushed red pepper flakes and crumbled bay leaves to the skillet, give them a quick stir for about 30 seconds, and then add them to the mortar or grinder as well. Grind everything until it’s a coarse, aromatic blend. Store this in an airtight container. The aroma alone will tell you you’re on the right track!
Preparing the Pickling Brine:
Now, let’s create the liquid that will transform our humble cucumbers into zesty delights. In a large non-reactive pot (stainless steel or enamel is ideal), combine the apple cider vinegar, white vinegar, and water. Add the pickling salt. Stir well to ensure the salt is completely dissolved. Bring this brine to a boil over medium-high heat, stirring occasionally. Once it reaches a rolling boil, reduce the heat to low and let it simmer for about 5 minutes to meld the flavors. This brine will be used hot for the pickling process, which helps with preservation and ensures a good seal.
Assembling Your Spicy Dill Pickles:
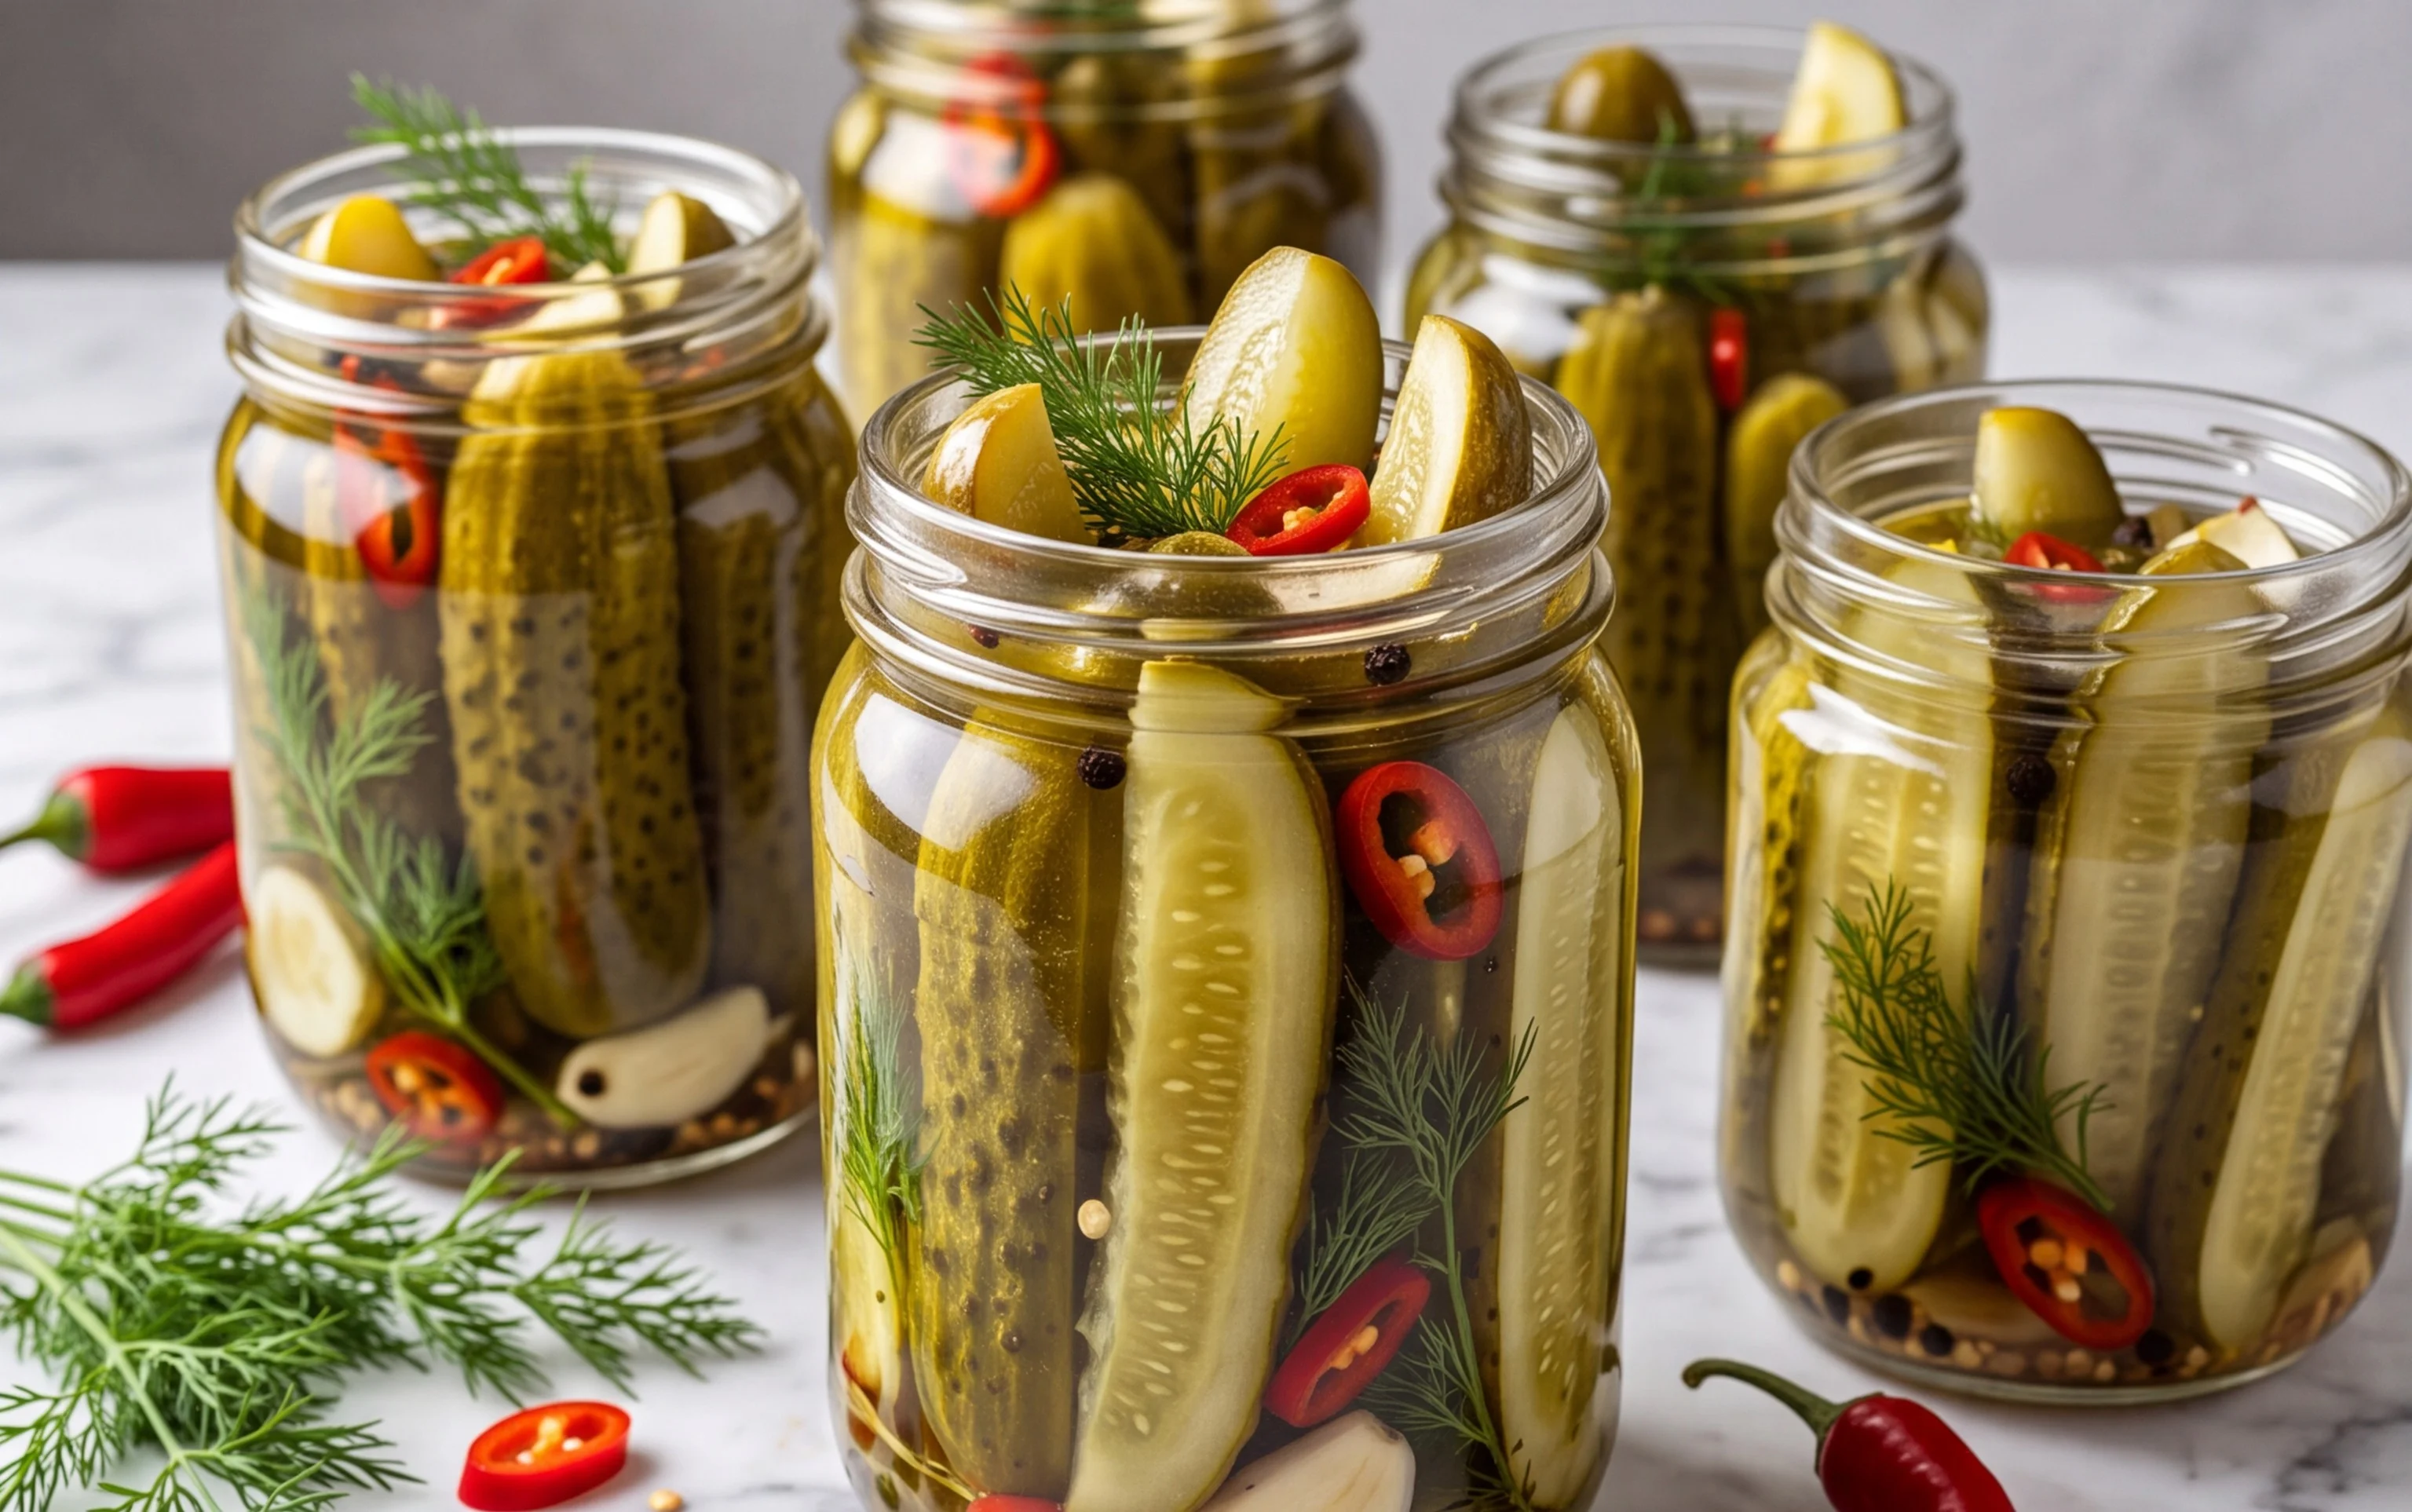
This is where the magic happens! You’ll need clean jars, preferably wide-mouth mason jars, for easy packing. Sterilize them by washing them thoroughly in hot, soapy water and then either running them through a dishwasher’s sanitize cycle or boiling them in water for 10 minutes. Keep the jars hot until you’re ready to fill them.
1. Layer the Aromatics and Heat: For each quart-sized jar, start by adding your flavor base. Place 2-3 tablespoons of your homemade pickling spice blend at the bottom of the jar. Then, add 2-3 fronds and stalks of dried dill weed, ensuring they are spread out. Finally, tuck in 2-3 split Thai red peppers. You’ll want to make sure the seeds are intact, as this is where a good portion of the heat resides. Don’t worry if some of the spices or pepper seeds fall out – it all contributes to the flavor.
2. Pack in the Cucumbers: Now, it’s time to pack your cucumbers. If you’re using whole pickling cucumbers, fit them snugly into the jars, stem-end down. If you’re slicing them into spears or rounds, pack them tightly as well, leaving a little bit of space at the top. The key here is to get as many cucumbers in as possible without forcing them, as this will create a better texture. You want them to be submerged in the brine, so tightly packed cucumbers help achieve this.
3. Fill with Hot Brine: Carefully ladle the hot pickling brine over the cucumbers in each jar, making sure to cover them completely. Leave about a 1/2-inch headspace from the rim of the jar. Use a clean skewer or chopstick to gently run around the inside of the jar, releasing any trapped air bubbles. This is crucial for ensuring a good seal and preventing spoilage. If needed, add a little more brine to maintain that 1/2-inch headspace.
4. Seal and Process: Wipe the rims of the jars clean with a damp cloth to remove any brine or debris. Place the sterilized lids on top and screw on the bands finger-tight. For shelf-stable pickles, you’ll need to process them in a boiling water bath. Place the filled jars into a large pot or canner that is large enough to hold them without touching. The water should cover the jars by at least 1-2 inches. Bring the water to a rolling boil, and then process the jars for 10 minutes (adjusting for altitude if you live more than 1,000 feet above sea level).
5. Cool and Cure: After processing, carefully remove the jars from the boiling water bath using a jar lifter and place them on a towel-lined counter to cool completely. You’ll likely hear a satisfying “ping” as the lids seal. Let them cool undisturbed for at least 12-24 hours. Once cooled, check that the lids have sealed by pressing down on the center – it shouldn’t flex. Any jars that haven’t sealed should be refrigerated and consumed within a few weeks.
The hardest part is waiting! For the best flavor, allow your spicy dill pickles to cure for at least 2-4 weeks before enjoying them. This allows the flavors to deepen and meld beautifully. Store the sealed jars in a cool, dark place. Once opened, always refrigerate. Enjoy the fruits (or rather, vegetables!) of your labor!
Conclusion:
I hope you’re as excited as I am to dive into this Spicy Dill Pickle Recipe! These aren’t just any pickles; they’re a flavor explosion that will elevate your snacking game and impress your guests. The perfect balance of crisp dill, tangy vinegar, and a kick of heat makes them incredibly addictive. Whether you’re a seasoned pickle maker or a curious beginner, this recipe is straightforward and incredibly rewarding. The vibrant taste and satisfying crunch are truly unparalleled.
These spicy dill pickles are incredibly versatile. Enjoy them straight from the jar as a zesty snack, chop them up and add them to your favorite sandwiches and burgers for an extra layer of flavor, or serve them alongside grilled meats and barbecue for a refreshing contrast. Feeling adventurous? Consider adding a pinch of red pepper flakes for an extra layer of heat, or perhaps some mustard seeds for a more complex flavor profile. Don’t be afraid to experiment and make them your own!
I truly encourage you to give this Spicy Dill Pickle Recipe a try. The satisfaction of creating your own delicious, homemade pickles is immense, and the taste is simply divine. Happy pickling!
Frequently Asked Questions:
Q: How long do these spicy dill pickles last?
A: Properly stored in the refrigerator, these pickles can last for several weeks, usually up to 4-6 weeks. Ensure they are submerged in their brine and the jar is tightly sealed.
Q: Can I adjust the spice level of this recipe?
A: Absolutely! The beauty of homemade pickles is customization. For more heat, you can increase the amount of chili peppers, add a pinch of cayenne pepper to the brine, or even include a dash of hot sauce. For less heat, simply reduce or omit the chili peppers.
Q: What kind of cucumbers are best for this recipe?
A: Kirby cucumbers or other pickling varieties are ideal. They have a firm texture and fewer seeds, which contributes to a crispier pickle. Avoid slicing cucumbers, as they can become mushy.
Spicy Dill Pickle Recipe
A flavorful and spicy dill pickle recipe with a homemade spice blend.
Ingredients
-
10-12 pounds pickling cucumbers, scrubbed clean and kept whole or sliced
-
2 cups apple cider vinegar
-
2 cups white vinegar
-
4 cups water
-
5 tablespoons pickling salt
-
Homemade pickling spice (2-3 tablespoons per jar)
-
Dried dill weed from a 2-ounce package (2-3 fronds and stalks per jar)
-
10-18 small Thai red peppers, split down the middle but not separated, leaving seeds intact (2-3 per jar)
-
2 tablespoons black peppercorns
-
2 tablespoons mustard seeds
-
2 tablespoons coriander seeds
-
2 tablespoons dill seed
-
1 tablespoon allspice berries
-
1 teaspoon crushed red pepper flakes
-
10-12 bay leaves, crumbled
Instructions
-
Step 1
Prepare the cucumbers: Wash and scrub pickling cucumbers. You can leave them whole or slice them into spears or rounds. -
Step 2
Make the brine: In a large pot, combine apple cider vinegar, white vinegar, water, and pickling salt. Bring to a boil, stirring to dissolve the salt. Simmer for 5 minutes. -
Step 3
Prepare the jars: While the brine simmers, sterilize canning jars and lids. Place 2-3 Thai red peppers, 2-3 tablespoons of homemade pickling spice, and 2-3 fronds and stalks of dried dill weed into each jar. -
Step 4
Pack the jars: Tightly pack the prepared cucumbers into the sterilized jars. Leave about 1/2 inch of headspace. -
Step 5
Fill and seal: Ladle the hot brine over the cucumbers, ensuring they are fully submerged and leaving 1/2 inch of headspace. Wipe the rims of the jars clean, place lids and rings on, and tighten them to fingertip tightness. -
Step 6
Process the jars: Process the jars in a boiling water bath according to your canning equipment’s instructions, typically for 10-15 minutes for pints and 15-20 minutes for quarts. Adjust processing time for altitude if necessary. -
Step 7
Cool and store: Let the jars cool completely on a wire rack. Check for a proper seal. Store sealed jars in a cool, dark place for at least 1-2 weeks before consuming for best flavor.
Important Information
Nutrition Facts (Per Serving)
It is important to consider this information as approximate and not to use it as definitive health advice.
Allergy Information
Please check ingredients for potential allergens and consult a health professional if in doubt.