Quick & Easy Mixed Vegetable Refrigerator Pickles
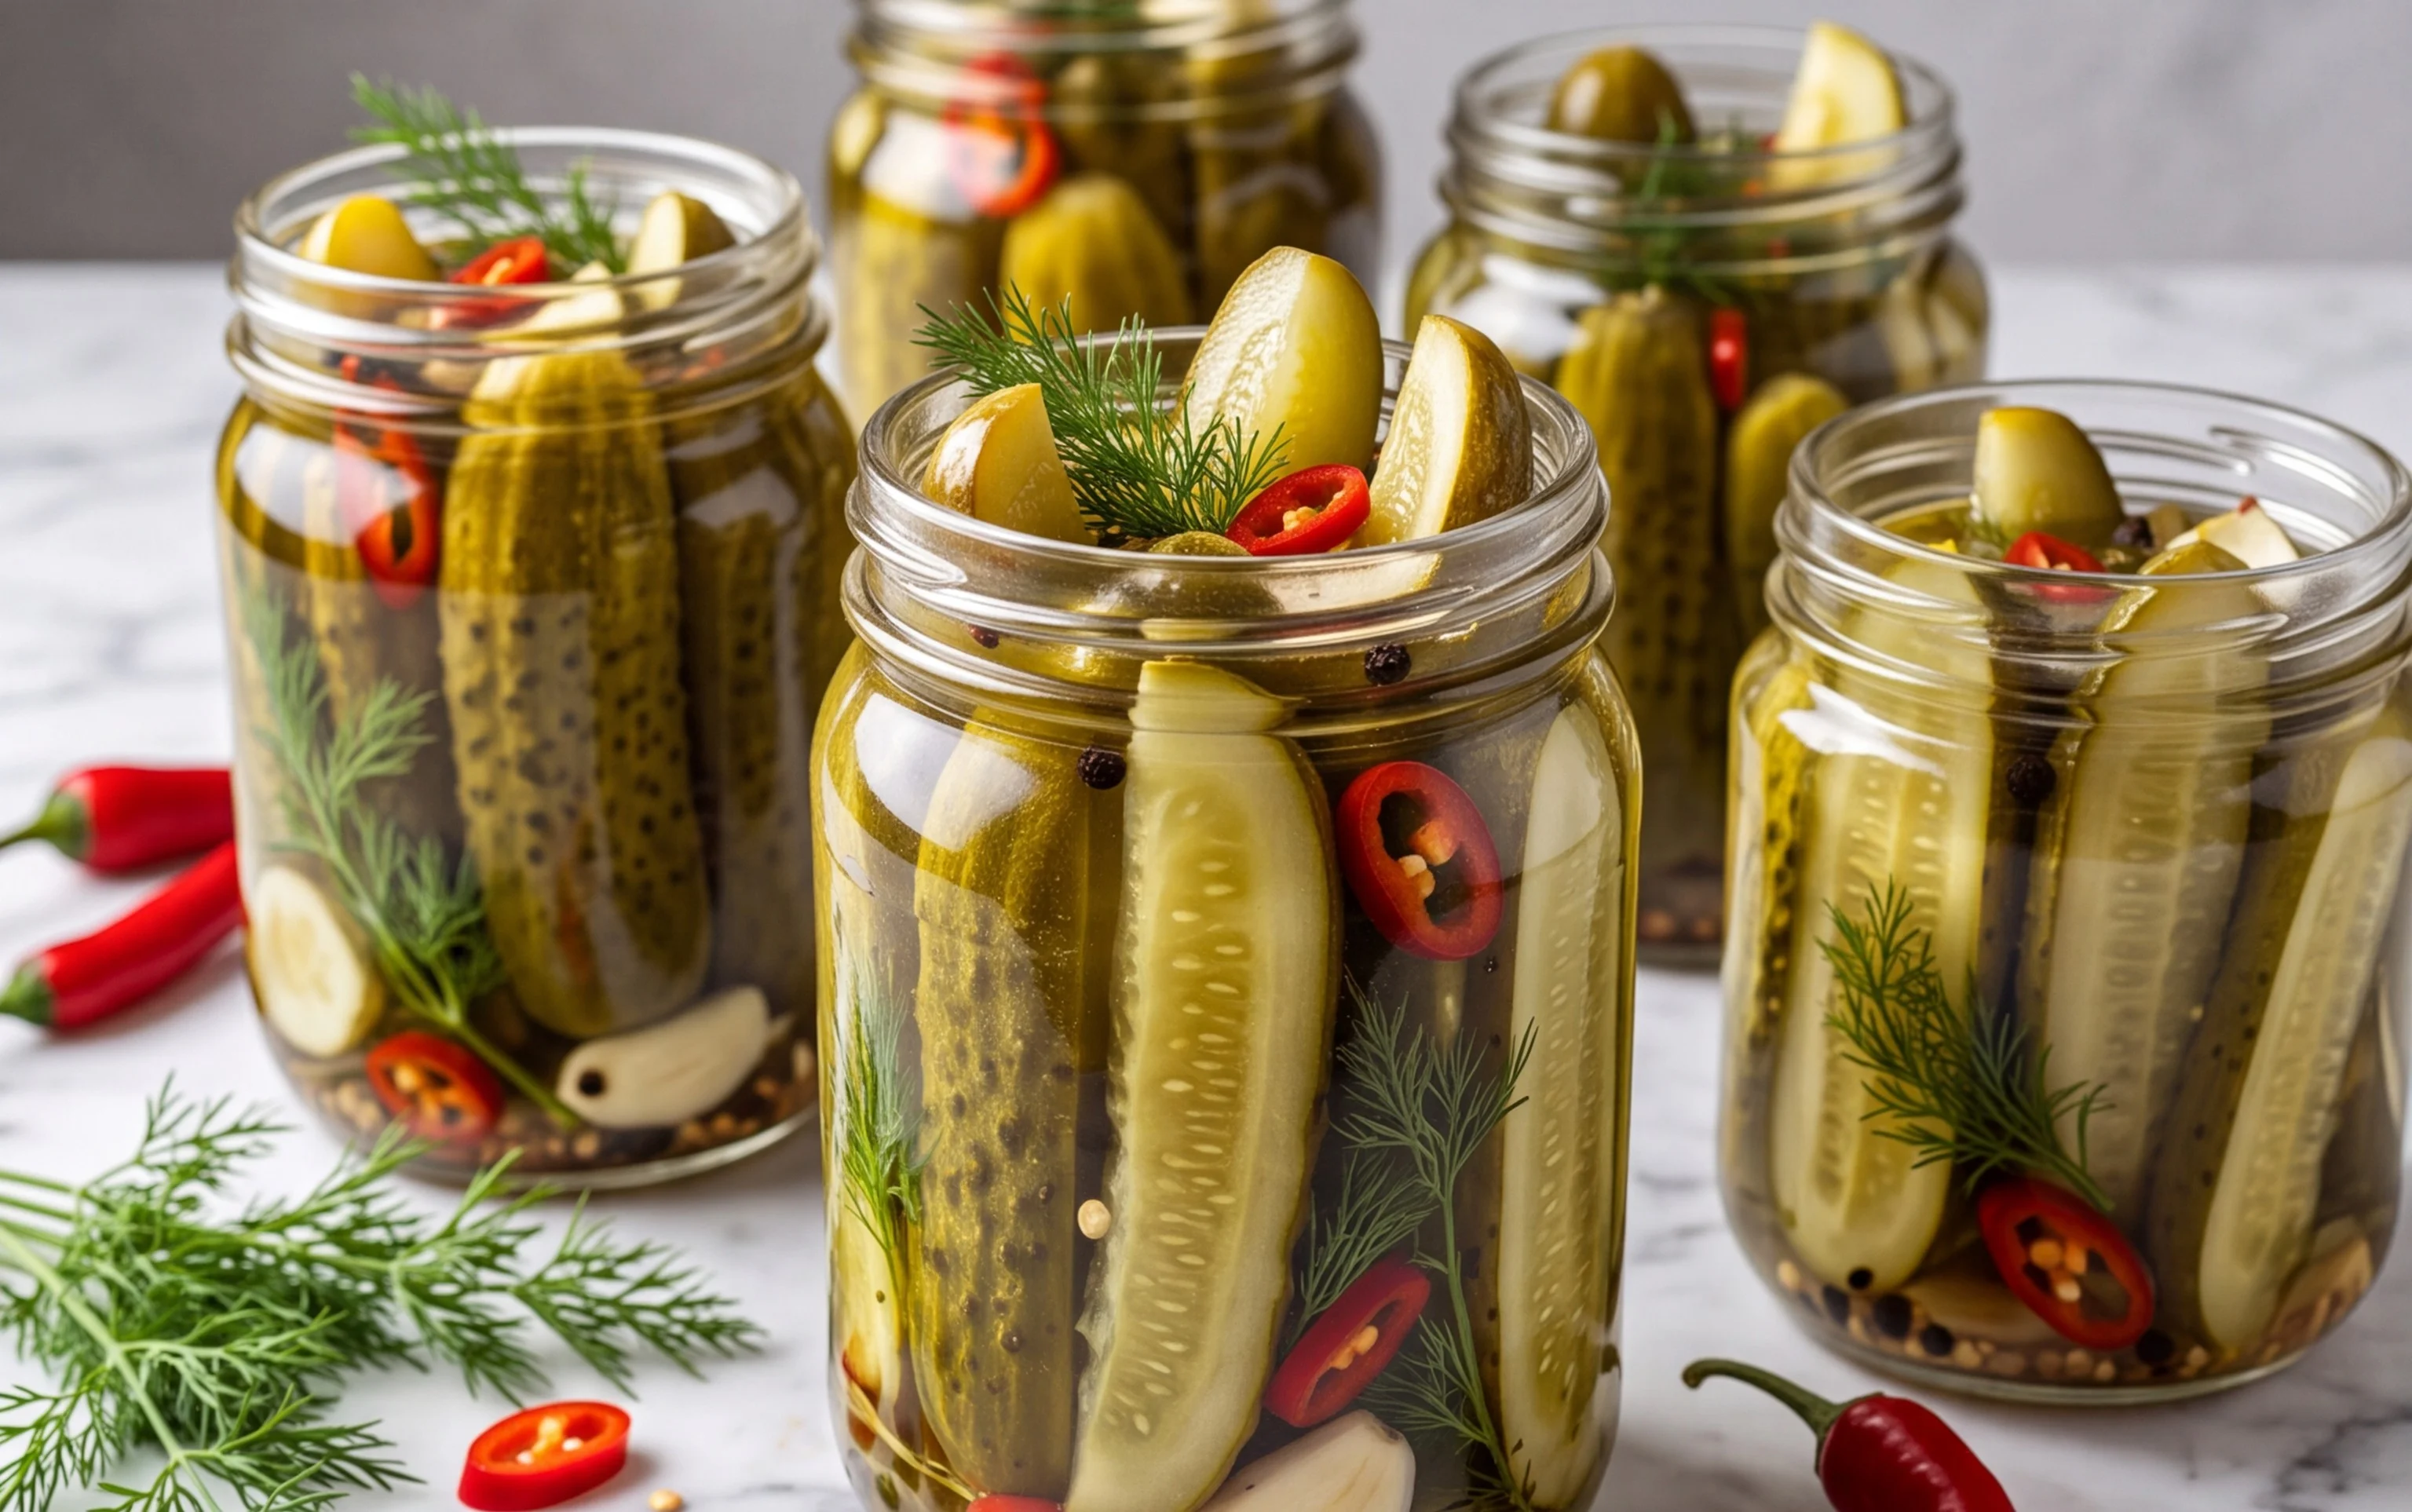
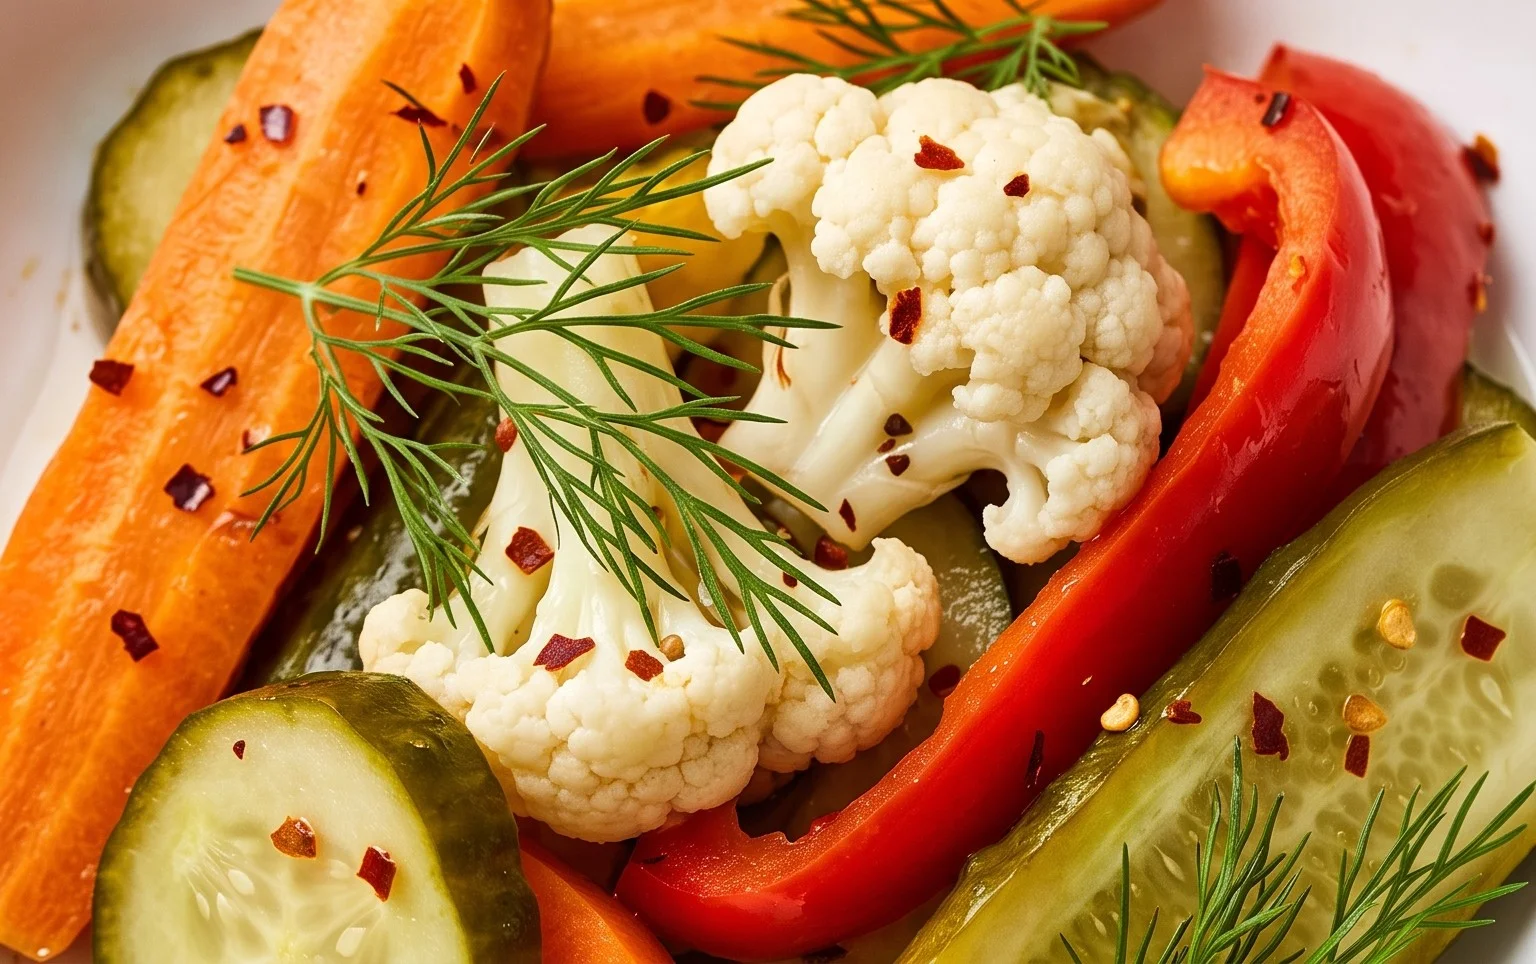
Mixed Vegetables Refrigerator Pickles are an absolute game-changer for your kitchen! If you’re anything like me, you love having a bright, tangy, and crunchy element to elevate any meal, and these refrigerator pickles deliver in spades. Forget the long, complicated canning process; these are designed for simplicity and instant gratification. What makes Mixed Vegetables Refrigerator Pickles so special? It’s the vibrant medley of whatever fresh veggies you have on hand – crisp cucumbers, snappy carrots, sweet bell peppers, even a little red onion for a punch. They transform humble produce into a flavor explosion that’s perfect for topping sandwiches, adding to salads, serving alongside grilled meats, or just enjoying straight from the jar. They’re the ultimate expression of using what you have and making it taste utterly delicious.
Why You’ll Adore These Pickles:
Effortless Preparation
Versatile Flavor Boost
Waste Reduction Hero
Mixed Vegetables Refrigerator Pickles
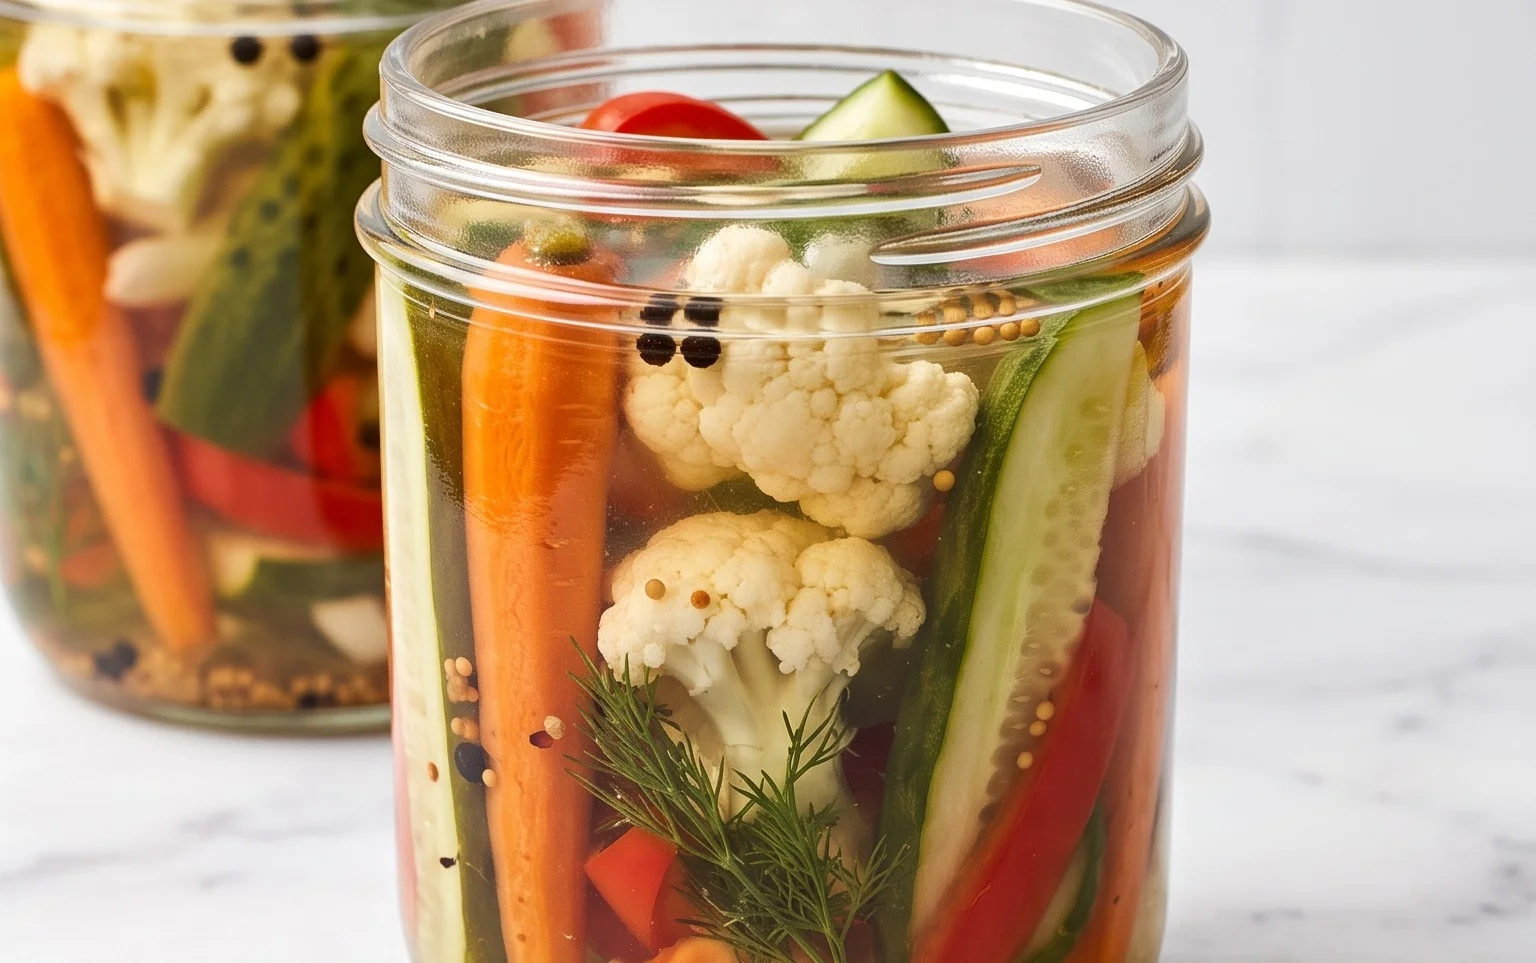
There’s something incredibly satisfying about opening the refrigerator and finding a jar of homemade pickles. They add a zesty crunch to sandwiches, a refreshing tang to salads, and are simply delightful to snack on straight from the jar. While traditional canning methods are wonderful, refrigerator pickles offer a much quicker and easier way to enjoy that delightful pickle flavor. These Mixed Vegetables Refrigerator Pickles are a fantastic way to use up those odds and ends from your garden or crisper drawer, transforming them into a vibrant and delicious condiment. The beauty of refrigerator pickles is their simplicity; they don’t require a complicated canning process, making them perfect for beginners or for those who just want a quick fix of pickle goodness. The combination of crisp vegetables with a tangy, slightly sweet brine creates a flavor profile that is both familiar and exciting. Let’s get started on creating this jar of deliciousness!
Ingredients:
- 1 cup sliced pickling cucumbers
- 1 cup cauliflower florets
- 1/3 cup sliced peeled carrots
- 1/3 cup sliced celery
- 1/3 cup sliced onions
- 1 medium bell pepper (seeded and cut into strips)
- 2 cups white vinegar
- 1 cup water
- 2 tablespoons sugar
- 1 tablespoon pickling salt
- 1 tablespoon pickling spice
- 4 sprigs fresh dill
- 1 small dried chili pepper (or 1/4 teaspoon red pepper flakes)
- 2 teaspoons mustard seeds
- 1 teaspoon celery seeds
Preparing the Vegetables
The first step to making these delicious pickles is to get our vegetables ready. You’ll want to wash all of your produce thoroughly. For the pickling cucumbers, I like to slice them into rounds about 1/4 inch thick. If you have a mandoline, it can be very helpful here for achieving uniform slices. For the cauliflower, break it down into bite-sized florets. The carrots should be peeled and then sliced into thin rounds or half-moons, whichever you prefer. Celery can be sliced into 1/4 inch thick pieces. For the onions, I find that thinly sliced rings or half-rings work best. And for the bell pepper, remove the seeds and membranes, then cut it into strips that are roughly the same size as your cucumber slices. Having all your vegetables cut to a similar size ensures they will pickle evenly and will look beautiful together in the jar.
Making the Brine
Now, let’s get to the heart of any good pickle: the brine. In a medium saucepan, combine the white vinegar, water, sugar, and pickling salt. You might be tempted to use regular table salt, but pickling salt is recommended because it doesn’t contain any anti-caking agents that can make your brine cloudy. Stir these ingredients together over medium heat, stirring until the sugar and salt are completely dissolved. Once dissolved, bring the mixture to a gentle boil. As the brine heats up, you can start preparing your jar. Make sure you have a clean, sterilized jar with a lid. A pint or quart-sized jar usually works well for this recipe.
Assembling the Pickles
Once your brine has come to a boil and the sugar and salt have dissolved, carefully remove it from the heat. Now it’s time to assemble the pickles in your jar. Layer your prepared vegetables into the clean jar. I like to strategically place the dill sprigs, dried chili pepper, mustard seeds, and celery seeds throughout the jar as I add the vegetables. This ensures that the flavors are distributed evenly. You can add the pickling spice directly into the jar with the vegetables, or you can add it to the brine when it’s heating up for a more concentrated flavor. I personally prefer to add it to the brine so it infuses everything more thoroughly. Fill the jar with your mixed vegetables, leaving about a 1/2 inch headspace at the top.
Filling and Storing
Once the vegetables are nicely packed into the jar, it’s time to pour in that delicious brine. Carefully pour the hot brine over the vegetables, making sure to cover them completely. You want all those lovely vegetables to be submerged in the brine so they pickle properly. Use a clean spoon or chopstick to gently tap the sides of the jar and release any trapped air bubbles. This is an important step to ensure there are no pockets of air that could lead to spoilage. Once you’ve ensured everything is submerged and air bubbles are gone, securely place the lid on the jar. Allow the jar to cool on the counter for about an hour to an hour and a half.
Refrigeration and Enjoyment
After the jar has cooled to room temperature, it’s time to move it to the refrigerator. These are refrigerator pickles, so they do not require any canning process for preservation. They will continue to pickle and develop flavor in the cold. It’s best to let them chill in the refrigerator for at least 24 hours before you start enjoying them. The longer they sit, the more the flavors will meld and deepen. I find they are usually at their absolute best after 48 to 72 hours. You can keep these pickles in the refrigerator for several weeks, though they rarely last that long! They are perfect for adding a vibrant, tangy crunch to almost any meal. Enjoy your homemade mixed vegetable refrigerator pickles!
Conclusion:
I hope you’re as excited as I am to try these Mixed Vegetables Refrigerator Pickles! This recipe is fantastic because it’s incredibly versatile and a brilliant way to use up those odds and ends of fresh vegetables in your fridge. The tangy, slightly sweet brine infuses the vegetables with a delightful flavor, transforming them into a quick, crunchy snack or a zesty condiment in no time. They’re so easy to make and require no complicated canning process, making them perfect for beginners and busy cooks alike. The vibrant colors and fresh taste will add a wonderful pop to any meal.
These pickles are a dream to serve! Enjoy them straight from the jar as a refreshing snack, alongside sandwiches and burgers for an extra layer of flavor, or even chopped into salads and potato dishes for a bright, acidic crunch. Don’t be afraid to get creative with your vegetable choices! Cauliflower florets, bell pepper strips, snap peas, and even radishes all work beautifully. This recipe is a gateway to delicious, homemade pickled goodness, and I wholeheartedly encourage you to give it a try. You might just find yourself making batch after batch!
Frequently Asked Questions:
How long do these refrigerator pickles last?
Stored properly in an airtight container in the refrigerator, these mixed vegetables refrigerator pickles can last for about 2-3 weeks. Always check for any signs of spoilage before consuming, such as off-smells or slime.
Can I adjust the sweetness or spiciness of the brine?
Absolutely! This recipe is very forgiving. For a sweeter brine, simply add a little more sugar. For a spicier kick, increase the amount of red pepper flakes or add a sliced jalapeño or serrano pepper to the jar.
Mixed Vegetables Refrigerator Pickles
Quick and easy refrigerator pickles featuring a vibrant mix of fresh vegetables, brined in a tangy and flavorful vinegar solution. Perfect for adding a zesty crunch to sandwiches, salads, or as a standalone snack.
Ingredients
-
1 cup sliced pickling cucumbers
-
1 cup cauliflower florets
-
1/3 cup sliced peeled carrots
-
1/3 cup sliced celery
-
1/3 cup sliced onions
-
1 medium bell pepper (seeded and cut into strips)
-
2 cups white vinegar
-
1 cup water
-
2 tablespoons sugar
-
1 tablespoon pickling salt
-
1 tablespoon pickling spice
-
4 sprigs fresh dill
-
1 small dried chili pepper
-
2 teaspoons mustard seeds
-
1 teaspoon celery seeds
Instructions
-
Step 1
Prepare the vegetables: Wash and prepare all vegetables as listed. Ensure cucumbers are sliced thinly for best results. -
Step 2
Make the brine: In a medium saucepan, combine white vinegar, water, sugar, pickling salt, and pickling spice. Heat over medium heat, stirring until sugar and salt are dissolved. Do not boil. -
Step 3
Combine ingredients in jars: Tightly pack the prepared vegetables, fresh dill sprigs, dried chili pepper, mustard seeds, and celery seeds into clean jars. -
Step 4
Pour brine over vegetables: Carefully pour the warm brine over the vegetables in the jars, ensuring all vegetables are submerged. -
Step 5
Cool and refrigerate: Let the jars cool to room temperature on the counter. Once cooled, seal the jars tightly and refrigerate for at least 24 hours before serving. For best flavor, allow to pickle for 2-3 days.
Important Information
Nutrition Facts (Per Serving)
It is important to consider this information as approximate and not to use it as definitive health advice.
Allergy Information
Please check ingredients for potential allergens and consult a health professional if in doubt.