Easy Chewy M&M Chocolate Chip Cookies
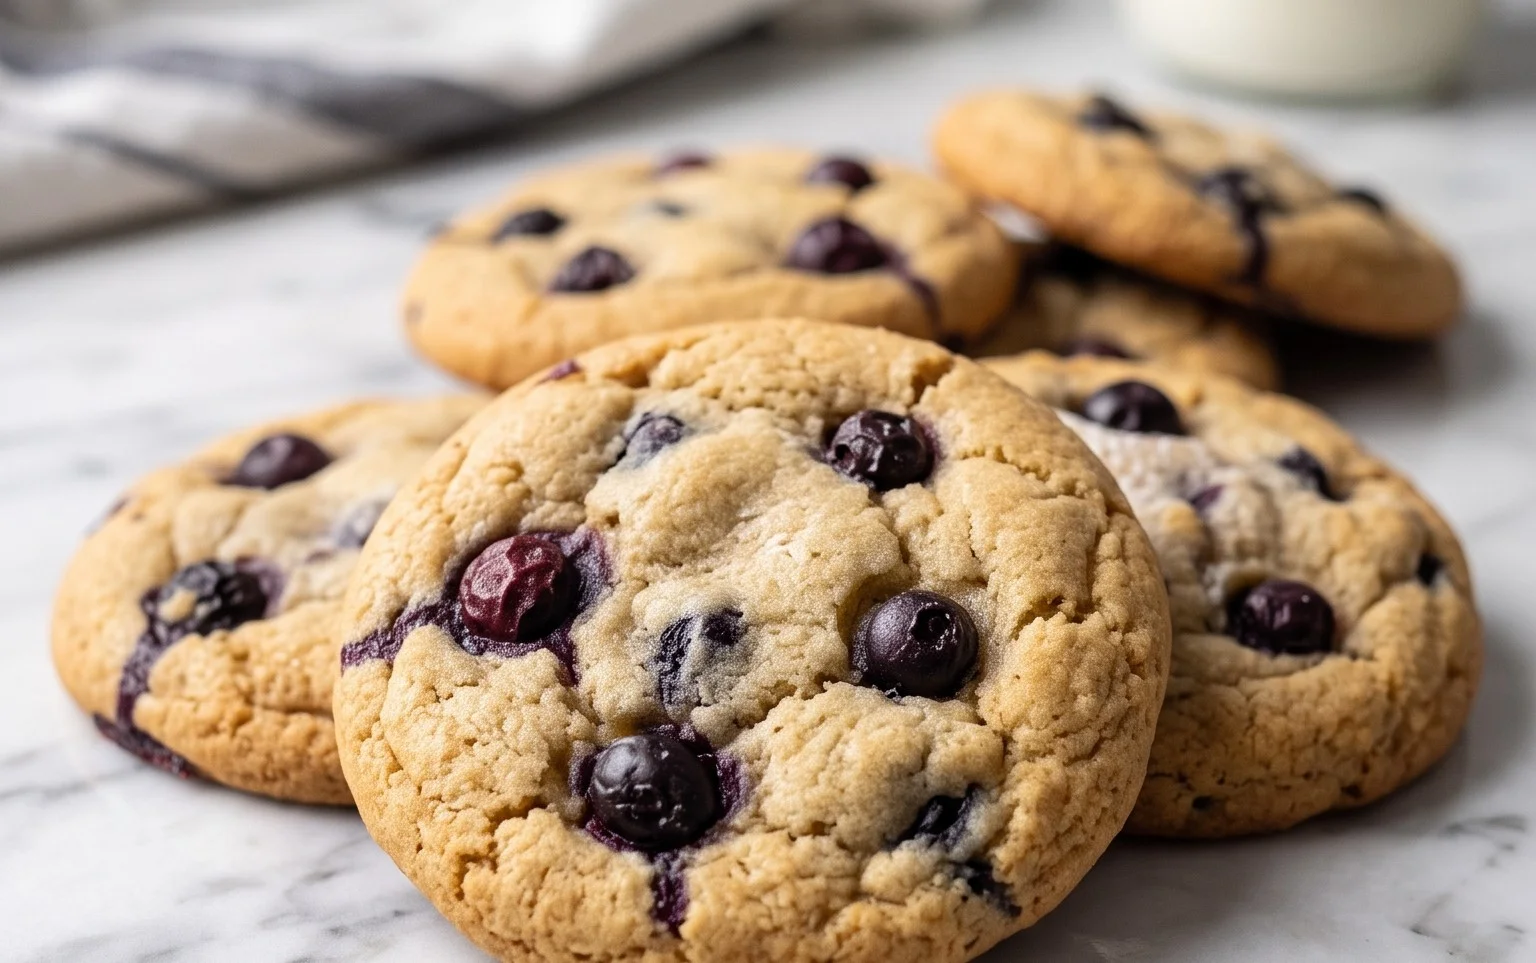
M&M Cookies. Oh, the sheer joy that sentence conjures! For me, these aren’t just cookies; they’re a kaleidoscope of childhood memories, a burst of vibrant color, and a guaranteed mood-booster. Who can resist that perfect balance of chewy, buttery dough and the delightful crunch of melty M&M’s? It’s the ultimate crowd-pleaser, perfect for bake sales, birthday parties, or just a quiet afternoon treat. What truly makes our M&M Cookies special is the carefully honed recipe that ensures a tender center and slightly crisp edges every single time. We’ve perfected the ratio of ingredients to achieve that signature chewiness that melts in your mouth, leaving behind the sweet, colorful goodness of those beloved candy-coated chocolate treasures. Get ready to bake up happiness!
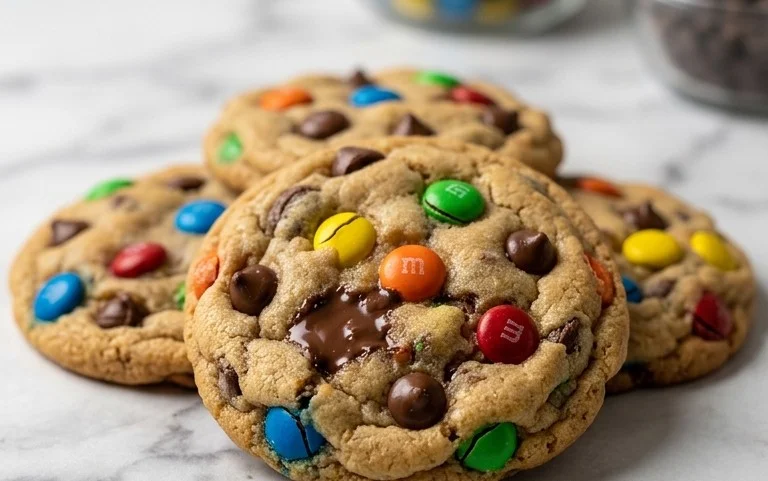
M&M Cookies
There’s something undeniably joyful about a classic M&M cookie. The vibrant colors, the satisfying chew, the burst of chocolate – it’s a cookie that brings smiles to faces of all ages. Whether you’re baking for a crowd, a special occasion, or just because you deserve a sweet treat, these M&M cookies are sure to be a hit. They’re surprisingly easy to make, and the results are consistently delicious. The secret is in the balance of flavors and textures, creating a cookie that’s both comforting and fun. We’ll be using some fantastic ingredients to ensure you get that perfect cookie every time. Let’s get baking!
Ingredients:
- 1 cup unsalted butter, softened
- 1 cup lightly packed brown sugar (200 grams)
- 1 cup granulated sugar (200 grams)
- 2 large eggs
- 1 teaspoon vanilla extract
- 3 cups all-purpose flour (390 grams)
- 1 teaspoon salt
- 1 teaspoon baking soda
- 1 cup chocolate chips (divided)
- 1 cup M&Ms (plus more for the top)
Getting Started: The Foundation of Flavor
Before we dive into the mixing, it’s crucial to ensure your ingredients are prepped and ready. Softening the butter is key for achieving a smooth, well-emulsified cookie dough. You want it to be pliable and easy to cream with the sugars, not melted and greasy. Leaving it on the counter for about an hour should do the trick, or you can use the microwave on a very low setting in short bursts, being careful not to melt it completely. Also, measure your flour accurately. Spooning it into the measuring cup and leveling it off with a straight edge is far more precise than scooping directly from the bag, which can lead to a dry, tough cookie.
Mixing the Dough
1. In a large mixing bowl, cream together the softened unsalted butter, the lightly packed brown sugar, and the granulated sugar. Use an electric mixer on medium speed until the mixture is light and fluffy, with a pale, creamy appearance. This process incorporates air into the dough, which will help with the cookie’s texture and spread. Scrape down the sides of the bowl a couple of times to ensure everything is evenly combined. This usually takes about 2-3 minutes.
2. Next, add the two large eggs, one at a time, beating well after each addition. This ensures the eggs are fully incorporated and help to bind the dough together. Follow this with the vanilla extract. Continue mixing until everything is just combined. Be careful not to overmix at this stage, as it can lead to tougher cookies.
3. In a separate medium bowl, whisk together the all-purpose flour, salt, and baking soda. This dry ingredient mixture is essential for leavening and flavor. Whisking them together ensures the salt and baking soda are evenly distributed throughout the flour, preventing pockets of saltiness or uneven rising.
Incorporating the Dry Ingredients and Mix-ins
4. Gradually add the dry ingredient mixture to the wet ingredients, mixing on low speed until just combined. It’s important to add the flour mixture in batches, perhaps in three additions, to prevent flour from flying out of the bowl and to ensure it’s incorporated smoothly. Do not overmix! Stop mixing as soon as you no longer see streaks of flour. Overmixing the flour at this stage develops gluten, which can result in chewy, dense cookies instead of the tender ones we’re aiming for.
5. Now for the fun part – the mix-ins! Add one cup of chocolate chips and one cup of M&Ms to the dough. Gently fold them in using a sturdy spatula or wooden spoon. You want to distribute them evenly throughout the dough without breaking them up too much. Reserve about half of the M&Ms you have for pressing onto the tops of the cookies before baking; this gives them that classic, visually appealing M&M cookie look.
Shaping and Baking for Perfection
Chilling the Dough (Optional but Recommended)
For the best texture and to prevent excessive spreading, I highly recommend chilling your cookie dough. Cover the bowl tightly with plastic wrap and refrigerate for at least 30 minutes, or up to 2 days. This allows the fats to firm up, which controls spread, and also allows the flavors to meld together beautifully. If you’re short on time, you can skip this step, but your cookies might be a little flatter.
Baking the Cookies
Preheat your oven to 375 degrees Fahrenheit (190 degrees Celsius). Line baking sheets with parchment paper or silicone baking mats. Parchment paper is my preferred choice as it prevents sticking and makes for easy cleanup.
Using a cookie scoop or two spoons, drop rounded tablespoons of dough onto the prepared baking sheets, spacing them about 2 inches apart to allow for spreading. If you chilled your dough, you might need to let it sit at room temperature for a few minutes before scooping if it’s too firm.
Before baking, gently press a few of the reserved M&Ms onto the tops of each cookie dough ball. This is purely for aesthetics but makes a big difference in presentation!
Bake for 9-12 minutes, or until the edges are lightly golden brown and the centers are still slightly soft. The cookies will continue to bake and set on the baking sheet after you remove them from the oven. For a chewier cookie, err on the side of underbaking slightly. For a crispier cookie, bake for the full 12 minutes.
Cooling and Enjoying
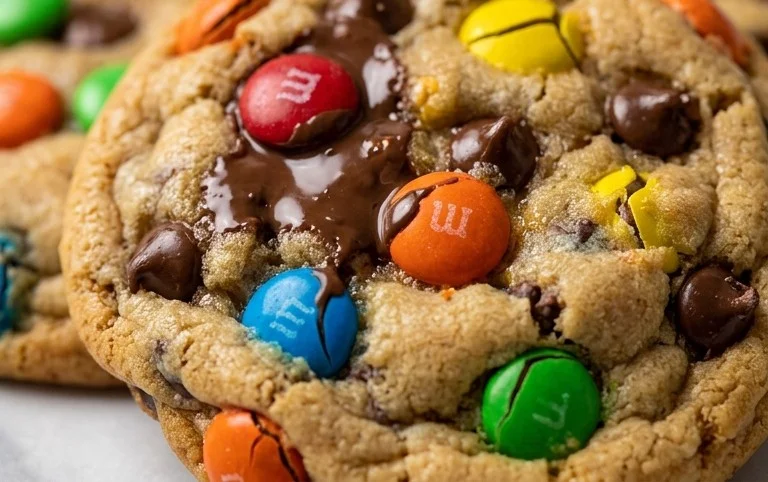
Once baked, let the cookies cool on the baking sheets for 5-10 minutes before transferring them to a wire rack to cool completely. This is an important step; trying to move them too soon can result in them falling apart. Once cool, these M&M cookies are ready to be devoured! Store any leftovers in an airtight container at room temperature for up to 3 days. Enjoy every colorful, chocolatey bite!
Conclusion:
There you have it – a simple yet utterly irresistible recipe for classic M&M cookies that’s guaranteed to become a family favorite! This recipe is fantastic because it delivers that perfect chewy texture on the inside with delightfully crisp edges, all bursting with the colorful fun of M&Ms. They’re incredibly easy to whip up, making them ideal for a quick weeknight treat, a weekend baking project with kids, or even for impressing guests at your next gathering. These cookies are versatile enough to be enjoyed on their own with a cold glass of milk, or even crumbled over ice cream for a decadent dessert. Don’t be afraid to get creative with variations! Consider adding a pinch of sea salt on top before baking for a sweet and salty contrast, or swap out some of the M&Ms for chocolate chips for a double dose of chocolatey goodness. I highly encourage you to give this M&M cookie recipe a try – you won’t be disappointed!
Frequently Asked Questions:
Q: How should I store these M&M cookies to keep them fresh?
A: Once completely cooled, store your M&M cookies in an airtight container at room temperature for up to 3-4 days. For longer storage, you can freeze baked cookies individually wrapped in plastic wrap and then placed in a freezer-safe bag for up to 2-3 months. You can also freeze the cookie dough balls before baking!
Q: Can I make these cookies dairy-free or gluten-free?
A: Absolutely! For a dairy-free version, substitute the butter with a dairy-free butter alternative and ensure your M&Ms are dairy-free. For a gluten-free adaptation, use a good quality gluten-free all-purpose flour blend. You may need to adjust the baking time slightly.
M&M Cookies
Classic M&M cookies featuring chewy centers and crispy edges, loaded with chocolate chips and colorful M&Ms.
Ingredients
-
1 cup unsalted butter, softened
-
1 cup lightly packed brown sugar
-
1 cup granulated sugar
-
2 large eggs
-
1 tsp vanilla extract
-
3 cups all purpose flour
-
1 tsp salt
-
1 tsp baking soda
-
1 cup chocolate chips
-
1 cup M&Ms
Instructions
-
Step 1
Preheat oven to 375°F (190°C). Line baking sheets with parchment paper. -
Step 2
In a large bowl, cream together the softened butter, brown sugar, and granulated sugar until light and fluffy. -
Step 3
Beat in the eggs one at a time, then stir in the vanilla extract. -
Step 4
In a separate medium bowl, whisk together the all-purpose flour, salt, and baking soda. -
Step 5
Gradually add the dry ingredients to the wet ingredients, mixing until just combined. Do not overmix. -
Step 6
Stir in the chocolate chips and M&Ms until evenly distributed. -
Step 7
Drop rounded tablespoons of dough onto the prepared baking sheets, spacing them about 2 inches apart. -
Step 8
Bake for 9-11 minutes, or until the edges are golden brown and the centers are still slightly soft. -
Step 9
Let cookies cool on the baking sheets for a few minutes before transferring them to a wire rack to cool completely. Add extra M&Ms to the tops of the cookies before baking for decoration.
Important Information
Nutrition Facts (Per Serving)
It is important to consider this information as approximate and not to use it as definitive health advice.
Allergy Information
Please check ingredients for potential allergens and consult a health professional if in doubt.