Vintage Cake: Just the name conjures up images of grandma’s kitchen, the comforting aroma of vanilla, and a slice of pure, unadulterated happiness. Have you ever wondered why some recipes endure through generations, becoming cherished family heirlooms? This isn’t just about baking; it’s about preserving memories, sharing love, and experiencing a taste of history.
The beauty of a vintage cake lies in its simplicity and timeless appeal. Often passed down through handwritten recipe cards, these cakes represent a connection to our past. They remind us of simpler times, when baking was a daily ritual and a way to show affection. Many vintage cake recipes originated during times of scarcity, requiring resourcefulness and creativity with readily available ingredients.
What makes these cakes so irresistible? It’s the perfect balance of moistness, flavor, and that undeniable homemade touch. They’re often less fussy than modern, elaborate desserts, making them ideal for both novice and experienced bakers. Whether it’s a classic pound cake, a rich chocolate cake, or a delicate sponge cake, vintage cakes offer a comforting and satisfying experience that transcends trends. Join me as we rediscover the magic of these timeless treats and bake a cake that will surely become a new family favorite!

Ingredients:
- For the Cake:
- 2 ½ cups all-purpose flour
- 1 teaspoon baking soda
- 1 teaspoon ground cinnamon
- ½ teaspoon ground nutmeg
- ½ teaspoon salt
- 1 cup (2 sticks) unsalted butter, softened
- 2 cups granulated sugar
- 4 large eggs
- 1 teaspoon vanilla extract
- 1 cup buttermilk
- For the Caramel Frosting:
- 1 cup (2 sticks) unsalted butter
- 2 cups packed light brown sugar
- ½ cup milk
- 3 ½ cups powdered sugar
- 1 teaspoon vanilla extract
- ¼ teaspoon salt
Preparing the Cake Batter:
- Preheat and Prep: First things first, let’s get that oven ready! Preheat your oven to 350°F (175°C). While it’s heating up, grease and flour two 9-inch round cake pans. This is crucial to prevent the cake from sticking and ensuring easy removal later. I like to use a baking spray that contains flour for extra insurance.
- Combine Dry Ingredients: In a large bowl, whisk together the flour, baking soda, cinnamon, nutmeg, and salt. Whisking is important here to evenly distribute the baking soda and spices throughout the flour. This ensures a consistent flavor and rise in your cake. Set this bowl aside for now.
- Cream Butter and Sugar: In a separate large bowl (or the bowl of your stand mixer), cream together the softened butter and granulated sugar until light and fluffy. This step is essential for incorporating air into the batter, which will result in a tender and airy cake. Beat for at least 3-5 minutes, scraping down the sides of the bowl occasionally to ensure everything is evenly mixed. You’ll know it’s ready when the mixture is noticeably lighter in color and texture.
- Add Eggs: Beat in the eggs one at a time, making sure each egg is fully incorporated before adding the next. After adding all the eggs, beat in the vanilla extract. Adding the eggs gradually helps to emulsify the batter and prevent it from curdling.
- Alternate Wet and Dry Ingredients: Gradually add the dry ingredients to the wet ingredients, alternating with the buttermilk. Begin and end with the dry ingredients. So, add about one-third of the dry ingredients to the butter mixture and mix until just combined. Then, add half of the buttermilk and mix until just combined. Repeat with another third of the dry ingredients, the remaining buttermilk, and finish with the last third of the dry ingredients. Mix until just combined. Be careful not to overmix the batter at this stage, as overmixing can develop the gluten in the flour and result in a tough cake.
- Divide and Bake: Divide the batter evenly between the prepared cake pans. Spread the batter evenly in each pan. Bake for 30-35 minutes, or until a wooden skewer inserted into the center comes out clean. The baking time may vary depending on your oven, so keep a close eye on the cakes.
- Cool the Cakes: Once the cakes are done, remove them from the oven and let them cool in the pans for 10-15 minutes before inverting them onto a wire rack to cool completely. Cooling the cakes in the pans prevents them from sticking and allows them to firm up slightly before being handled. Make sure the cakes are completely cool before frosting, or the frosting will melt.
Making the Caramel Frosting:
- Melt Butter and Brown Sugar: In a medium saucepan, melt the butter over medium heat. Add the brown sugar and cook, stirring constantly, until the sugar is dissolved and the mixture is smooth. This usually takes about 2-3 minutes. Be careful not to burn the butter or sugar.
- Add Milk and Boil: Stir in the milk and bring the mixture to a boil. Continue to boil for 1 minute, stirring constantly. This step is crucial for creating the caramel flavor and thickening the frosting.
- Cool Slightly: Remove the saucepan from the heat and let the mixture cool slightly for about 10-15 minutes. This allows the frosting to thicken slightly before adding the powdered sugar.
- Add Powdered Sugar: Gradually add the powdered sugar to the cooled caramel mixture, beating with an electric mixer until smooth and creamy. Start with a low speed to prevent the powdered sugar from flying everywhere.
- Add Vanilla and Salt: Beat in the vanilla extract and salt. The vanilla enhances the caramel flavor, and the salt balances the sweetness.
- Adjust Consistency: If the frosting is too thick, add a little more milk, one tablespoon at a time, until you reach the desired consistency. If the frosting is too thin, add a little more powdered sugar, one tablespoon at a time, until you reach the desired consistency. The frosting should be spreadable but not too runny.
Assembling the Cake:
- Level the Cakes (Optional): If your cakes have a slight dome on top, you can use a serrated knife to level them. This will ensure that the cake layers are even and the frosting is evenly distributed. This step is optional, but it can improve the overall appearance of the cake.
- Frost the First Layer: Place one cake layer on a serving plate or cake stand. Spread a generous amount of caramel frosting evenly over the top of the cake layer.
- Add the Second Layer: Carefully place the second cake layer on top of the frosted first layer.
- Frost the Entire Cake: Frost the top and sides of the cake with the remaining caramel frosting. You can create a smooth finish or a more rustic, textured finish, depending on your preference. I personally love a rustic look!
- Decorate (Optional): If desired, decorate the cake with chopped nuts, caramel drizzle, or any other toppings of your choice.
- Chill (Optional): For best results, chill the cake in the refrigerator for at least 30 minutes before serving. This will allow the frosting to set and make the cake easier to slice.
- Serve and Enjoy: Slice the cake and serve. This vintage cake is best enjoyed with a cup of coffee or tea.
Tips for Success:
- Use Room Temperature Ingredients: Using room temperature butter, eggs, and buttermilk is crucial for creating a smooth and emulsified batter. Room temperature ingredients combine more easily and result in a more tender cake.
- Don’t Overmix the Batter: Overmixing the batter can develop the gluten in the flour and result in a tough cake. Mix until just combined.
- Cool the Cakes Completely: Make sure the cakes are completely cool before frosting, or the frosting will melt.
- Adjust Frosting Consistency: Adjust the consistency of the frosting as needed by adding a little more milk or powdered sugar.
- Store Properly: Store the cake in an airtight container in the refrigerator for up to 3 days.
Variations:
- Add Nuts: Add chopped pecans or walnuts to the cake batter or frosting for added flavor and texture.
- Use Different Spices: Experiment with different spices, such as ground cloves or allspice, to customize the flavor of the cake.
- Make a Chocolate Version: Add cocoa powder to the cake batter for a chocolate version of this vintage cake.
- Salted Caramel: Add a pinch of sea salt to the caramel frosting for a salted caramel flavor.
Conclusion:
This Vintage Cake recipe isn’t just about baking; it’s about creating a memory, a taste of nostalgia that will transport you back to simpler times. The moist crumb, the delicate balance of flavors, and the comforting aroma that fills your kitchen it all adds up to an experience that’s truly special. I know there are a million cake recipes out there, but trust me, this one is different. It’s a classic for a reason, and once you taste it, you’ll understand why it’s been passed down through generations.
But why is this cake a must-try? Well, beyond its incredible flavor and texture, it’s also surprisingly easy to make. The ingredients are simple, the instructions are straightforward, and even if you’re a beginner baker, I’m confident you can pull this off. It’s the kind of recipe that makes you feel like a baking pro, even if you’re just starting out. Plus, it’s incredibly versatile!
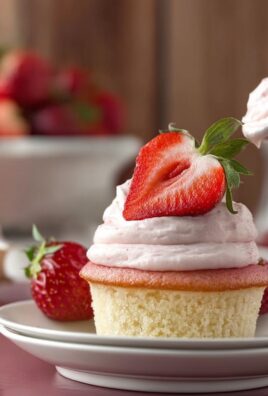
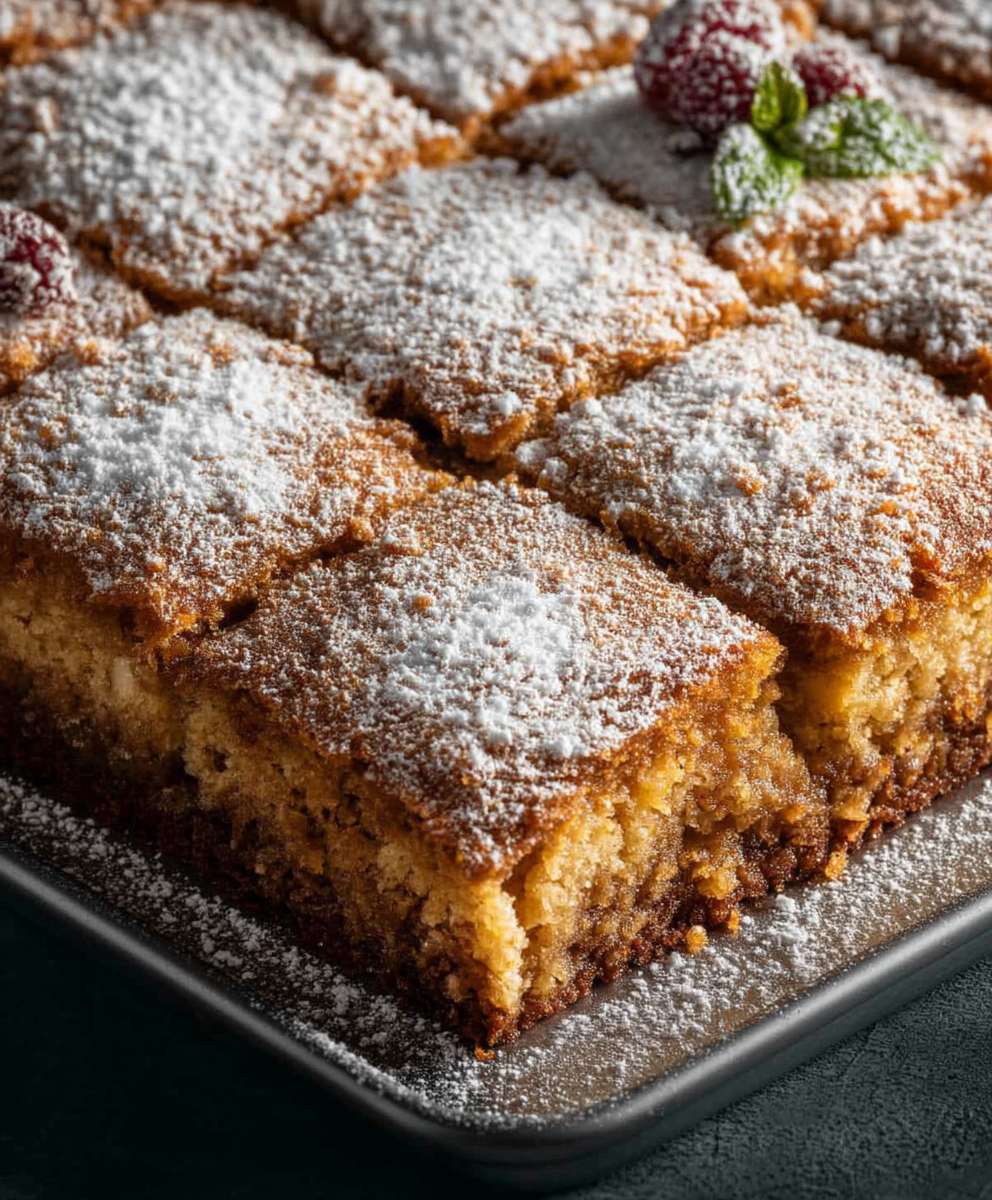
Looking for serving suggestions? A simple dusting of powdered sugar is all it needs to shine. Or, for a more decadent treat, try topping it with a dollop of freshly whipped cream and some seasonal berries. A light glaze made with lemon juice and powdered sugar would also be divine. And if you’re feeling adventurous, you could even frost it with a classic buttercream frosting vanilla, chocolate, or even a coffee-flavored buttercream would all complement the cake beautifully.
Speaking of variations, the possibilities are endless! Want to add a little extra flavor? Try incorporating a teaspoon of vanilla extract, almond extract, or even a hint of citrus zest into the batter. You could also add chopped nuts, dried fruit, or chocolate chips for a little extra texture and interest. For a fall-inspired version, try adding a teaspoon of cinnamon, nutmeg, or cloves. And if you’re feeling really creative, you could even try layering the cake with different fillings, like jam, custard, or even a homemade fruit compote.
I’ve made this Vintage Cake countless times, and each time it’s a hit. It’s perfect for birthdays, holidays, or any special occasion. But honestly, it’s also perfect for a simple weeknight dessert. There’s just something about a slice of homemade cake that makes everything feel a little bit better.
So, what are you waiting for? Preheat your oven, gather your ingredients, and get ready to bake! I promise you won’t be disappointed. This recipe is a keeper, and I know it will become a staple in your baking repertoire.
I’m so excited for you to try this recipe and experience the magic of this Vintage Cake for yourself. Once you’ve made it, I’d love to hear about your experience! Did you make any variations? What did you serve it with? What did your family and friends think? Share your photos and stories in the comments below I can’t wait to see what you create! Happy baking! Let me know if you have any questions, and I’ll do my best to help. Enjoy!
Vintage Cake: A Guide to Classic Recipes and Decorating
A classic, tender cake with a rich and decadent homemade caramel frosting. Perfect for any occasion!
Ingredients
- 2 ½ cups all-purpose flour
- 1 teaspoon baking soda
- 1 teaspoon ground cinnamon
- ½ teaspoon ground nutmeg
- ½ teaspoon salt
- 1 cup (2 sticks) unsalted butter, softened
- 2 cups granulated sugar
- 4 large eggs
- 1 teaspoon vanilla extract
- 1 cup buttermilk
- 1 cup (2 sticks) unsalted butter
- 2 cups packed light brown sugar
- ½ cup milk
- 3 ½ cups powdered sugar
- 1 teaspoon vanilla extract
- ¼ teaspoon salt
Instructions
- Preheat oven to 350°F (175°C). Grease and flour two 9-inch round cake pans.
- In a large bowl, whisk together the flour, baking soda, cinnamon, nutmeg, and salt. Set aside.
- In a separate large bowl (or stand mixer), cream together the softened butter and granulated sugar until light and fluffy (3-5 minutes). Scrape down the sides of the bowl as needed.
- Beat in the eggs one at a time, fully incorporating each before adding the next. Beat in the vanilla extract.
- Gradually add the dry ingredients to the wet ingredients, alternating with the buttermilk. Begin and end with the dry ingredients. Mix until just combined after each addition. Be careful not to overmix.
- Divide the batter evenly between the prepared cake pans. Bake for 30-35 minutes, or until a wooden skewer inserted into the center comes out clean.
- Remove from oven and let cool in the pans for 10-15 minutes before inverting onto a wire rack to cool completely.
- In a medium saucepan, melt the butter over medium heat. Add the brown sugar and cook, stirring constantly, until the sugar is dissolved and the mixture is smooth (2-3 minutes).
- Stir in the milk and bring the mixture to a boil. Continue to boil for 1 minute, stirring constantly.
- Remove from heat and let cool slightly for about 10-15 minutes.
- Gradually add the powdered sugar to the cooled caramel mixture, beating with an electric mixer until smooth and creamy. Start with a low speed.
- Beat in the vanilla extract and salt.
- If the frosting is too thick, add a little more milk, one tablespoon at a time. If the frosting is too thin, add a little more powdered sugar, one tablespoon at a time.
- If desired, level the cakes with a serrated knife.
- Place one cake layer on a serving plate or cake stand. Spread a generous amount of caramel frosting evenly over the top.
- Carefully place the second cake layer on top of the frosted first layer.
- Frost the top and sides of the cake with the remaining caramel frosting.
- Decorate with chopped nuts, caramel drizzle, or other toppings.
- Chill in the refrigerator for at least 30 minutes before serving.
- Slice and serve.
Notes
- Use room temperature ingredients for best results.
- Don’t overmix the cake batter.
- Cool the cakes completely before frosting.
- Adjust frosting consistency as needed.
- Store in an airtight container in the refrigerator for up to 3 days.
- Variations: Add nuts, use different spices, make a chocolate version, or add sea salt for salted caramel frosting.