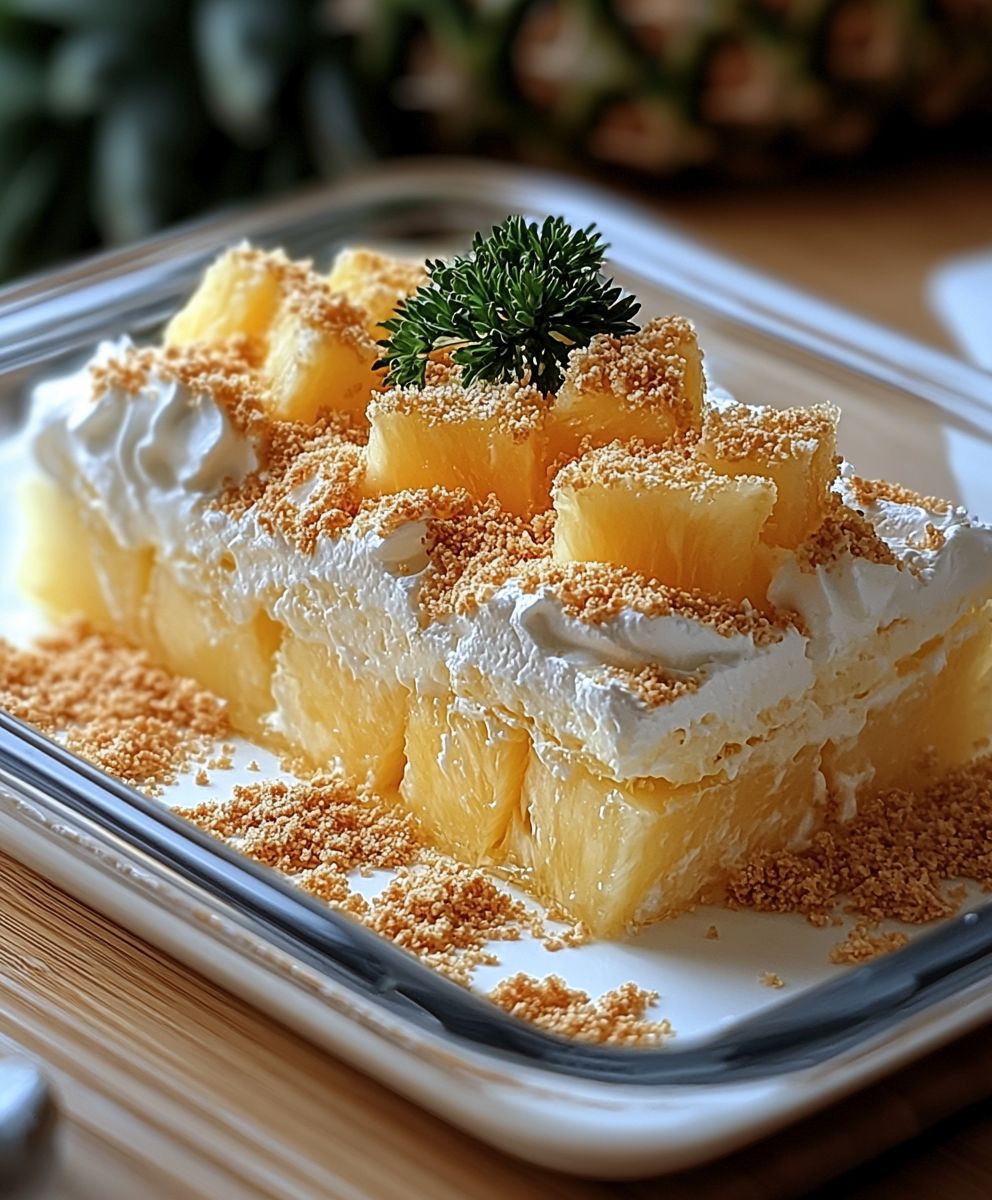
Pineapple Dream Dessert: just the name conjures images of sun-drenched beaches and carefree days, doesn’t it? Well, get ready to turn that dream into a delicious reality! This isn’t just another dessert; it’s a creamy, tangy, and utterly irresistible treat that will have everyone begging for seconds. I remember my grandmother making this every summer, and the taste instantly transports me back to those happy, sun-filled afternoons.
While the exact origins of this particular Pineapple Dream Dessert are a bit hazy, similar layered desserts have been a staple in Southern cuisine for generations. They represent a tradition of simple elegance, using readily available ingredients to create something truly special. Think of it as a no-bake cheesecake, but with a tropical twist!
What makes this dessert so beloved? It’s the perfect combination of textures the creamy filling, the crunchy graham cracker crust, and the juicy pineapple chunks all come together in perfect harmony. Plus, it’s incredibly easy to make, requiring minimal baking (or even no baking at all, depending on your crust preference!). The bright, refreshing flavor of pineapple makes it ideal for warm weather gatherings, potlucks, or simply a sweet treat to brighten up your day. Trust me, once you try this, it will become a family favorite!
Ingredients:
- 1 (20 ounce) can crushed pineapple, undrained
- 1 (3.4 ounce) package instant vanilla pudding mix
- 1 (8 ounce) container frozen whipped topping, thawed
- 1 (14 ounce) can sweetened condensed milk
- 1 (12 ounce) package vanilla wafers
- 1/2 cup chopped pecans or walnuts (optional)
- 1/4 cup shredded coconut (optional, for garnish)
- Maraschino cherries (optional, for garnish)
Preparing the Pineapple Mixture:
This is where the magic begins! We’re going to create the creamy, dreamy base for our dessert. It’s super simple, I promise!
- Combine Pineapple and Pudding: In a large bowl, pour in the entire can of crushed pineapple, including the juice. Don’t drain it! The juice is essential for the right consistency. Add the instant vanilla pudding mix to the bowl.
- Whisk Vigorously: Using a whisk, thoroughly combine the pineapple and pudding mix. Make sure there are no lumps of pudding mix remaining. You want a smooth, consistent mixture. This usually takes about 2-3 minutes of good whisking.
- Let it Sit: Once whisked, let the mixture sit for about 5 minutes. This allows the pudding to start setting up and thickening slightly. You’ll notice it getting a bit more substantial.
Adding the Creamy Goodness:
Now we’re going to fold in the whipped topping and sweetened condensed milk. This is what gives the dessert its rich, creamy texture and sweet flavor. Don’t skimp on this step!
- Incorporate Sweetened Condensed Milk: Pour the entire can of sweetened condensed milk into the pineapple and pudding mixture.
- Gently Fold: Using a rubber spatula, gently fold the sweetened condensed milk into the pineapple mixture. Be careful not to overmix, as this can deflate the mixture. You want to maintain some airiness.
- Add Whipped Topping: Now, add the thawed whipped topping to the bowl. Again, use a rubber spatula and gently fold the whipped topping into the mixture. Be very careful not to overmix. We want to keep the whipped topping light and fluffy. Fold until just combined, with no streaks of whipped topping remaining.
Assembling the Dream:
This is the fun part! We’re going to layer the creamy mixture with vanilla wafers to create a beautiful and delicious dessert. You can use a trifle bowl, a 9×13 inch baking dish, or individual serving cups. I personally love using a trifle bowl because it shows off the layers so nicely.
- First Layer of Vanilla Wafers: Arrange a layer of vanilla wafers on the bottom of your chosen dish. You may need to break some of the wafers to fit snugly and cover the entire bottom surface. Don’t worry about perfection; a few gaps are fine.
- Spread Creamy Mixture: Spoon about one-third of the pineapple and cream mixture over the vanilla wafers, spreading it evenly.
- Second Layer of Vanilla Wafers: Add another layer of vanilla wafers on top of the creamy mixture. Again, break wafers as needed to cover the surface.
- Spread Creamy Mixture Again: Spoon another one-third of the pineapple and cream mixture over the vanilla wafers, spreading it evenly.
- Final Layer of Vanilla Wafers: Add the final layer of vanilla wafers.
- Top with Remaining Creamy Mixture: Spread the remaining pineapple and cream mixture over the final layer of vanilla wafers.
Chilling and Garnishing:
Patience is key here! Chilling the dessert allows the flavors to meld together and the vanilla wafers to soften, creating the perfect texture. The garnishing is optional, but it adds a beautiful finishing touch.
- Chill Thoroughly: Cover the dish with plastic wrap and refrigerate for at least 4 hours, or preferably overnight. This allows the vanilla wafers to soften and absorb the flavors of the creamy mixture. The longer it chills, the better it tastes!
- Garnish (Optional): Before serving, garnish with chopped pecans or walnuts, shredded coconut, and maraschino cherries, if desired. You can get creative with your garnishes! A sprinkle of graham cracker crumbs would also be delicious.
Tips and Variations:
This recipe is incredibly versatile! Here are a few ideas to customize it to your liking:
- Fruit Variations: Try using other canned fruits, such as mandarin oranges or peaches, in place of the pineapple. Just make sure to drain them well.
- Pudding Flavors: Experiment with different flavors of instant pudding mix, such as banana cream, coconut cream, or cheesecake.
- Cookie Crumbles: Instead of vanilla wafers, use crushed graham crackers, shortbread cookies, or even chocolate chip cookies for a different flavor profile.
- Add a Layer of Fruit: Add a layer of fresh fruit, such as sliced bananas, strawberries, or blueberries, between the layers of vanilla wafers and creamy mixture.
- Make it Boozy: For an adult version, add a splash of rum or pineapple liqueur to the pineapple mixture.
- Individual Servings: As mentioned before, this dessert is perfect for individual servings. Simply layer the ingredients in small cups or glasses.
- Lower Sugar Option: Use sugar-free pudding mix and reduced-fat whipped topping to reduce the sugar and fat content.
- Nut Allergy Alternative: If you have a nut allergy, simply omit the nuts or substitute with toasted coconut flakes.
Serving Suggestions:
This Pineapple Dream Dessert is perfect for potlucks, picnics, parties, or any occasion where you want a crowd-pleasing dessert. It’s also a great make-ahead dessert, as it tastes even better after it’s been chilled overnight.
Serve it cold, straight from the refrigerator. You can also add a dollop of extra whipped cream or a scoop of vanilla ice cream on top for an extra-special treat.
Enjoy!
Conclusion:
This Pineapple Dream Dessert is truly a must-try, and I’m not just saying that! It’s the perfect balance of creamy, tangy, and sweet, making it an absolute crowd-pleaser. The light and airy texture is incredibly satisfying, and the bright pineapple flavor just screams sunshine and happiness. Seriously, what’s not to love? It’s quick to prepare, requires minimal baking (or even no baking at all, depending on your crust preference!), and is guaranteed to disappear fast at any gathering.
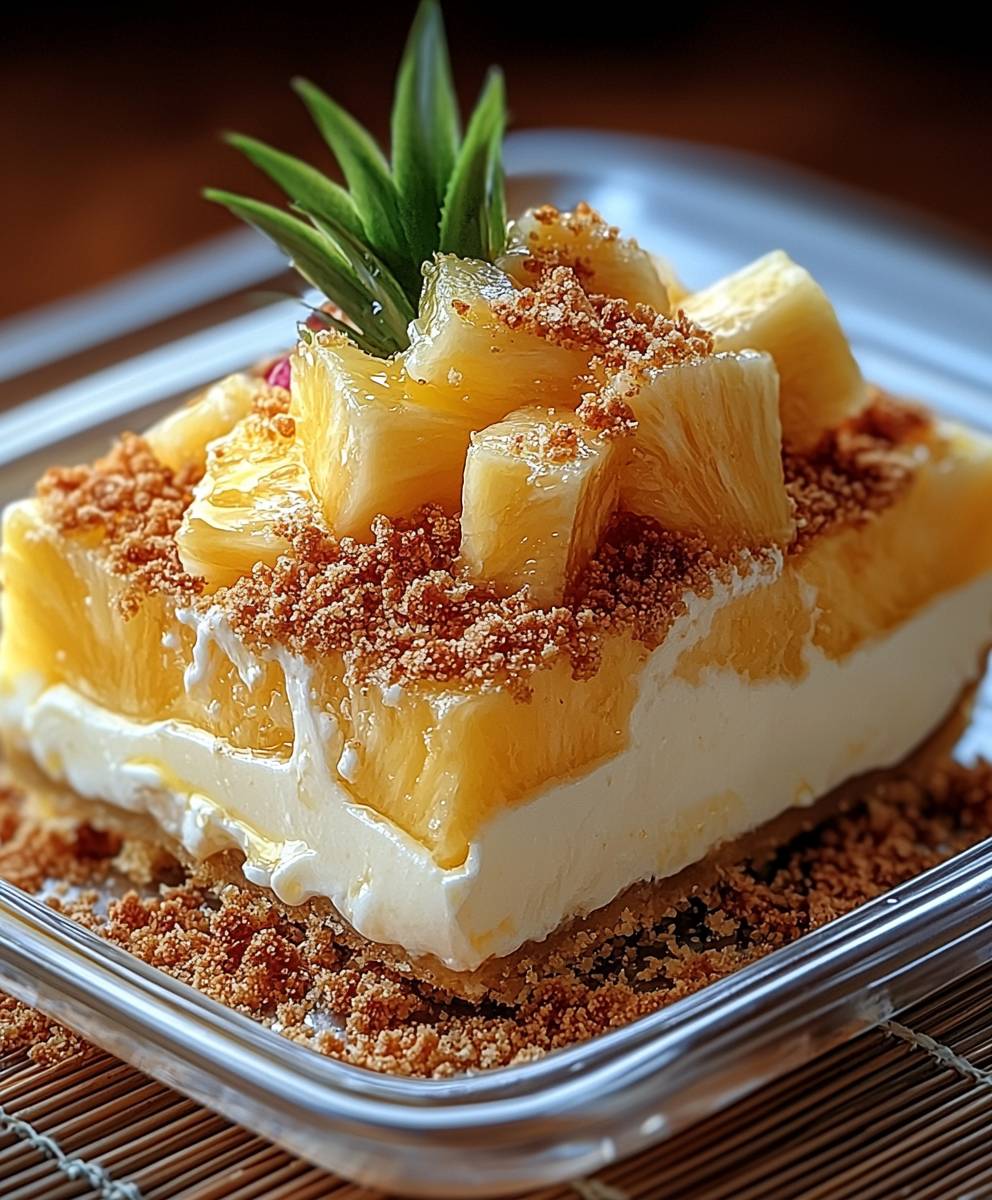
But beyond its ease and deliciousness, this dessert offers a delightful sensory experience. The soft, pillowy cream cheese layer melts in your mouth, followed by the burst of juicy pineapple and the satisfying crunch of the crust. It’s a symphony of textures and flavors that will leave you wanting more. And let’s be honest, who doesn’t need a little bit of sunshine and happiness in their life? This dessert delivers it in spades.
Now, for serving suggestions and variations! I personally love serving this chilled, straight from the refrigerator. It’s incredibly refreshing, especially on a warm day. You can also garnish it with a sprinkle of toasted coconut flakes for added texture and flavor. A few fresh pineapple chunks on top also make for a beautiful presentation.
If you’re feeling adventurous, you can experiment with different crusts. A graham cracker crust is classic, but a shortbread crust or even a crushed vanilla wafer crust would be equally delicious. For a gluten-free option, try using gluten-free graham crackers or a crust made from almond flour and coconut oil.
Another fun variation is to add a layer of whipped cream on top of the cream cheese layer before adding the pineapple. This will make the dessert even lighter and airier. You could also swirl in a bit of pineapple jam or curd into the cream cheese mixture for an extra burst of pineapple flavor.
For a more decadent treat, consider adding a layer of white chocolate shavings on top. The sweetness of the white chocolate complements the tanginess of the pineapple perfectly. You could even drizzle a little melted white chocolate over the top for an extra touch of elegance.
And if you’re looking for a way to make this dessert even easier, you can use canned crushed pineapple instead of fresh pineapple. Just be sure to drain it well before adding it to the dessert.
Ultimately, the possibilities are endless! Feel free to get creative and experiment with different flavors and textures to create your own unique version of this Pineapple Dream Dessert.
I truly believe that this recipe is a winner, and I can’t wait for you to try it. It’s the perfect dessert for any occasion, from casual family gatherings to elegant dinner parties. It’s also a great way to impress your friends and family with your baking skills, even if you’re not a seasoned baker.
So, what are you waiting for? Gather your ingredients, preheat your oven (if you’re baking the crust), and get ready to create a dessert that will have everyone begging for more.
Once you’ve tried this recipe, I would absolutely love to hear about your experience! Please share your photos and comments on social media using [Your Hashtag Here]. Let me know what variations you tried and how they turned out. I’m always looking for new and exciting ways to improve my recipes, and your feedback is invaluable. Happy baking!
Pineapple Dream Dessert: A Tropical Delight Recipe
Classic Pineapple Dream dessert with layers of vanilla wafers, creamy pineapple pudding, sweetened condensed milk, and whipped topping. Easy to make and perfect for any occasion!
Ingredients
- 1 (20 ounce) can crushed pineapple, undrained
- 1 (3.4 ounce) package instant vanilla pudding mix
- 1 (8 ounce) container frozen whipped topping, thawed
- 1 (14 ounce) can sweetened condensed milk
- 1 (12 ounce) package vanilla wafers
- 1/2 cup chopped pecans or walnuts (optional)
- 1/4 cup shredded coconut (optional, for garnish)
- Maraschino cherries (optional, for garnish)
Instructions
- Combine Pineapple and Pudding: In a large bowl, pour in the entire can of crushed pineapple, including the juice. Add the instant vanilla pudding mix to the bowl.
- Whisk Vigorously: Using a whisk, thoroughly combine the pineapple and pudding mix until smooth. Let the mixture sit for about 5 minutes to thicken.
- Incorporate Sweetened Condensed Milk: Pour the entire can of sweetened condensed milk into the pineapple and pudding mixture.
- Gently Fold: Using a rubber spatula, gently fold the sweetened condensed milk into the pineapple mixture.
- Add Whipped Topping: Add the thawed whipped topping to the bowl. Gently fold the whipped topping into the mixture until just combined.
- First Layer of Vanilla Wafers: Arrange a layer of vanilla wafers on the bottom of your chosen dish (trifle bowl or 9×13 inch baking dish). Break wafers as needed to cover the bottom.
- Spread Creamy Mixture: Spoon about one-third of the pineapple and cream mixture over the vanilla wafers, spreading it evenly.
- Second Layer of Vanilla Wafers: Add another layer of vanilla wafers on top of the creamy mixture.
- Spread Creamy Mixture Again: Spoon another one-third of the pineapple and cream mixture over the vanilla wafers, spreading it evenly.
- Final Layer of Vanilla Wafers: Add the final layer of vanilla wafers.
- Top with Remaining Creamy Mixture: Spread the remaining pineapple and cream mixture over the final layer of vanilla wafers.
- Chill Thoroughly: Cover the dish with plastic wrap and refrigerate for at least 4 hours, or preferably overnight.
- Garnish (Optional): Before serving, garnish with chopped pecans or walnuts, shredded coconut, and maraschino cherries, if desired.
Notes
- Try using other canned fruits, such as mandarin oranges or peaches, in place of the pineapple. Just make sure to drain them well.
- Experiment with different flavors of instant pudding mix, such as banana cream, coconut cream, or cheesecake.
- Instead of vanilla wafers, use crushed graham crackers, shortbread cookies, or even chocolate chip cookies for a different flavor profile.
- Add a layer of fresh fruit, such as sliced bananas, strawberries, or blueberries, between the layers of vanilla wafers and creamy mixture.
- For an adult version, add a splash of rum or pineapple liqueur to the pineapple mixture.
- As mentioned before, this dessert is perfect for individual servings. Simply layer the ingredients in small cups or glasses.
- Use sugar-free pudding mix and reduced-fat whipped topping to reduce the sugar and fat content.
- If you have a nut allergy, simply omit the nuts or substitute with toasted coconut flakes.