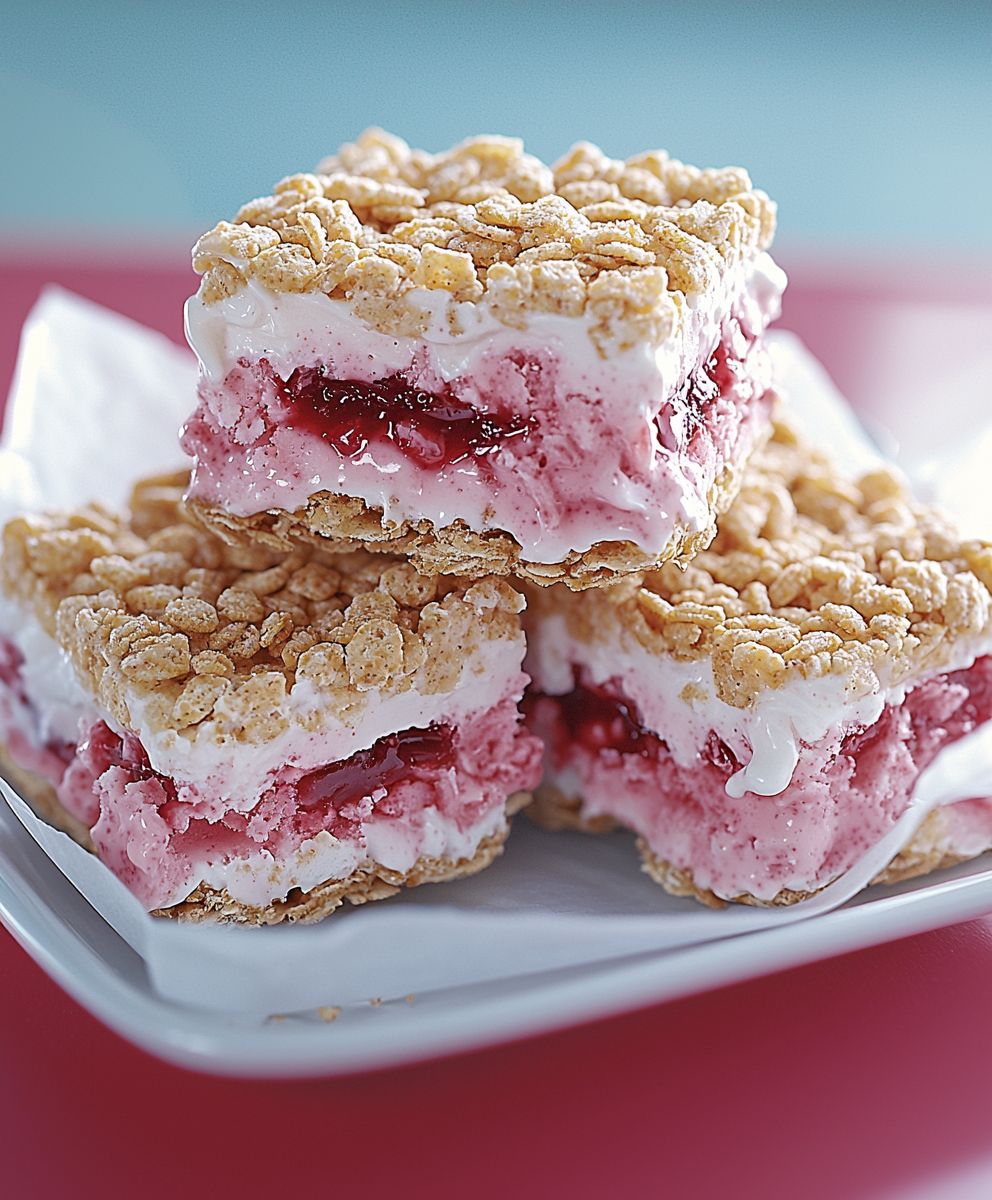
PB and J Ice Cream: Prepare to have your childhood reimagined in the most delicious way possible! Forget everything you thought you knew about this classic combination because we’re taking it to a whole new level of frozen delight. Imagine the creamy, nutty goodness of peanut butter ice cream swirled with ribbons of sweet and tangy homemade strawberry jam. Sounds incredible, right?
The humble PB&J sandwich has been a lunchbox staple for generations, a symbol of comfort and simple pleasures. But its roots go back further than you might think! Peanut butter, as we know it, gained popularity in the late 19th century, and by the early 20th century, it was being paired with jelly in sandwiches. This iconic duo quickly became a beloved American classic, transcending social classes and age groups.
What makes the PB&J so universally appealing? It’s the perfect balance of flavors and textures: the savory nuttiness of peanut butter complements the sweet, fruity jam, while the smooth creaminess contrasts with the slight chewiness of the bread. Now, imagine all of that, but colder, creamier, and even more decadent! People adore this dish because it is a nostalgic treat that brings back happy memories. This PB and J Ice Cream recipe captures the essence of that beloved sandwich in a scoopable, spoonable form. It’s a fun, easy-to-make dessert that’s guaranteed to be a hit with kids and adults alike. Get ready to experience a taste of pure joy!
Ingredients:
- 1 ½ cups heavy cream
- ¾ cup whole milk
- ¾ cup granulated sugar
- ¼ teaspoon salt
- 1 teaspoon vanilla extract
- ½ cup creamy peanut butter (high-quality, no-stir preferred)
- ½ cup grape jelly (or your favorite flavor!)
- ¼ cup chopped roasted peanuts (for garnish, optional)
- 2 tablespoons peanut oil (optional, for swirling)
Preparing the Peanut Butter Base:
Alright, let’s get started with the peanut butter base. This is where the magic happens, and we infuse that creamy, nutty goodness into our ice cream. Trust me, using a good quality peanut butter makes all the difference!
- Combine Dairy, Sugar, and Salt: In a medium saucepan, whisk together the heavy cream, whole milk, granulated sugar, and salt. Make sure the sugar is well incorporated before moving on. We don’t want any gritty surprises in our final product!
- Heat the Mixture: Place the saucepan over medium heat. Stir constantly until the sugar is completely dissolved and the mixture is steaming gently. Do not let it boil! We’re aiming for a smooth, homogenous base.
- Incorporate Peanut Butter: Remove the saucepan from the heat. Add the peanut butter to the warm cream mixture. Whisk vigorously until the peanut butter is fully melted and evenly distributed. This might take a little elbow grease, but keep at it! You want a perfectly smooth, peanut butter-infused base.
- Add Vanilla Extract: Stir in the vanilla extract. This enhances the overall flavor and adds a touch of warmth to the ice cream.
- Chill the Base: Pour the peanut butter ice cream base into an airtight container. Cover and refrigerate for at least 4 hours, or preferably overnight. This chilling period is crucial! It allows the flavors to meld together and the base to properly cool, which will result in a smoother, creamier ice cream.
Preparing the Jelly Swirl:
Now, let’s move on to the jelly swirl! This is where we add that classic PB&J element. You can use any flavor of jelly you like, but I personally find that grape jelly works best. It complements the peanut butter perfectly and adds a beautiful color contrast.
- Warm the Jelly (Optional): If your jelly is particularly thick, you can gently warm it in a small saucepan over low heat or in the microwave for a few seconds. This will make it easier to swirl into the ice cream. Be careful not to overheat it, though! We just want to loosen it up a bit.
- Prepare the Peanut Oil (Optional): If you want to create a more defined swirl, you can mix the jelly with the peanut oil. This will help to keep the jelly from mixing completely with the ice cream base, resulting in distinct ribbons of flavor.
Churning the Ice Cream:
Time to churn! This is where the magic really happens, and our liquid base transforms into creamy, delicious ice cream. Make sure your ice cream maker bowl is properly frozen according to the manufacturer’s instructions. This is essential for successful churning.
- Pour the Chilled Base: Pour the chilled peanut butter ice cream base into your ice cream maker.
- Churn According to Instructions: Churn according to the manufacturer’s instructions for your ice cream maker. This usually takes about 20-30 minutes, but it can vary depending on your machine. The ice cream is ready when it has a soft-serve consistency.
Assembling the PB&J Ice Cream:
Now for the fun part assembling our PB&J masterpiece! This is where we layer the ice cream and jelly swirl to create that classic flavor combination.
- Layer Ice Cream and Jelly: Transfer about one-third of the churned peanut butter ice cream to a freezer-safe container. Drizzle about one-third of the jelly over the ice cream.
- Repeat Layers: Repeat the layering process with the remaining ice cream and jelly, ending with a layer of ice cream on top.
- Create Swirls: Use a knife or skewer to gently swirl the jelly into the ice cream. Be careful not to overmix, as this will muddy the colors and flavors. We want distinct ribbons of jelly running through the ice cream.
- Add Peanut Garnish (Optional): Sprinkle the chopped roasted peanuts over the top of the ice cream. This adds a nice crunch and visual appeal.
- Freeze to Harden: Cover the container tightly and freeze for at least 2-3 hours, or preferably overnight, to allow the ice cream to harden completely. This will give it a scoopable consistency.
Tips and Tricks for the Best PB&J Ice Cream:
Here are a few extra tips and tricks to help you make the best PB&J ice cream possible:
- Use High-Quality Ingredients: As with any recipe, using high-quality ingredients will make a big difference in the final product. Opt for a good quality peanut butter, fresh dairy, and your favorite brand of jelly.
- Don’t Overchurn: Overchurning the ice cream can result in a grainy texture. Churn until it reaches a soft-serve consistency, then transfer it to the freezer to harden.
- Adjust Sweetness to Taste: If you prefer a less sweet ice cream, you can reduce the amount of sugar in the base.
- Experiment with Flavors: Don’t be afraid to experiment with different flavors of jelly! Strawberry, raspberry, or even blackberry jelly would all be delicious in this ice cream.
- Add Other Mix-Ins: Get creative with your mix-ins! You could add chopped peanut butter cups, mini marshmallows, or even crushed pretzels for added texture and flavor.
- Proper Storage: Store your homemade PB&J ice cream in an airtight container in the freezer for up to 2 weeks. After that, the texture may start to deteriorate.
- Serving Suggestions: Serve your PB&J ice cream in a cone, in a bowl, or even as part of an ice cream sundae. It’s also delicious served with a warm brownie or cookie.
Troubleshooting:
Sometimes things don’t go exactly as planned. Here are some common issues you might encounter and how to fix them:
- Ice Cream is Grainy: This can be caused by overchurning, not chilling the base properly, or using low-quality ingredients. Make sure to chill the base for at least 4 hours, and don’t overchurn the ice cream.
- Ice Cream is Too Hard: This can be caused by freezing the ice cream for too long or by not having enough fat in the base. Make sure to use the correct ratio of heavy cream to milk, and don’t freeze the ice cream for more than 2 weeks.
- Jelly Swirl Disappears: This can be caused by overmixing the jelly into the ice cream. Be gentle when swirling the jelly, and don’t overmix.
- Peanut Butter Doesn’t Incorporate Smoothly: Make sure the cream mixture is warm enough to melt the peanut butter completely. Whisk vigorously until the peanut butter is fully incorporated.
Variations:
Want to put your own spin on this recipe? Here are a few variations to try:
- Peanut Butter Cup PB&J Ice Cream: Add chopped peanut butter cups to the ice cream during the layering process.
- Pretzel PB&J Ice Cream: Add crushed pretzels to the ice cream for a salty-sweet crunch.
- Chocolate PB&J Ice Cream: Add cocoa powder to the peanut butter base for a chocolatey twist.
- Vegan PB&J Ice Cream: Use coconut cream and plant-based milk to make a vegan version of this ice cream.
- Spicy PB&J Ice Cream: Add a pinch of cayenne pepper to the peanut butter base for a spicy kick.
I hope you enjoy this recipe for PB&J ice cream! It’s a fun and delicious way to enjoy a classic flavor combination. Happy churning!
Conclusion:
So, there you have it! This isn’t just any ice cream; it’s a nostalgic trip down memory lane, reimagined as a creamy, dreamy dessert. I truly believe this PB and J ice cream is a must-try for anyone who loves the classic combination, or anyone looking for a fun and unique ice cream experience. The salty peanut butter swirl perfectly complements the sweet and fruity jelly ribbons, creating a flavor explosion that’s both comforting and exciting. It’s the kind of ice cream that makes you smile with every spoonful.
But why is this recipe a must-try? Beyond the incredible flavor, it’s surprisingly easy to make. You don’t need any fancy equipment, just a little patience while the ice cream churns. Plus, it’s a fantastic way to use up any leftover peanut butter or jelly you might have lurking in your pantry. It’s also a guaranteed crowd-pleaser, perfect for summer barbecues, birthday parties, or just a cozy night in. Imagine the look on your friends’ faces when you serve them homemade PB and J ice cream! They’ll be amazed by your culinary creativity.
And the best part? You can totally customize it to your liking! Feeling adventurous? Try using different types of jelly. Grape jelly is the classic choice, but strawberry, raspberry, or even blackberry jelly would work beautifully. For a more sophisticated twist, consider using a gourmet fruit preserve. As for the peanut butter, you can use creamy or crunchy, depending on your preference. If you’re feeling extra indulgent, add a drizzle of melted chocolate or a sprinkle of chopped peanuts on top.
Here are a few serving suggestions to get you started:
Serving Suggestions:
* Classic Scoop: Simply scoop the ice cream into a bowl or cone and enjoy!
* PB and J Sundae: Top with whipped cream, chopped peanuts, and a cherry.
* Ice Cream Sandwich: Sandwich the ice cream between two graham crackers or cookies.
* Milkshake: Blend the ice cream with milk for a delicious and refreshing milkshake.
* Affogato: Pour a shot of espresso over a scoop of the ice cream for a delightful coffee-infused treat.
Variations to Explore:
* Nut-Free Option: Substitute sunflower seed butter for peanut butter.
* Vegan Version: Use plant-based ice cream, peanut butter, and jelly.
* Chocolate Swirl: Add a swirl of melted chocolate to the ice cream base.
* Pretzel Pieces: Fold in crushed pretzel pieces for a salty and crunchy texture.
* Brownie Bites: Incorporate small brownie bites for an extra decadent treat.
I’m so excited for you to try this recipe! I know you’re going to love it as much as I do. It’s a fun, easy, and delicious way to enjoy the classic PB and J flavor in a whole new way. Don’t be afraid to experiment with different variations and make it your own.
So, what are you waiting for? Grab your ingredients, dust off your ice cream maker (or use the no-churn method!), and get ready to create some magic. Once you’ve made your own batch of this incredible PB and J ice cream, I’d love to hear about your experience! Share your photos and stories with me in the comments below. Let me know what variations you tried and what you thought of the recipe. Happy churning! I can’t wait to see what you create!
PB and J Ice Cream: The Ultimate Guide to Making This Delicious Treat
Creamy peanut butter ice cream swirled with your favorite jelly for a nostalgic PB&J treat!
Ingredients
- 1 ½ cups heavy cream
- ¾ cup whole milk
- ¾ cup granulated sugar
- ¼ teaspoon salt
- 1 teaspoon vanilla extract
- ½ cup creamy peanut butter (high-quality, no-stir preferred)
- ½ cup grape jelly (or your favorite flavor!)
- ¼ cup chopped roasted peanuts (for garnish, optional)
- 2 tablespoons peanut oil (optional, for swirling)
Instructions
- Combine Dairy, Sugar, and Salt: In a medium saucepan, whisk together the heavy cream, whole milk, granulated sugar, and salt. Make sure the sugar is well incorporated.
- Heat the Mixture: Place the saucepan over medium heat. Stir constantly until the sugar is completely dissolved and the mixture is steaming gently. Do not let it boil.
- Incorporate Peanut Butter: Remove the saucepan from the heat. Add the peanut butter to the warm cream mixture. Whisk vigorously until the peanut butter is fully melted and evenly distributed.
- Add Vanilla Extract: Stir in the vanilla extract.
- Chill the Base: Pour the peanut butter ice cream base into an airtight container. Cover and refrigerate for at least 4 hours, or preferably overnight.
- Warm the Jelly (Optional): If your jelly is particularly thick, you can gently warm it in a small saucepan over low heat or in the microwave for a few seconds.
- Prepare the Peanut Oil (Optional): If you want to create a more defined swirl, you can mix the jelly with the peanut oil.
- Pour the Chilled Base: Pour the chilled peanut butter ice cream base into your ice cream maker.
- Churn According to Instructions: Churn according to the manufacturer’s instructions for your ice cream maker. This usually takes about 20-30 minutes, but it can vary depending on your machine. The ice cream is ready when it has a soft-serve consistency.
- Layer Ice Cream and Jelly: Transfer about one-third of the churned peanut butter ice cream to a freezer-safe container. Drizzle about one-third of the jelly over the ice cream.
- Repeat Layers: Repeat the layering process with the remaining ice cream and jelly, ending with a layer of ice cream on top.
- Create Swirls: Use a knife or skewer to gently swirl the jelly into the ice cream. Be careful not to overmix.
- Add Peanut Garnish (Optional): Sprinkle the chopped roasted peanuts over the top of the ice cream.
- Freeze to Harden: Cover the container tightly and freeze for at least 2-3 hours, or preferably overnight, to allow the ice cream to harden completely.
Notes
- Use high-quality ingredients for the best flavor.
- Don’t overchurn the ice cream.
- Adjust sweetness to taste by reducing the sugar.
- Experiment with different jelly flavors.
- Add other mix-ins like chopped peanut butter cups or pretzels.
- Store in an airtight container in the freezer for up to 2 weeks.
- Serve in a cone, bowl, or as part of a sundae.

