Nut milk hack: are you ready to ditch the store-bought cartons and unlock the creamiest, most delicious plant-based milk you’ve ever tasted? I’m about to share a game-changing secret that will revolutionize your morning coffee, smoothies, and baking endeavors. Forget soaking overnight and messy straining this method is so quick and easy, you’ll wonder why you haven’t been doing it all along!
While nut milk has surged in popularity recently, its roots stretch back centuries. Ancient cultures, particularly in regions where dairy was scarce, relied on nuts and seeds to create nourishing beverages. These early versions were often laborious to prepare, involving grinding and soaking for extended periods. But thankfully, we’ve come a long way!
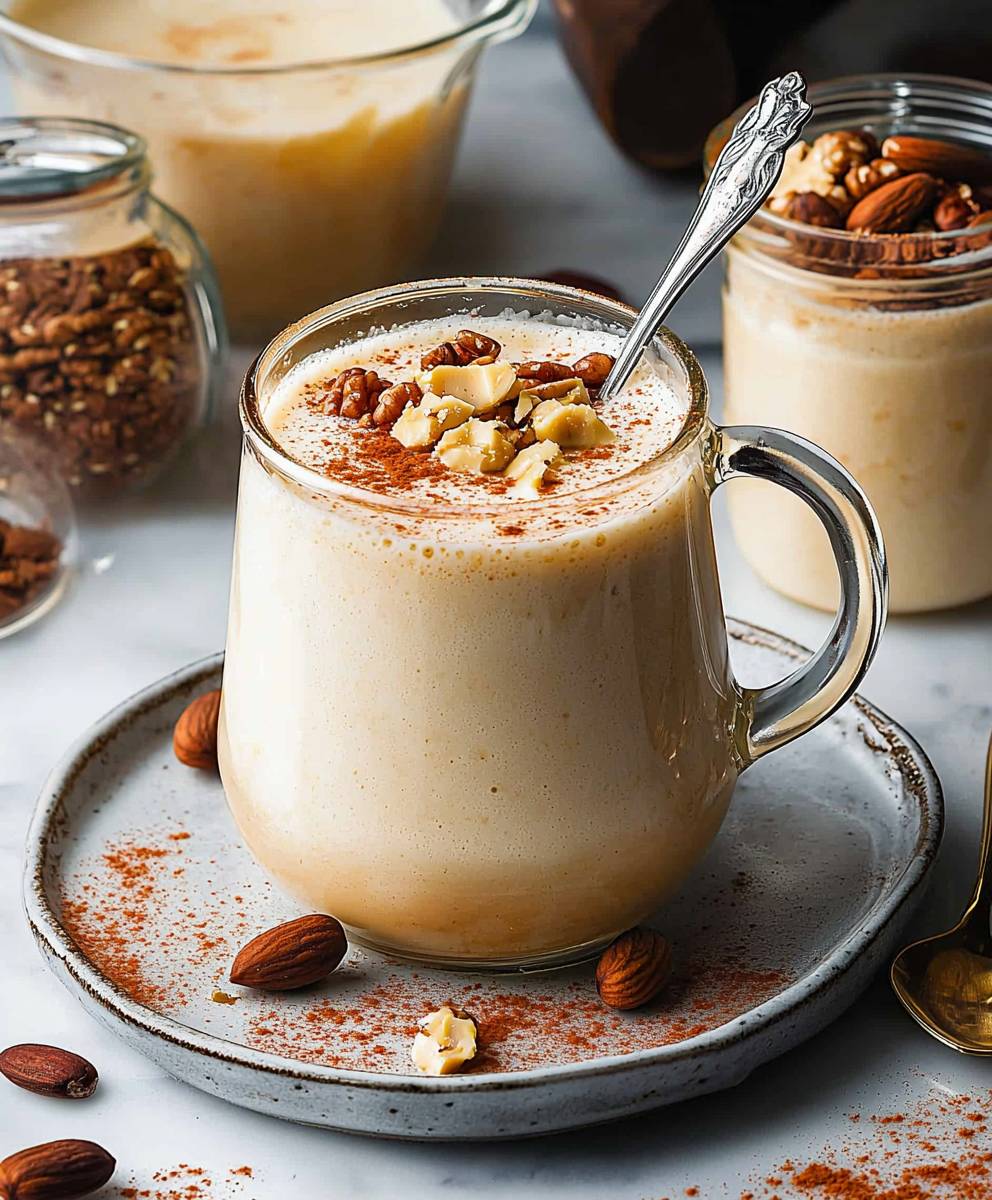
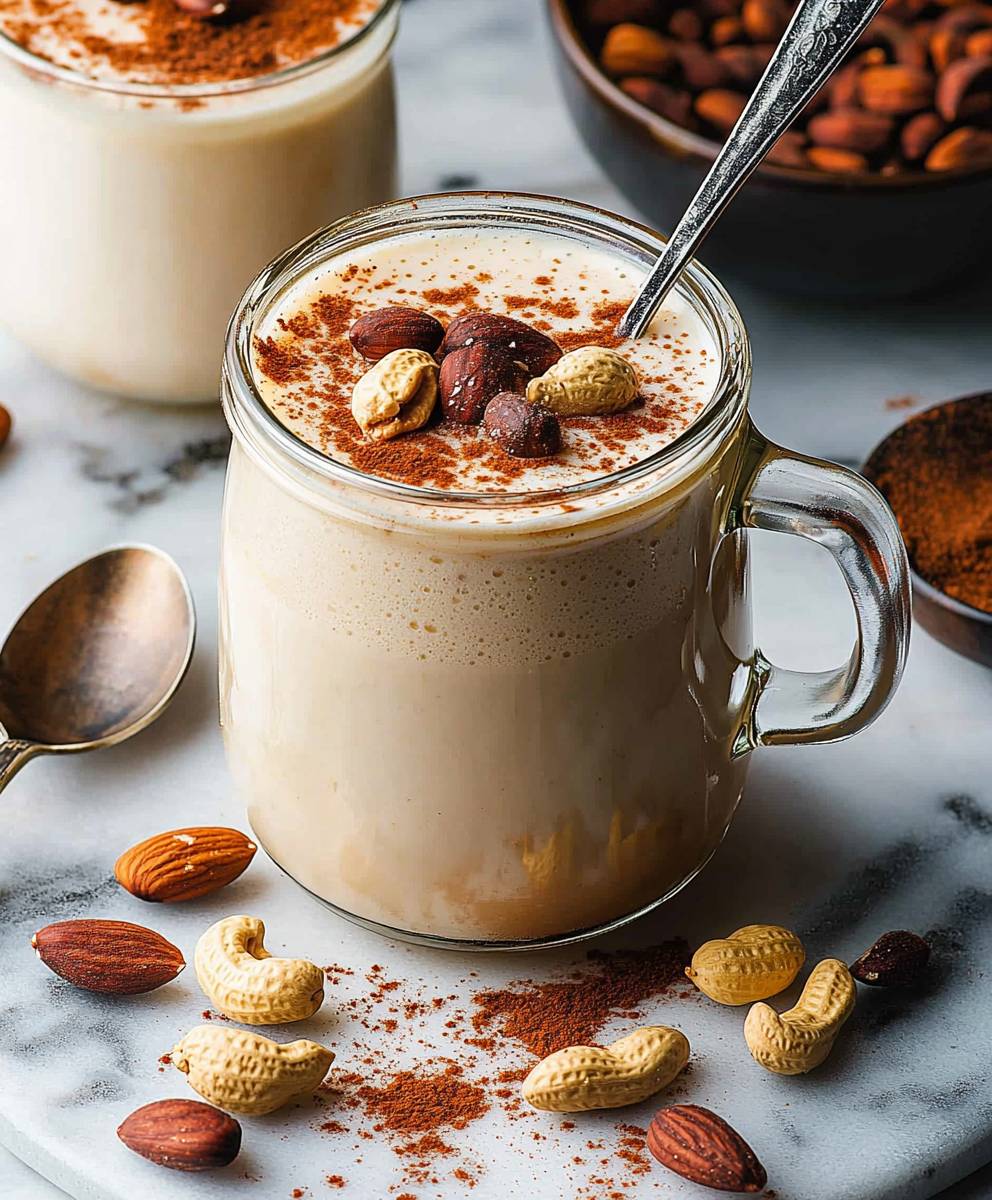
People adore nut milk for its versatility and health benefits. It’s a fantastic alternative for those with lactose intolerance or dairy allergies, and it’s packed with vitamins, minerals, and healthy fats. But let’s be honest, the taste and texture are what truly win us over. The subtle sweetness and creamy consistency make it a delightful addition to countless recipes. And now, with this nut milk hack, you can enjoy all those benefits without the fuss. Get ready to say goodbye to additives and preservatives and hello to homemade goodness in minutes!
Ingredients:
- 1 cup raw nuts (almonds, cashews, walnuts, macadamia nuts, or a mix)
- 4 cups filtered water
- Optional: 1-2 pitted dates (for sweetness)
- Optional: 1/2 teaspoon vanilla extract (for flavor)
- Optional: Pinch of sea salt (enhances flavor)
Soaking the Nuts (Optional, but Recommended):
While you *can* make nut milk without soaking, I highly recommend it! Soaking helps to soften the nuts, making them easier to blend and resulting in a creamier milk. It also helps to reduce phytic acid, which can inhibit nutrient absorption.
- Rinse the Nuts: Place the raw nuts in a bowl and rinse them thoroughly under cold water. This removes any dust or debris.
- Soak in Water: Cover the nuts with plenty of filtered water (at least twice the volume of the nuts).
- Soaking Time: Let the nuts soak for at least 4 hours, or preferably overnight (8-12 hours). You can soak them in the refrigerator to prevent fermentation, especially in warmer climates.
- Drain and Rinse Again: After soaking, drain the nuts and rinse them thoroughly under cold water. This removes any remaining phytic acid and any residue from the soaking process.
Blending the Nut Milk:
This is where the magic happens! A high-speed blender will give you the best results, but a regular blender will work too you might just need to blend for a bit longer and strain more thoroughly.
- Combine Ingredients: Place the soaked and rinsed nuts (or unsoaked nuts if you skipped the soaking step) into your blender. Add the 4 cups of filtered water.
- Add Sweetener and Flavorings (Optional): If you’re using dates for sweetness, add them to the blender now. If you’re using vanilla extract and/or sea salt, add those as well. Remember, you can always add more sweetener or flavorings later, so start with a small amount.
- Blend Until Smooth: Blend the mixture on high speed until it’s completely smooth and creamy. This usually takes about 1-2 minutes in a high-speed blender, and potentially longer in a regular blender. You should see a milky white liquid with very few (if any) visible nut particles.
- Check the Consistency: If the milk seems too thick, you can add a little more water and blend again. If it’s too thin, you can add a few more nuts and blend again.
Straining the Nut Milk:
Straining removes the pulp from the nut milk, resulting in a smoother, more palatable beverage. You can use a nut milk bag, cheesecloth, or even a fine-mesh sieve lined with a clean kitchen towel.
- Prepare Your Straining Setup: Place your nut milk bag (or cheesecloth-lined sieve) over a large bowl or pitcher. Make sure the bag or sieve is securely positioned so it doesn’t collapse when you pour the milk in.
- Pour the Milk: Carefully pour the blended nut milk into the nut milk bag or sieve.
- Strain the Milk: Gently squeeze the nut milk bag (or press down on the pulp in the sieve) to extract as much liquid as possible. Be patient and avoid squeezing too hard, as this can force small particles of pulp through the bag or sieve.
- Collect the Pulp: Once you’ve extracted all the liquid, you’ll be left with a mass of nut pulp. Don’t throw this away! You can use it in other recipes (see below for ideas).
Flavoring and Adjusting (Optional):
Now’s the time to taste your nut milk and adjust the flavor to your liking. You can add more sweetener, vanilla extract, or other flavorings. You can also adjust the consistency by adding more water if needed.
- Taste and Adjust: Pour a small amount of the strained nut milk into a glass and taste it.
- Add Sweetener (if needed): If the milk isn’t sweet enough, add a little more date syrup, maple syrup, honey, or your preferred sweetener. Stir well and taste again.
- Add Flavorings (if desired): If you want to add more vanilla extract, cinnamon, or other flavorings, add them now. Stir well and taste again.
- Adjust Consistency (if needed): If the milk is too thick, add a little more water and stir well. If it’s too thin, you can try adding a small amount of nut butter (like almond butter or cashew butter) and blending again.
Storing the Nut Milk:
Homemade nut milk is best consumed within a few days, as it doesn’t contain any preservatives. Store it in an airtight container in the refrigerator.
- Pour into a Container: Pour the strained and flavored nut milk into an airtight container, such as a glass jar or a sealed pitcher.
- Refrigerate: Store the nut milk in the refrigerator for up to 3-5 days.
- Shake Before Serving: Before serving, shake the nut milk well, as it may separate slightly during storage.
Using the Nut Pulp:
Don’t let that leftover nut pulp go to waste! It’s a great source of fiber and nutrients, and it can be used in a variety of recipes.
- Add to Smoothies: Blend a spoonful or two of nut pulp into your smoothies for added fiber and texture.
- Make Nut Pulp Flour: Spread the nut pulp on a baking sheet and bake it at a low temperature (around 170°F or 77°C) until it’s completely dry. Then, grind it into a fine flour using a food processor or blender. You can use this flour in baking recipes.
- Add to Oatmeal or Yogurt: Stir a spoonful of nut pulp into your oatmeal or yogurt for added fiber and nutrients.
- Make Energy Bites: Combine the nut pulp with dates, nuts, seeds, and other ingredients to make delicious and healthy energy bites.
- Add to Veggie Burgers: Use the nut pulp as a binder in veggie burger recipes.
- Compost It: If you can’t use the nut pulp right away, you can compost it.
Tips and Tricks for Perfect Nut Milk:
- Use High-Quality Nuts: The quality of your nuts will directly impact the flavor of your nut milk. Use fresh, raw nuts for the best results.
- Experiment with Different Nuts: Try making nut milk with different types of nuts to find your favorite flavor. Almond milk is a classic, but cashew milk is incredibly creamy, and macadamia nut milk is rich and decadent.
- Adjust the Water Ratio: The amount of water you use will affect the consistency of your nut milk. Use less water for a thicker milk, and more water for a thinner milk.
- Don’t Over-Blend: Over-blending can heat up the nuts and result in a bitter flavor. Blend just until the mixture is smooth.
- Strain Thoroughly: Straining is essential for removing the pulp and creating a smooth, creamy milk.
- Use Filtered Water: Filtered water will give you the best-tasting nut milk.
- Add a Pinch of Salt: A pinch of sea salt can enhance the flavor of the nut milk.
- Get Creative with Flavorings: Experiment with different flavorings to create your own unique nut milk recipes. Try adding cinnamon, nutmeg, cocoa powder, or even a touch of maple syrup.
- Make it Chocolate: Add 1-2 tablespoons of cocoa powder to the blender for a delicious chocolate nut milk.
- Make it Vanilla: Add 1/2 teaspoon of vanilla extract to the blender for a classic vanilla nut milk.
- Make it Spiced: Add a pinch of cinnamon, nutmeg, or cardamom to the blender for a warm and comforting spiced nut milk.
- Freeze for Later: If you have leftover nut milk that you won’t be able to use within a few days, you can freeze it in ice cube trays or small containers. Thaw it in the refrigerator before using.
Troubleshooting:
- Grainy Nut Milk: If your nut milk is grainy, it could be due to not blending it long enough, or not straining it thoroughly enough. Try blending it for a longer period of time, and make sure you’re using a fine-
Conclusion:
So there you have it! This isn’t just another nut milk recipe; it’s a game-changer. It’s the nut milk hack you’ve been waiting for a way to enjoy creamy, delicious, and incredibly fresh nut milk without all the soaking, straining, and fuss. Seriously, once you taste the difference, you’ll never go back to store-bought again. The flavor is just so much brighter and cleaner, and you have complete control over the ingredients. Why is this a must-try? Because it’s ridiculously easy, incredibly fast, and the results are simply outstanding. We’re talking about homemade nut milk in minutes, not hours. Plus, you’re avoiding all those unnecessary additives and preservatives that often lurk in commercially produced versions. It’s healthier, tastier, and more sustainable a win-win-win! But the best part? The versatility! This recipe is just a starting point. Feel free to experiment with different nuts and seeds. Almonds, cashews, walnuts, pecans, even sunflower seeds they all work beautifully. And don’t be afraid to get creative with the flavorings. A pinch of sea salt enhances the natural sweetness of the nuts. A dash of vanilla extract adds a touch of warmth and complexity. A sprinkle of cinnamon or nutmeg creates a cozy, comforting flavor. For a chocolatey treat, try adding a tablespoon of cocoa powder and a touch of maple syrup. The possibilities are endless! Here are a few serving suggestions to get you started: * Enjoy it straight from the fridge: It’s a refreshing and healthy beverage on its own. * Use it in your coffee or tea: It adds a creamy richness without the dairy. * Pour it over your cereal or granola: A delicious and nutritious breakfast. * Blend it into smoothies: It creates a super creamy and flavorful base. * Use it in baking: Substitute it for dairy milk in your favorite recipes. * Make a delicious vegan cream sauce: Cashew nut milk is especially good for this. And if you’re feeling adventurous, try making your own nut milk yogurt or cheese! The fresh, clean flavor of this homemade nut milk will take your creations to the next level. I truly believe that everyone should experience the joy of making their own nut milk. It’s empowering, it’s delicious, and it’s so much better for you. So, I urge you to give this recipe a try. You won’t regret it! Once you’ve made your first batch, I’d love to hear about your experience. What nuts did you use? What flavorings did you add? How did you enjoy it? Share your creations and variations in the comments below. Let’s inspire each other to create even more delicious and healthy nut milk recipes! I can’t wait to see what you come up with. Happy nut milk making! Print
Nut Milk Hack: The Ultimate Guide to Easy & Delicious Homemade Nut Milk
- Total Time: 7 minutes
- Yield: 4 cups 1x
Description
Make creamy, dairy-free nut milk at home with nuts, water, and optional sweeteners/flavorings. Customize to your taste and enjoy!
Ingredients
- 1 cup raw nuts (almonds, cashews, walnuts, macadamia nuts, or a mix)
- 4 cups filtered water
- Optional: 1-2 pitted dates (for sweetness)
- Optional: 1/2 teaspoon vanilla extract (for flavor)
- Optional: Pinch of sea salt (enhances flavor)
Instructions
- Rinse the Nuts: Place the raw nuts in a bowl and rinse them thoroughly under cold water.
- Soak in Water: Cover the nuts with plenty of filtered water (at least twice the volume of the nuts).
- Soaking Time: Let the nuts soak for at least 4 hours, or preferably overnight (8-12 hours). You can soak them in the refrigerator to prevent fermentation, especially in warmer climates.
- Drain and Rinse Again: After soaking, drain the nuts and rinse them thoroughly under cold water.
- Combine Ingredients: Place the soaked and rinsed nuts (or unsoaked nuts if you skipped the soaking step) into your blender. Add the 4 cups of filtered water.
- Add Sweetener and Flavorings (Optional): If you’re using dates for sweetness, add them to the blender now. If you’re using vanilla extract and/or sea salt, add those as well.
- Blend Until Smooth: Blend the mixture on high speed until it’s completely smooth and creamy. This usually takes about 1-2 minutes in a high-speed blender, and potentially longer in a regular blender.
- Check the Consistency: If the milk seems too thick, you can add a little more water and blend again. If it’s too thin, you can add a few more nuts and blend again.
- Prepare Your Straining Setup: Place your nut milk bag (or cheesecloth-lined sieve) over a large bowl or pitcher.
- Pour the Milk: Carefully pour the blended nut milk into the nut milk bag or sieve.
- Strain the Milk: Gently squeeze the nut milk bag (or press down on the pulp in the sieve) to extract as much liquid as possible.
- Collect the Pulp: Set the nut pulp aside for later use (see notes).
- Taste and Adjust: Pour a small amount of the strained nut milk into a glass and taste it.
- Add Sweetener (if needed): If the milk isn’t sweet enough, add a little more date syrup, maple syrup, honey, or your preferred sweetener. Stir well and taste again.
- Add Flavorings (if desired): If you want to add more vanilla extract, cinnamon, or other flavorings, add them now. Stir well and taste again.
- Adjust Consistency (if needed): If the milk is too thick, add a little more water and stir well. If it’s too thin, you can try adding a small amount of nut butter (like almond butter or cashew butter) and blending again.
- Pour into a Container: Pour the strained and flavored nut milk into an airtight container, such as a glass jar or a sealed pitcher.
- Refrigerate: Store the nut milk in the refrigerator for up to 3-5 days.
- Shake Before Serving: Before serving, shake the nut milk well, as it may separate slightly during storage.
Notes
- Soaking: Soaking the nuts is highly recommended for a creamier milk and to reduce phytic acid.
- Blending: A high-speed blender works best, but a regular blender will work too.
- Straining: Use a nut milk bag, cheesecloth, or fine-mesh sieve.
- Nut Pulp: Don’t discard the nut pulp! Use it in smoothies, make nut pulp flour, add it to oatmeal or yogurt, make energy bites, add it to veggie burgers, or compost it.
- Flavor Variations: Get creative with flavorings like cinnamon, nutmeg, cocoa powder, or maple syrup.
- Troubleshooting: If your nut milk is grainy, blend it longer and strain it thoroughly.
- Prep Time: 5 minutes
- Cook Time: 2 minutes