Maple Pecan Sticky Buns: Prepare to enter a realm of unparalleled indulgence! Imagine waking up to the aroma of warm, caramelized maple syrup mingling with the nutty fragrance of toasted pecans, all enveloping a soft, pillowy dough. These aren’t just any sticky buns; they’re a symphony of flavors and textures that will transform your breakfast or brunch into a truly special occasion.
The history of sticky buns is as rich and layered as the pastry itself. While variations exist across cultures, the Pennsylvania Dutch are often credited with popularizing this delectable treat in America. Their version, known as “Schnecken,” meaning snails, reflects the coiled shape of the buns. Over time, regional adaptations emerged, incorporating ingredients like pecans and, of course, the star of our show: maple syrup.
What is it about Maple Pecan Sticky Buns that makes them so irresistible? It’s the perfect balance of sweet and savory, the satisfying chewiness of the dough, and the delightful crunch of the pecans. The maple syrup adds a depth of flavor that’s both comforting and sophisticated. Plus, they’re surprisingly easy to make at home! Whether you’re looking to impress your guests or simply treat yourself, these Maple Pecan Sticky Buns are guaranteed to be a crowd-pleaser. Get ready to experience a taste of pure bliss!
Ingredients:
- For the Dough:
- 3 ½ cups (420g) all-purpose flour, plus more for dusting
- ¼ cup (50g) granulated sugar
- 1 teaspoon salt
- 2 ¼ teaspoons (1 packet) active dry yeast
- ¾ cup (180ml) whole milk, warmed to 110-115°F (43-46°C)
- ¼ cup (60ml) water, warmed to 110-115°F (43-46°C)
- 4 tablespoons (57g) unsalted butter, melted and slightly cooled
- 1 large egg, lightly beaten
- For the Maple Pecan Filling:
- ½ cup (1 stick, 113g) unsalted butter, softened
- ½ cup (100g) packed light brown sugar
- ¼ cup (60ml) maple syrup, pure
- 1 teaspoon ground cinnamon
- ½ teaspoon ground nutmeg
- ¼ teaspoon salt
- 1 cup (100g) chopped pecans, toasted
- For the Maple Pecan Topping:
- ½ cup (1 stick, 113g) unsalted butter
- ¾ cup (150g) packed light brown sugar
- ½ cup (120ml) maple syrup, pure
- ¼ teaspoon salt
- 1 ½ cups (150g) pecan halves
Preparing the Dough:
- In the bowl of a stand mixer fitted with the dough hook attachment, whisk together the flour, sugar, and salt.
- In a separate bowl, combine the warm milk, warm water, yeast, melted butter, and egg. Make sure your milk and water are not too hot, or they will kill the yeast! Aim for that 110-115°F range.
- Pour the wet ingredients into the dry ingredients and mix on low speed until a shaggy dough forms.
- Increase the speed to medium and knead the dough for 6-8 minutes, or until it is smooth and elastic. The dough should pull away from the sides of the bowl. If the dough seems too sticky, add flour, one tablespoon at a time, until it reaches the right consistency.
- Form the dough into a ball and place it in a lightly oiled bowl, turning to coat.
- Cover the bowl with plastic wrap or a clean kitchen towel and let it rise in a warm place for 1-1.5 hours, or until doubled in size. I like to put mine in a slightly warmed oven (turned off, of course!) to create a nice, cozy environment.
Making the Maple Pecan Filling:
- While the dough is rising, prepare the filling. In a medium bowl, cream together the softened butter, brown sugar, maple syrup, cinnamon, nutmeg, and salt until smooth and well combined. I find an electric mixer works best for this, but you can definitely do it by hand if you’re feeling ambitious!
- Stir in the chopped toasted pecans. Set aside.
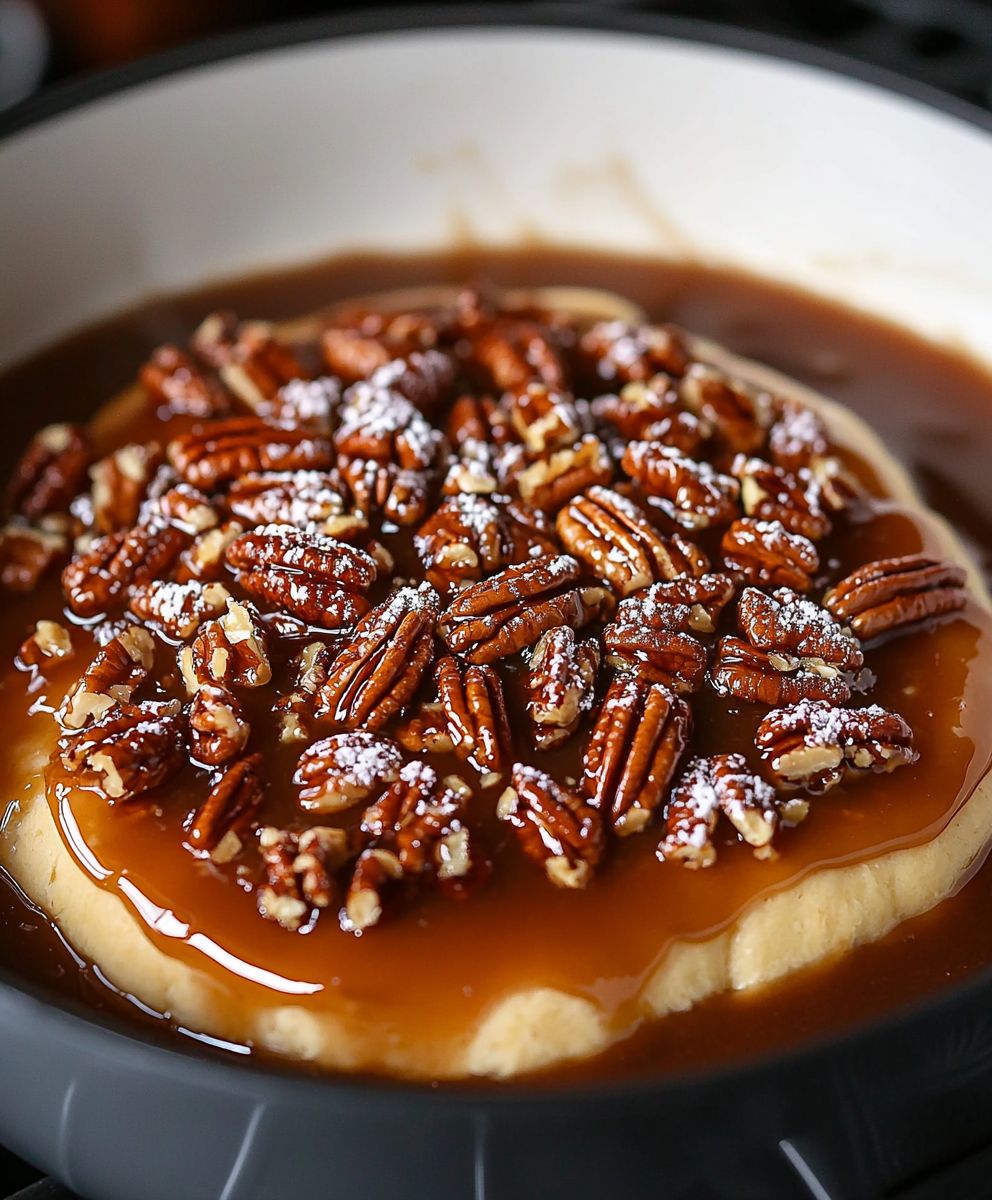
Creating the Maple Pecan Topping:
- In a medium saucepan, melt the butter over medium heat.
- Stir in the brown sugar, maple syrup, and salt.
- Bring the mixture to a simmer, stirring constantly, and cook for 2-3 minutes, or until the sugar is dissolved and the mixture is smooth. Be careful not to burn the sugar!
- Remove from heat and pour the mixture evenly into the bottom of a 9×13 inch baking dish.
- Arrange the pecan halves evenly over the maple mixture. This is where you get to be creative! I like to make sure each bun will have a pecan on top.
Assembling and Baking the Sticky Buns:
- Once the dough has doubled in size, punch it down to release the air.
- Turn the dough out onto a lightly floured surface and roll it into a 12×18 inch rectangle.
- Spread the maple pecan filling evenly over the dough, leaving a small border along one of the long edges.
- Starting from the opposite long edge, tightly roll the dough into a log.
- Pinch the seam to seal.
- Using a sharp serrated knife or unflavored dental floss (yes, really!), cut the log into 12 equal slices. I find the floss method gives a cleaner cut.
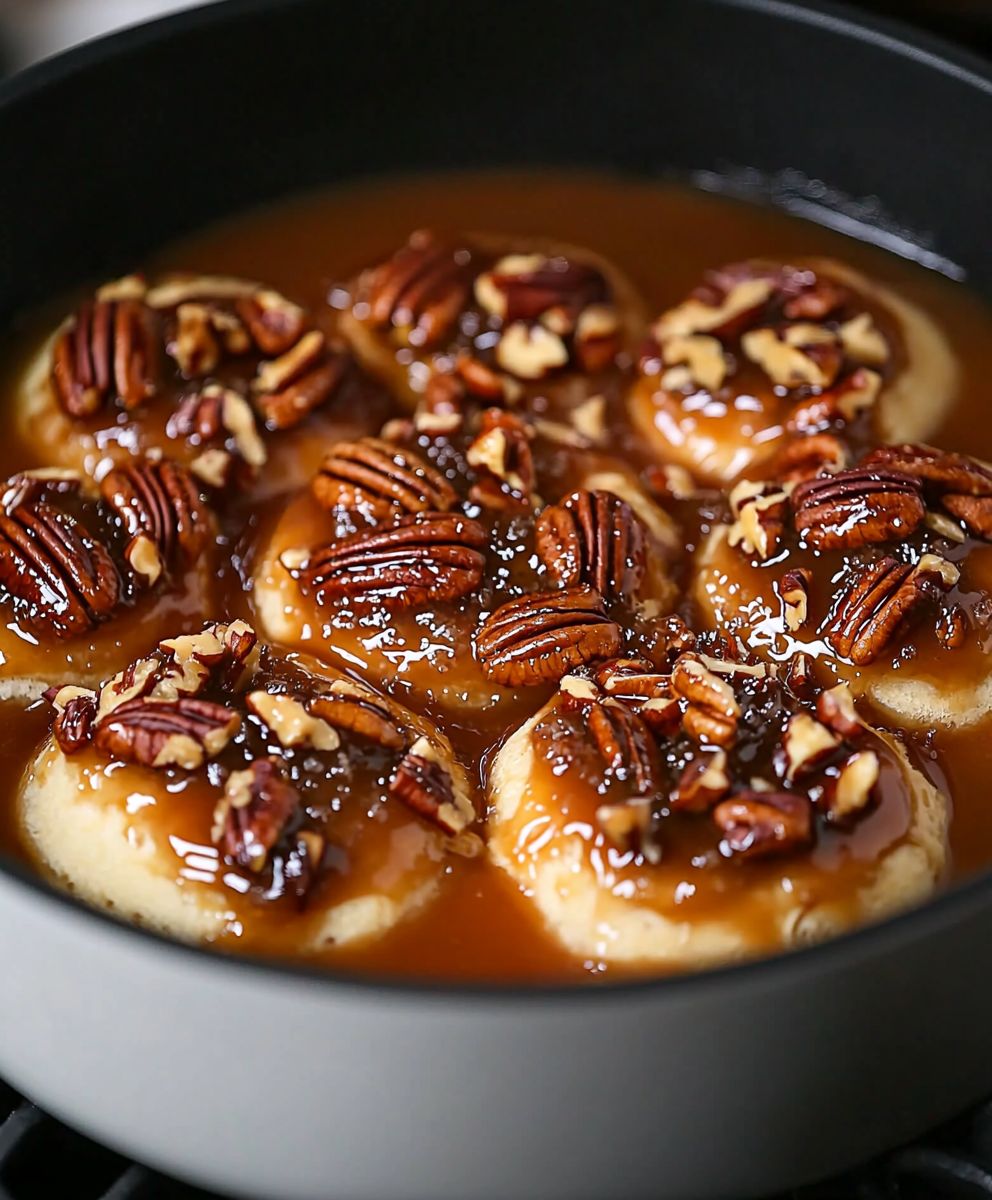
- Place the slices, cut-side up, in the prepared baking dish on top of the maple pecan topping.
- Cover the baking dish loosely with plastic wrap or a clean kitchen towel and let the buns rise in a warm place for 30-45 minutes, or until they are puffy.
- Preheat oven to 350°F (175°C).
- Bake the sticky buns for 25-30 minutes, or until they are golden brown and the filling is bubbly. Keep an eye on them ovens can vary!
- Let the buns cool in the baking dish for 5-10 minutes.
- Invert the baking dish onto a serving platter to release the sticky buns. Be careful, the topping will be very hot!
- Serve warm and enjoy! These are best enjoyed fresh, but they can be stored in an airtight container at room temperature for up to 2 days.
Tips and Tricks for Perfect Sticky Buns:
- Yeast Activation: Make sure your milk and water are at the correct temperature (110-115°F) to activate the yeast. Too hot, and you’ll kill the yeast; too cold, and it won’t activate properly. A kitchen thermometer is your best friend here!
- Dough Consistency: The dough should be smooth and elastic after kneading. If it’s too sticky, add flour one tablespoon at a time until it reaches the right consistency. Don’t overdo it, though, or your buns will be tough.
- Toasting the Pecans: Toasting the pecans for the filling brings out their nutty flavor and adds a nice crunch. Spread them on a baking sheet and bake at 350°F (175°C) for 5-7 minutes, or until fragrant. Watch them closely, as they can burn easily.
- Cutting the Rolls: Using unflavored dental floss to cut the rolls gives a cleaner cut than a knife, preventing them from getting squished. Simply slide the floss under the log, cross the ends over the top, and pull to slice.
- Rising Time: The rising time can vary depending on the temperature of your kitchen. A warm, draft-free environment is ideal. You can also proof the dough in a slightly warmed oven (turned off!).
- Baking Time: Keep an eye on the buns while they’re baking, as ovens can vary. They should be golden brown and the filling should be bubbly. If they start to brown too quickly, tent them with foil.
- Inverting the Buns: Let the buns cool slightly before inverting them onto a serving platter. This will allow the topping to set slightly, making it easier to release the buns.
- Storage: Sticky buns are best enjoyed fresh, but they can be stored in an airtight container at room temperature for up to 2 days. To reheat, warm them in the oven at 300°F (150°C) for 5-10 minutes.
- Variations: Feel free to experiment with different nuts, such as walnuts or almonds. You can also add dried fruit, such as raisins or cranberries, to the filling. For a chocolatey twist, add chocolate chips to the filling or drizzle melted chocolate over the finished buns.
- Make Ahead: You can prepare the dough and filling ahead of time. After the first rise, punch down the dough, wrap it tightly in plastic wrap, and refrigerate it overnight. Prepare the filling and store it in the refrigerator as well. The next day, bring the dough and filling to room temperature before assembling and baking the buns. You can also assemble the buns and let them rise overnight in the refrigerator. In the morning, bring them to room temperature before baking.
Troubleshooting:
- Dough not rising: Make sure your yeast is fresh and that your milk and water are at the correct temperature. Also, ensure that your kitchen is warm enough.
- Buns are dry: Don’t overbake the buns.
Conclusion:
And there you have it! These Maple Pecan Sticky Buns are truly something special, and I wholeheartedly believe they deserve a spot on your baking bucket list. From the incredibly soft and fluffy dough to the decadent, gooey maple-pecan topping, every bite is an explosion of flavor and texture that will leave you craving more. Seriously, these aren’t your average sticky buns; they’re a warm, comforting hug in pastry form.
But why are these a must-try? It’s simple: they’re surprisingly easy to make, even for beginner bakers. The recipe is straightforward, and I’ve included plenty of tips and tricks to ensure your success. Plus, the aroma that fills your kitchen while they’re baking is pure bliss a tantalizing blend of cinnamon, maple, and toasted pecans that will have everyone drooling in anticipation. And let’s be honest, who can resist a warm, sticky bun fresh from the oven?
Beyond the incredible taste and ease of preparation, these Maple Pecan Sticky Buns are incredibly versatile. They’re perfect for a weekend brunch, a special occasion breakfast, or even a delightful dessert. Imagine serving them warm with a scoop of vanilla ice cream pure heaven!
Serving Suggestions and Variations:
* Classic Presentation: Serve them warm, straight from the pan, allowing the gooey caramel to drip enticingly.
* Ice Cream Pairing: As mentioned, a scoop of vanilla ice cream elevates these buns to dessert status. Try pairing them with pecan praline ice cream for an extra nutty kick!
* Coffee Companion: These sticky buns are the perfect complement to a hot cup of coffee or tea.
* Nutty Alternatives: While pecans are the star here, feel free to experiment with other nuts like walnuts or almonds. Just be sure to toast them for optimal flavor.
* Spice it Up: Add a pinch of cardamom or nutmeg to the dough or the topping for a warm, aromatic twist.
* Citrus Zest: A little orange or lemon zest in the dough can brighten the flavors and add a subtle zing.
* Overnight Option: Prepare the buns up to the point of baking, then cover and refrigerate overnight. In the morning, let them come to room temperature for about 30 minutes before baking as directed. This is a great option for busy mornings!
* Add a Glaze: While the sticky pecan topping is already incredibly rich, you could add a simple powdered sugar glaze for extra sweetness and visual appeal. Just whisk together powdered sugar with a little milk or cream until smooth, and drizzle over the warm buns.I’m so excited for you to try this recipe and experience the joy of baking (and eating!) these incredible treats. I truly believe that this maple pecan sticky buns recipe will become a new favorite in your household.
So, what are you waiting for? Gather your ingredients, preheat your oven, and get ready to create some magic in the kitchen. Don’t be afraid to get a little messy that’s part of the fun!
And most importantly, please share your experience with me! I’d love to hear how your sticky buns turned out, what variations you tried, and any tips or tricks you discovered along the way. You can leave a comment below, tag me on social media (if you have a social media account), or even send me an email. I can’t wait to see your creations and hear your feedback. Happy baking!
Maple Pecan Sticky Buns: The Ultimate Guide to Baking Perfection
Decadent homemade maple pecan sticky buns with a rich, gooey topping and soft, fluffy dough. Perfect for breakfast, brunch, or a special treat!
Ingredients
- 3 ½ cups (420g) all-purpose flour, plus more for dusting
- ¼ cup (50g) granulated sugar
- 1 teaspoon salt
- 2 ¼ teaspoons (1 packet) active dry yeast
- ¾ cup (180ml) whole milk, warmed to 110-115°F (43-46°C)
- ¼ cup (60ml) water, warmed to 110-115°F (43-46°C)
- 4 tablespoons (57g) unsalted butter, melted and slightly cooled
- 1 large egg, lightly beaten
- ½ cup (1 stick, 113g) unsalted butter, softened
- ½ cup (100g) packed light brown sugar
- ¼ cup (60ml) maple syrup, pure
- 1 teaspoon ground cinnamon
- ½ teaspoon ground nutmeg
- ¼ teaspoon salt
- 1 cup (100g) chopped pecans, toasted
- ½ cup (1 stick, 113g) unsalted butter
- ¾ cup (150g) packed light brown sugar
- ½ cup (120ml) maple syrup, pure
- ¼ teaspoon salt
- 1 ½ cups (150g) pecan halves
Instructions
- In the bowl of a stand mixer fitted with the dough hook attachment, whisk together the flour, sugar, and salt.
- In a separate bowl, combine the warm milk, warm water, yeast, melted butter, and egg. Make sure your milk and water are not too hot, or they will kill the yeast! Aim for that 110-115°F range.
- Pour the wet ingredients into the dry ingredients and mix on low speed until a shaggy dough forms.
- Increase the speed to medium and knead the dough for 6-8 minutes, or until it is smooth and elastic. The dough should pull away from the sides of the bowl. If the dough seems too sticky, add flour, one tablespoon at a time, until it reaches the right consistency.
- Form the dough into a ball and place it in a lightly oiled bowl, turning to coat.
- Cover the bowl with plastic wrap or a clean kitchen towel and let it rise in a warm place for 1-1.5 hours, or until doubled in size. I like to put mine in a slightly warmed oven (turned off, of course!) to create a nice, cozy environment.
- In a medium bowl, cream together the softened butter, brown sugar, maple syrup, cinnamon, nutmeg, and salt until smooth and well combined. I find an electric mixer works best for this, but you can definitely do it by hand if you’re feeling ambitious!
- Stir in the chopped toasted pecans. Set aside.
- In a medium saucepan, melt the butter over medium heat.
- Stir in the brown sugar, maple syrup, and salt.
- Bring the mixture to a simmer, stirring constantly, and cook for 2-3 minutes, or until the sugar is dissolved and the mixture is smooth. Be careful not to burn the sugar!
- Remove from heat and pour the mixture evenly into the bottom of a 9×13 inch baking dish.
- Arrange the pecan halves evenly over the maple mixture. This is where you get to be creative! I like to make sure each bun will have a pecan on top.
- Once the dough has doubled in size, punch it down to release the air.
- Turn the dough out onto a lightly floured surface and roll it into a 12×18 inch rectangle.
- Spread the maple pecan filling evenly over the dough, leaving a small border along one of the long edges.
- Starting from the opposite long edge, tightly roll the dough into a log.
- Pinch the seam to seal.
- Using a sharp serrated knife or unflavored dental floss (yes, really!), cut the log into 12 equal slices. I find the floss method gives a cleaner cut.
- Place the slices, cut-side up, in the prepared baking dish on top of the maple pecan topping.
- Cover the baking dish loosely with plastic wrap or a clean kitchen towel and let the buns rise in a warm place for 30-45 minutes, or until they are puffy.
- Preheat oven to 350°F (175°C).
- Bake the sticky buns for 25-30 minutes, or until they are golden brown and the filling is bubbly. Keep an eye on them ovens can vary!
- Let the buns cool in the baking dish for 5-10 minutes.
- Invert the baking dish onto a serving platter to release the sticky buns. Be careful, the topping will be very hot!
- Serve warm and enjoy! These are best enjoyed fresh, but they can be stored in an airtight container at room temperature for up to 2 days.
Notes
- Yeast Activation: Make sure your milk and water are at the correct temperature (110-115°F) to activate the yeast. Too hot, and you’ll kill the yeast; too cold, and it won’t activate properly. A kitchen thermometer is your best friend here!
- Dough Consistency: The dough should be smooth and elastic after kneading. If it’s too sticky, add flour one tablespoon at a time until it reaches the right consistency. Don’t overdo it, though, or your buns will be tough.
- Toasting the Pecans: Toasting the pecans for the filling brings out their nutty flavor and adds a nice crunch. Spread them on a baking sheet and bake at 350°F (175°C) for 5-7 minutes, or until fragrant. Watch them closely, as they can burn easily.
- Cutting the Rolls: Using unflavored dental floss to cut the rolls gives a cleaner cut than a knife, preventing them from getting squished. Simply slide the floss under the log, cross the ends over the top, and pull to slice.
- Rising Time: The rising time can vary depending on the temperature of your kitchen. A warm, draft-free environment is ideal. You can also proof the dough in a slightly warmed oven (turned off!).
- Baking Time: Keep an eye on the buns while they’re baking, as ovens can vary. They should be golden brown and the filling should be bubbly. If they start to brown too quickly, tent them with foil.
- Inverting the Buns: Let the buns cool slightly before inverting them onto a serving platter. This will allow the topping to set slightly, making it easier to release the buns.
- Storage: Sticky buns are best enjoyed fresh, but they can be stored in an airtight container at room temperature for up to 2 days. To reheat, warm them in the oven at 300°F (150°C) for 5-10 minutes.
- Variations: Feel free to experiment with different nuts, such as walnuts or almonds. You can also add dried fruit, such as raisins or cranberries, to the filling. For a chocolatey twist, add chocolate chips to the filling or drizzle melted chocolate over the finished buns.
- Make Ahead: You can prepare the dough and filling ahead of time. After the first rise, punch down the dough, wrap it tightly in plastic wrap, and refrigerate it overnight. Prepare the filling and store it in the refrigerator as well. The next day, bring the dough and filling to room temperature before assembling and baking the buns. You can also assemble the buns and let them rise overnight in the refrigerator. In the morning, bring them to room temperature before baking.