Hersheys Chocolate Cake: just the name conjures up images of rich, decadent, and utterly irresistible goodness, doesn’t it? Forget complicated baking techniques and hard-to-find ingredients. This recipe delivers a slice of pure chocolate heaven with minimal fuss, making it the perfect treat for any occasion, or even just a “because I deserve it” kind of day.
While the exact origins of the Hersheys Chocolate Cake recipe are debated, its popularity exploded alongside the rise of Hershey’s cocoa powder in the early 20th century. Milton Hershey’s vision of affordable chocolate for everyone fueled a baking revolution, empowering home cooks to create delicious chocolate desserts with ease. It became a staple in households across America, passed down through generations, each family adding their own little twist to the classic formula.
What makes this cake so beloved? It’s the perfect balance of moistness, intense chocolate flavor, and a tender crumb. The slight tang from the buttermilk (or a clever substitute!) enhances the cocoa’s richness, while the hot water added to the batter creates a wonderfully fudgy texture. Whether you’re a seasoned baker or just starting out, this Hersheys Chocolate Cake recipe is guaranteed to impress. So, grab your mixing bowls, preheat your oven, and let’s bake a cake that will have everyone asking for seconds!

Ingredients:
- For the Cake:
- 2 cups all-purpose flour
- 2 cups granulated sugar
- ¾ cup unsweetened cocoa powder (Hershey’s recommended!)
- 1 ½ teaspoons baking powder
- 1 ½ teaspoons baking soda
- 1 teaspoon salt
- 1 cup buttermilk
- ½ cup vegetable oil
- 2 large eggs
- 2 teaspoons vanilla extract
- 1 cup boiling water
- For the Chocolate Frosting:
- ½ cup (1 stick) unsalted butter, softened
- 2 ¾ cups powdered sugar
- ¾ cup unsweetened cocoa powder (again, Hershey’s!)
- ? cup milk
- 1 teaspoon vanilla extract
- Pinch of salt
Preparing the Cake Batter
- Preheat and Prep: First things first, preheat your oven to 350°F (175°C). Grease and flour two 9-inch round cake pans. You can also line the bottoms with parchment paper rounds for extra insurance against sticking. I find this makes removing the cakes a breeze!
- Combine Dry Ingredients: In a large bowl, whisk together the flour, sugar, cocoa powder, baking powder, baking soda, and salt. Make sure everything is evenly distributed. This step is crucial for a consistent texture.
- Add Wet Ingredients (Except Boiling Water): In a separate bowl, whisk together the buttermilk, oil, eggs, and vanilla extract. Pour this wet mixture into the dry ingredients.
- Mix Until Just Combined: Using an electric mixer (or a sturdy whisk and some elbow grease!), mix the wet and dry ingredients until just combined. Be careful not to overmix! Overmixing can lead to a tough cake.
- Gradually Add Boiling Water: This is the secret ingredient! Slowly pour the boiling water into the batter while mixing on low speed. The batter will be very thin don’t worry, that’s exactly what we want. The hot water helps to bloom the cocoa powder and creates a super moist cake.
- Divide and Bake: Divide the batter evenly between the prepared cake pans. Bake for 30-35 minutes, or until a wooden skewer inserted into the center comes out clean. Keep a close eye on them ovens can vary!
- Cool Completely: Let the cakes cool in the pans for 10 minutes before inverting them onto a wire rack to cool completely. This prevents them from sticking and allows them to cool evenly. Make sure they are completely cool before frosting! Warm cake + frosting = a melty mess.
Making the Chocolate Frosting
- Cream the Butter: In a large bowl, beat the softened butter with an electric mixer until light and fluffy. This usually takes about 2-3 minutes.
- Gradually Add Powdered Sugar and Cocoa: Gradually add the powdered sugar and cocoa powder to the butter, mixing on low speed until combined. Adding it slowly prevents a powdered sugar explosion!
- Add Milk and Vanilla: Add the milk and vanilla extract and beat on medium speed until the frosting is smooth and creamy. If the frosting is too thick, add a little more milk, a teaspoon at a time, until you reach your desired consistency. If it’s too thin, add a little more powdered sugar.
- Add a Pinch of Salt: Don’t skip the salt! It enhances the chocolate flavor and balances the sweetness.
- Whip for Extra Fluffiness: For an extra light and fluffy frosting, beat on high speed for another minute or two.
Assembling the Cake
- Level the Cakes (Optional): If your cakes have a slight dome on top, use a serrated knife to carefully level them. This will ensure a perfectly even and professional-looking cake.
- Place First Layer: Place one cake layer on a serving plate or cake stand.
- Add Frosting: Spread a generous layer of frosting evenly over the first cake layer.
- Add Second Layer: Carefully place the second cake layer on top of the frosting.
- Frost the Entire Cake: Frost the top and sides of the cake with the remaining frosting. You can use a spatula or an offset spatula for a smooth finish. For a more rustic look, leave some swirls and imperfections.
- Decorate (Optional): Get creative! You can decorate the cake with chocolate shavings, sprinkles, fresh berries, or anything else your heart desires. I sometimes like to drizzle melted chocolate over the top for an extra decadent touch.
- Chill (Optional): While not strictly necessary, chilling the cake for about 30 minutes before serving can help the frosting set and make it easier to slice.
- Serve and Enjoy! Slice and serve your delicious Hershey’s Chocolate Cake. Enjoy every bite!
Tips for the Perfect Hershey’s Chocolate Cake
- Use High-Quality Cocoa Powder: Since the cocoa powder is the star of the show, use a good quality unsweetened cocoa powder, preferably Hershey’s brand for that classic flavor.
- Don’t Overbake: Overbaking will result in a dry cake. Start checking for doneness around 30 minutes.
- Room Temperature Ingredients: While the buttermilk doesn’t necessarily need to be room temperature, using room temperature eggs and softened butter will help the ingredients emulsify properly, resulting in a smoother batter and a more tender cake.
- Measure Accurately: Baking is a science! Use measuring cups and spoons to ensure accurate measurements. Spoon the flour into the measuring cup and level it off with a knife, rather than scooping it directly from the bag.
- Adjust Sweetness to Taste: If you prefer a less sweet frosting, you can reduce the amount of powdered sugar slightly.
- Storage: Store leftover cake in an airtight container at room temperature for up to 3 days, or in the refrigerator for up to a week.
- Make it Ahead: You can bake the cake layers a day ahead of time. Wrap them tightly in plastic wrap and store them at room temperature. Frost the cake the day you plan to serve it.
- Variations: Feel free to experiment with different variations! You can add chocolate chips to the batter, use coffee instead of boiling water to enhance the chocolate flavor, or add a layer of raspberry jam between the cake layers.
Troubleshooting
- Cake is Dry: Possible causes include overbaking, using too much flour, or not enough liquid. Make sure to measure your ingredients accurately and avoid overbaking.
- Cake is Dense: Possible causes include overmixing the batter, using cold ingredients, or not enough leavening agents (baking powder and baking soda).
- Frosting is Too Thick: Add a little more milk, a teaspoon at a time, until you reach your desired consistency.
- Frosting is Too Thin: Add a little more powdered sugar, a tablespoon at a time, until you reach your desired consistency.
- Cake Sticks to the Pan: Make sure to grease and flour the cake pans thoroughly, or use parchment paper rounds.
Conclusion:
This Hershey’s Chocolate Cake is more than just a dessert; it’s a nostalgic trip back to childhood, a guaranteed crowd-pleaser, and, frankly, one of the easiest and most rewarding baking experiences you’ll ever have. The rich, moist crumb, the intense chocolate flavor, and the simple elegance of the frosting make it a standout for any occasion. If you’re looking for a reliable, foolproof recipe that delivers exceptional results every single time, look no further. This is it.
But don’t just take my word for it! The beauty of this recipe lies in its versatility. While the classic version is undeniably perfect, there are countless ways to customize it to your liking.
Serving Suggestions & Variations:
* Classic Presentation: Serve slices of the cake with a scoop of vanilla ice cream or a dollop of whipped cream. A sprinkle of cocoa powder or chocolate shavings adds a touch of elegance.
* Coffee Infusion: For an even deeper chocolate flavor, substitute the hot water in the cake batter with strong brewed coffee. The coffee enhances the chocolate notes beautifully.
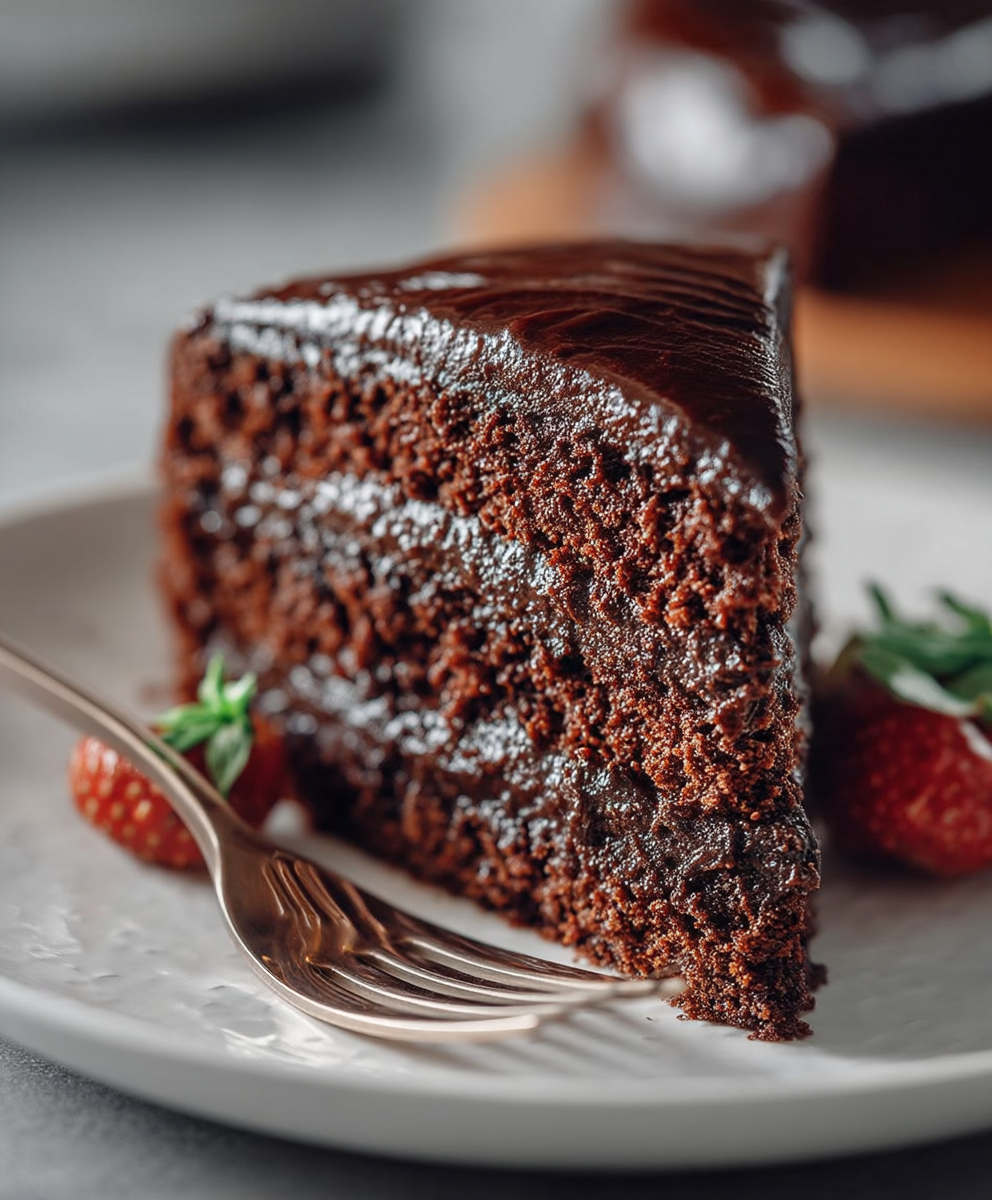
* Berry Bliss: Fresh raspberries or strawberries pair wonderfully with the rich chocolate. Arrange them artfully on top of the cake or serve them alongside each slice.
* Peanut Butter Dream: Swirl peanut butter into the frosting for a decadent peanut butter chocolate combination. You can also add chopped peanuts for extra crunch.
* Mint Chocolate Magic: Add a few drops of peppermint extract to the frosting for a refreshing mint chocolate twist. Garnish with crushed peppermint candies.
* Layered Delight: Transform this cake into a stunning layered dessert by splitting it into multiple layers and filling it with whipped cream, chocolate ganache, or fruit preserves.
* Cupcake Conversion: This recipe works perfectly for cupcakes! Simply adjust the baking time accordingly.
I truly believe that everyone should have a go-to chocolate cake recipe, and this Hershey’s Chocolate Cake is mine. It’s the recipe I turn to for birthdays, holidays, or simply when I need a little chocolate therapy. It’s a recipe that has been passed down through generations, and I’m so excited to share it with you.
So, what are you waiting for? Preheat your oven, gather your ingredients, and get ready to bake! I promise you won’t be disappointed. This cake is incredibly forgiving, so even if you’re a beginner baker, you’ll be able to create a masterpiece.
Once you’ve tried this recipe, I’d absolutely love to hear about your experience. Did you stick to the classic version, or did you try one of the variations? What did you think of the texture and flavor? Share your photos and stories in the comments below! I’m always eager to see your creations and learn from your experiences. Happy baking, and enjoy every delicious bite of this incredible Hershey’s Chocolate Cake! I am sure you will love it as much as I do.
Hersheys Chocolate Cake: The Ultimate Recipe for Chocolate Lovers
A classic and incredibly moist Hershey's Chocolate Cake with a rich, homemade chocolate frosting. Perfect for birthdays, celebrations, or any chocolate craving!
Ingredients
- 2 cups all-purpose flour
- 2 cups granulated sugar
- ¾ cup unsweetened cocoa powder (Hershey’s recommended!)
- 1 ½ teaspoons baking powder
- 1 ½ teaspoons baking soda
- 1 teaspoon salt
- 1 cup buttermilk
- ½ cup vegetable oil
- 2 large eggs
- 2 teaspoons vanilla extract
- 1 cup boiling water
- ½ cup (1 stick) unsalted butter, softened
- 2 ¾ cups powdered sugar
- ¾ cup unsweetened cocoa powder (again, Hershey’s!)
- ? cup milk
- 1 teaspoon vanilla extract
- Pinch of salt
Instructions
- Preheat your oven to 350°F (175°C). Grease and flour two 9-inch round cake pans. Line the bottoms with parchment paper rounds for extra insurance against sticking.
- In a large bowl, whisk together the flour, sugar, cocoa powder, baking powder, baking soda, and salt.
- In a separate bowl, whisk together the buttermilk, oil, eggs, and vanilla extract. Pour this wet mixture into the dry ingredients.
- Using an electric mixer, mix the wet and dry ingredients until just combined. Be careful not to overmix!
- Slowly pour the boiling water into the batter while mixing on low speed. The batter will be very thin.
- Divide the batter evenly between the prepared cake pans. Bake for 30-35 minutes, or until a wooden skewer inserted into the center comes out clean.
- Let the cakes cool in the pans for 10 minutes before inverting them onto a wire rack to cool completely. Make sure they are completely cool before frosting!
- In a large bowl, beat the softened butter with an electric mixer until light and fluffy (about 2-3 minutes).
- Gradually add the powdered sugar and cocoa powder to the butter, mixing on low speed until combined.
- Add the milk and vanilla extract and beat on medium speed until the frosting is smooth and creamy. Adjust milk/powdered sugar for desired consistency.
- Add a pinch of salt to enhance the chocolate flavor.
- For an extra light and fluffy frosting, beat on high speed for another minute or two.
- If your cakes have a slight dome on top, use a serrated knife to carefully level them.
- Place one cake layer on a serving plate or cake stand.
- Spread a generous layer of frosting evenly over the first cake layer.
- Carefully place the second cake layer on top of the frosting.
- Frost the top and sides of the cake with the remaining frosting.
- Decorate the cake with chocolate shavings, sprinkles, fresh berries, or anything else your heart desires.
- Chilling the cake for about 30 minutes before serving can help the frosting set.
- Slice and serve your delicious Hershey’s Chocolate Cake.
Notes
- Use high-quality cocoa powder, preferably Hershey’s brand.
- Don’t overbake the cake.
- Use room temperature eggs and softened butter for best results.
- Measure ingredients accurately.
- Adjust sweetness of frosting to taste.
- Store leftover cake in an airtight container at room temperature for up to 3 days, or in the refrigerator for up to a week.
- You can bake the cake layers a day ahead of time.
- Feel free to experiment with different variations!