Grinch Christmas Fudge: the name alone conjures up images of festive mischief and holiday cheer! But don’t let the Grinch fool you; this fudge is anything but sour. Imagine a creamy, melt-in-your-mouth treat, vibrantly green and studded with festive red candies a delightful twist on classic fudge that’s guaranteed to steal the show at your next holiday gathering.
While the Grinch himself might be a modern invention, the tradition of fudge-making stretches back to the late 19th century in America. Legend has it that a batch of caramels “fudged” and resulted in this delightful confection. Now, we’re taking that classic and giving it a whimsical, modern makeover with this Grinch-inspired recipe.
What makes Grinch Christmas Fudge so irresistible? It’s the perfect combination of rich, decadent chocolate flavor and a playful, festive presentation. The vibrant green color is achieved with a touch of food coloring, making it a visually stunning addition to any dessert platter. Plus, the creamy texture and sweet taste are universally loved, making it a crowd-pleaser for both kids and adults. And let’s be honest, who can resist a little bit of Grinchy fun during the holidays? This recipe is surprisingly easy to make, requiring minimal ingredients and effort, so you can spend less time in the kitchen and more time enjoying the holiday season with your loved ones. Get ready to spread some holiday cheer with every bite!

Ingredients:
- 16 ounces white chocolate chips
- 1 (14 ounce) can sweetened condensed milk
- 2 tablespoons butter, softened
- 1 teaspoon vanilla extract
- Green gel food coloring
- 1/4 teaspoon peppermint extract (optional, for a minty flavor)
- Red heart sprinkles (for the Grinch’s heart)
- Pinch of sea salt
Preparing the Fudge Base
Alright, let’s get started with the foundation of our Grinch-tastic fudge! This part is crucial for that smooth, creamy texture we all crave.
- Melt the White Chocolate: In a large, microwave-safe bowl, combine the white chocolate chips and softened butter. Microwave in 30-second intervals, stirring well after each interval. It’s super important to stir thoroughly because white chocolate can burn easily. Keep microwaving and stirring until the chocolate is completely melted and smooth. If you prefer, you can use a double boiler. Just make sure the bottom of the bowl doesn’t touch the simmering water.
- Incorporate the Sweetened Condensed Milk: Once the white chocolate and butter are melted and smooth, pour in the entire can of sweetened condensed milk. Stir it in gently but thoroughly until everything is well combined. You want a consistent, creamy mixture at this stage. Don’t overmix, but make sure there are no streaks of condensed milk remaining.
- Add the Vanilla Extract: Stir in the vanilla extract. This adds a subtle but important flavor note that complements the white chocolate beautifully. Just a teaspoon is all you need.
Achieving the Grinchy Green Hue
Now for the fun part transforming our fudge into a vibrant Grinch-worthy green! This is where the magic happens.
- Coloring the Fudge: Add the green gel food coloring, a little at a time. Start with just a few drops and stir it in completely. Continue adding more coloring until you achieve your desired shade of green. Remember, the color will deepen slightly as the fudge cools, so don’t go overboard. I usually aim for a bright, cheerful green that screams “Grinch!” but isn’t too artificial-looking. Gel food coloring is preferred over liquid because it’s more concentrated and won’t affect the consistency of the fudge.
- Peppermint Power (Optional): If you’re a fan of minty flavors, now’s the time to add the peppermint extract. Just a tiny amount 1/4 teaspoon is enough to give it a refreshing kick. Be careful not to add too much, as peppermint extract can be quite potent. If you’re not a fan of peppermint, feel free to skip this step.
- A Pinch of Salt: Add a tiny pinch of sea salt. This might seem counterintuitive, but a little salt actually enhances the sweetness and balances the flavors. It’s a chef’s secret weapon!
Preparing for Setting
Almost there! Now we need to get our fudge ready to set and become the perfect Grinch-themed treat.
- Line the Pan: Line an 8×8 inch square baking pan with parchment paper. Make sure the parchment paper overhangs the sides of the pan. This will make it super easy to lift the fudge out later. You can also use aluminum foil, but parchment paper tends to work better for a clean release.
- Pour and Spread: Pour the green fudge mixture into the prepared pan. Use a spatula to spread it evenly, ensuring it reaches all the corners. You want a nice, smooth surface for those heart sprinkles.
Adding the Grinch’s Heart
This is the signature touch that makes this fudge undeniably Grinch-themed! Let’s give our fudge some heart (literally!).
- Sprinkle the Hearts: Immediately after spreading the fudge, sprinkle the red heart sprinkles evenly over the top. Press them gently into the fudge so they adhere well. Don’t be shy with the sprinkles the more hearts, the merrier! You can arrange them randomly or create a more deliberate pattern, depending on your artistic flair.
Chilling and Setting the Fudge
Patience is key! This is the hardest part, but it’s essential for achieving that perfect fudge consistency.
- Chill Time: Cover the pan with plastic wrap and refrigerate for at least 2 hours, or preferably overnight. This allows the fudge to set completely and become firm enough to cut. Don’t try to rush this step the longer it chills, the better the texture will be.
Cutting and Serving
The moment we’ve been waiting for! Time to unleash our inner fudge artist and prepare this treat for serving.
- Lift and Cut: Once the fudge is completely set, lift it out of the pan using the parchment paper overhang. Place it on a cutting board. Use a sharp knife to cut the fudge into squares. The size of the squares is up to you I usually go for about 1-inch squares, but you can make them larger or smaller depending on your preference. For clean cuts, run the knife under hot water and wipe it dry between each cut.
- Serving and Storage: Serve the Grinch Christmas Fudge immediately or store it in an airtight container in the refrigerator for up to a week. It’s best served cold, as it will be firmer and easier to handle. You can also freeze the fudge for longer storage just wrap it tightly in plastic wrap and then place it in a freezer-safe bag. It will keep in the freezer for up to 2 months.
Tips and Tricks for Perfect Grinch Fudge
Here are a few extra tips to ensure your Grinch Christmas Fudge is a resounding success!
- Quality Chocolate Matters: Use high-quality white chocolate chips for the best flavor and texture. Cheaper chocolate chips may not melt as smoothly and can result in a grainy fudge.
- Don’t Overcook the Chocolate: Overheating the white chocolate can cause it to seize up and become grainy. Microwave in short intervals and stir frequently to prevent burning.
- Adjust the Green: The amount of green food coloring you need will depend on the brand and intensity of the coloring. Start with a small amount and add more until you achieve your desired shade of green.
- Get Creative with Sprinkles: While red heart sprinkles are the classic Grinch touch, you can get creative with other festive sprinkles. Green and red sprinkles, or even small candy canes, would also be adorable.
- Make it Ahead: This fudge is perfect for making ahead of time, as it needs to chill for several hours. It’s a great option for holiday parties and gatherings.
- Gift Giving: Package the fudge in festive boxes or tins for a thoughtful and delicious homemade gift.
Troubleshooting Your Fudge
Sometimes, things don’t go exactly as planned. Here are some common fudge problems and how to fix them:
- Fudge is Grainy: This is usually caused by overheating the chocolate or not stirring it enough. Unfortunately, there’s not much you can do to fix grainy fudge once it’s made. To prevent it in the future, be sure to microwave the chocolate in short intervals and stir frequently.
- Fudge is Too Soft: This could be due to not chilling it long enough, or using too much liquid. Make sure you chill the fudge for at least 2 hours, or preferably overnight. If it’s still too soft, you can try freezing it for a short period of time.
- Fudge is Too Hard: This could be due to overcooking the chocolate or using too little liquid. Unfortunately, there’s not much you can do to fix hard fudge once it’s made. To prevent it in the future, be careful not to overcook the chocolate and make sure you use the correct amount of sweetened condensed milk.
Variations and Add-Ins
Want to put your own spin on this Grinch Christmas Fudge? Here are a few ideas for variations and add-ins:
- Grinch Bark: Instead of cutting the fudge into squares, you can break it into irregular pieces for a Grinch-themed bark.
- Add Nuts: Stir in chopped walnuts, pecans, or macadamia nuts for added texture and flavor.
- Chocolate Swirl: Swirl in a small amount of melted dark chocolate for a contrasting flavor and visual appeal.
- Candy Cane Pieces: Stir in crushed candy cane pieces for an extra festive and minty flavor.
- Marshmallow Fluff: Swirl in marshmallow fluff for a gooey and decadent treat.
Conclusion:
This Grinch Christmas Fudge isn’t just a dessert; it’s a festive experience, a burst of holiday cheer in every single bite! The vibrant green color, the creamy texture, and that delightful hint of peppermint make it utterly irresistible. Its the perfect combination of sweet and slightly mischievous, just like the Grinch himself (before his heart grew three sizes, of course!). I truly believe this recipe is a must-try this holiday season because it’s incredibly easy to make, requires minimal ingredients, and delivers maximum impact. Forget spending hours slaving away in the kitchen; this fudge comes together in a flash, leaving you more time to enjoy the festivities with your loved ones.
But the best part? It’s a guaranteed crowd-pleaser! I’ve made this fudge for countless holiday gatherings, and it’s always the first thing to disappear. Kids adore the bright green color and the sweet, minty flavor, while adults appreciate the nostalgic nod to a beloved Christmas classic. It’s a conversation starter, a memory maker, and a delicious way to spread some holiday joy.
Serving Suggestions and Variations:
The possibilities are endless when it comes to serving and customizing this Grinch Christmas Fudge. For a simple yet elegant presentation, cut the fudge into small squares and arrange them on a festive platter. You can also add a sprinkle of red and green sprinkles for an extra touch of holiday flair.
Looking for some variations? Consider adding a layer of crushed Oreo cookies to the bottom of the pan before pouring in the fudge mixture for a delightful cookies-and-cream twist. Or, for a richer, more decadent flavor, swirl in a tablespoon of peanut butter or Nutella. If you’re feeling adventurous, try adding a pinch of sea salt to the top of the fudge before it sets to enhance the sweetness and create a salty-sweet sensation.
Another fun idea is to cut the fudge into different shapes using cookie cutters. Stars, Christmas trees, and gingerbread men are all great options. You can even get the kids involved and let them decorate the fudge with melted chocolate or colorful candies.
This fudge also makes a wonderful homemade gift. Package it in a decorative tin or box and tie it with a festive ribbon. It’s a thoughtful and delicious way to show your friends and family that you care.
Now it’s your turn!
I’m so excited for you to try this Grinch Christmas Fudge recipe. I know you’ll love it as much as I do. It’s the perfect way to add a touch of whimsy and deliciousness to your holiday celebrations.
Don’t be afraid to get creative and experiment with different variations. The most important thing is to have fun and enjoy the process.
Once you’ve made your own batch of this festive fudge, I’d love to hear about your experience! Share your photos and comments on social media using the hashtag #GrinchChristmasFudge. I can’t wait to see your creations and hear what you think. Let me know what variations you tried and which ones were your favorites. Your feedback is invaluable and helps me to continue creating delicious and easy-to-follow recipes. So go ahead, embrace your inner Grinch (in the best way possible!) and whip up a batch of this delightful fudge. You won’t regret it! Happy baking, and happy holidays!
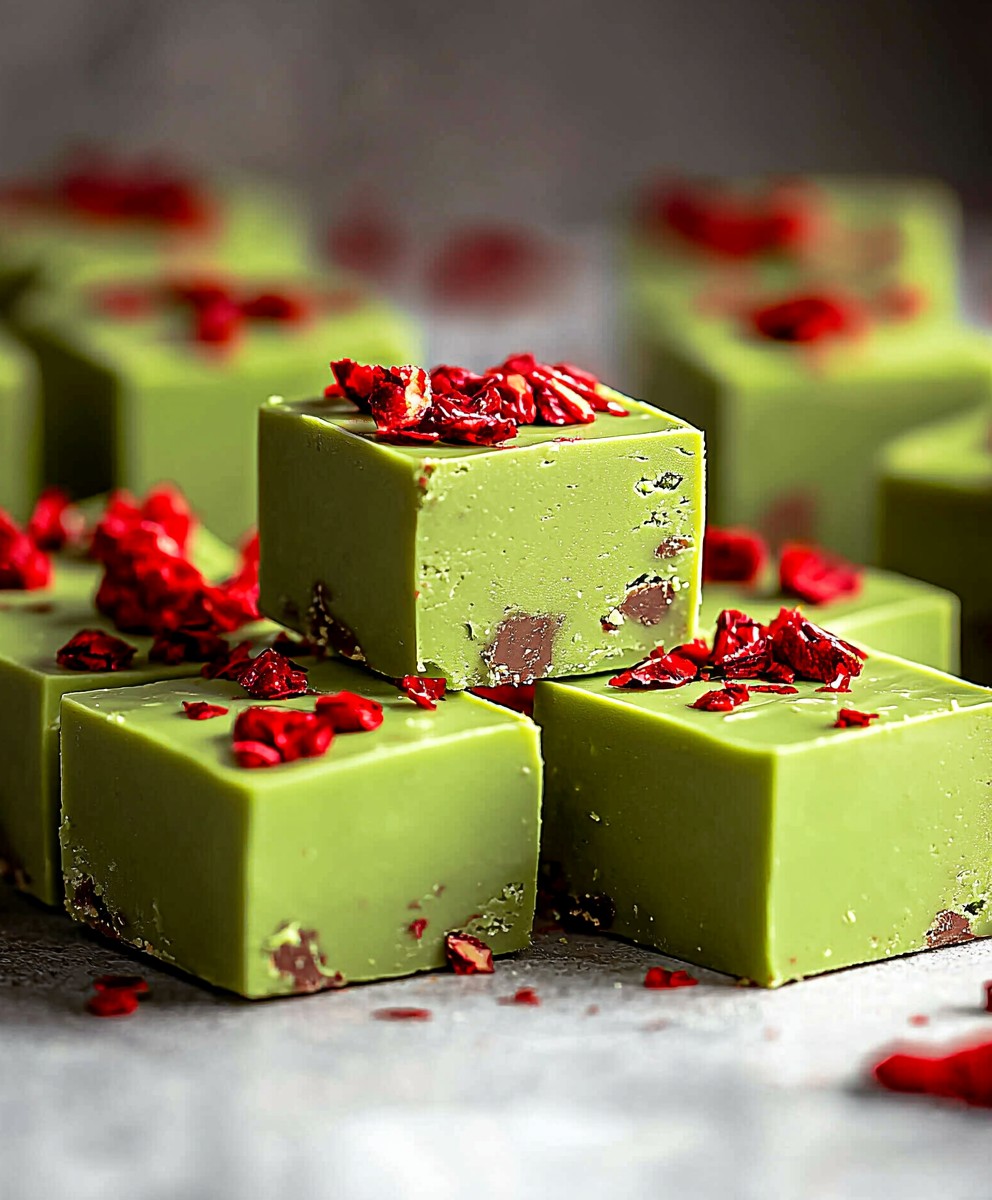
Grinch Christmas Fudge: A Festive Holiday Treat
Creamy white chocolate fudge colored vibrant green, studded with red heart sprinkles for a whimsical holiday treat.
Ingredients
- 16 ounces white chocolate chips
- 1 (14 ounce) can sweetened condensed milk
- 2 tablespoons butter, softened
- 1 teaspoon vanilla extract
- Green gel food coloring
- 1/4 teaspoon peppermint extract (optional, for a minty flavor)
- Red heart sprinkles (for the Grinch’s heart)
- Pinch of sea salt
Instructions
- Melt the White Chocolate: In a large, microwave-safe bowl, combine the white chocolate chips and softened butter. Microwave in 30-second intervals, stirring well after each interval until melted and smooth. Alternatively, use a double boiler.
- Incorporate Sweetened Condensed Milk: Pour in the entire can of sweetened condensed milk. Stir gently but thoroughly until well combined and creamy.
- Add Vanilla Extract: Stir in the vanilla extract.
- Coloring the Fudge: Add green gel food coloring, a little at a time, stirring until you achieve your desired shade of green.
- Peppermint (Optional): Add peppermint extract (1/4 teaspoon) if desired.
- Add Salt: Add a pinch of sea salt.
- Line the Pan: Line an 8×8 inch square baking pan with parchment paper, ensuring it overhangs the sides.
- Pour and Spread: Pour the green fudge mixture into the prepared pan and spread evenly.
- Sprinkle Hearts: Immediately sprinkle red heart sprinkles evenly over the top and gently press them in.
- Chill: Cover with plastic wrap and refrigerate for at least 2 hours, or preferably overnight, until set.
- Lift and Cut: Lift the fudge out of the pan using the parchment paper overhang. Cut into squares using a sharp knife (run under hot water and wipe dry between cuts for clean edges).
- Serve: Serve immediately or store in an airtight container in the refrigerator for up to a week.
Notes
- Use high-quality white chocolate chips for the best flavor and texture.
- Microwave the chocolate in short intervals and stir frequently to prevent burning.
- Gel food coloring is preferred over liquid.
- Adjust the amount of green food coloring to achieve your desired shade.
- Don’t overcook the chocolate.
- Chill the fudge for at least 2 hours, or preferably overnight.
- For clean cuts, run the knife under hot water and wipe it dry between each cut.
- Store in an airtight container in the refrigerator for up to a week or freeze for up to 2 months.