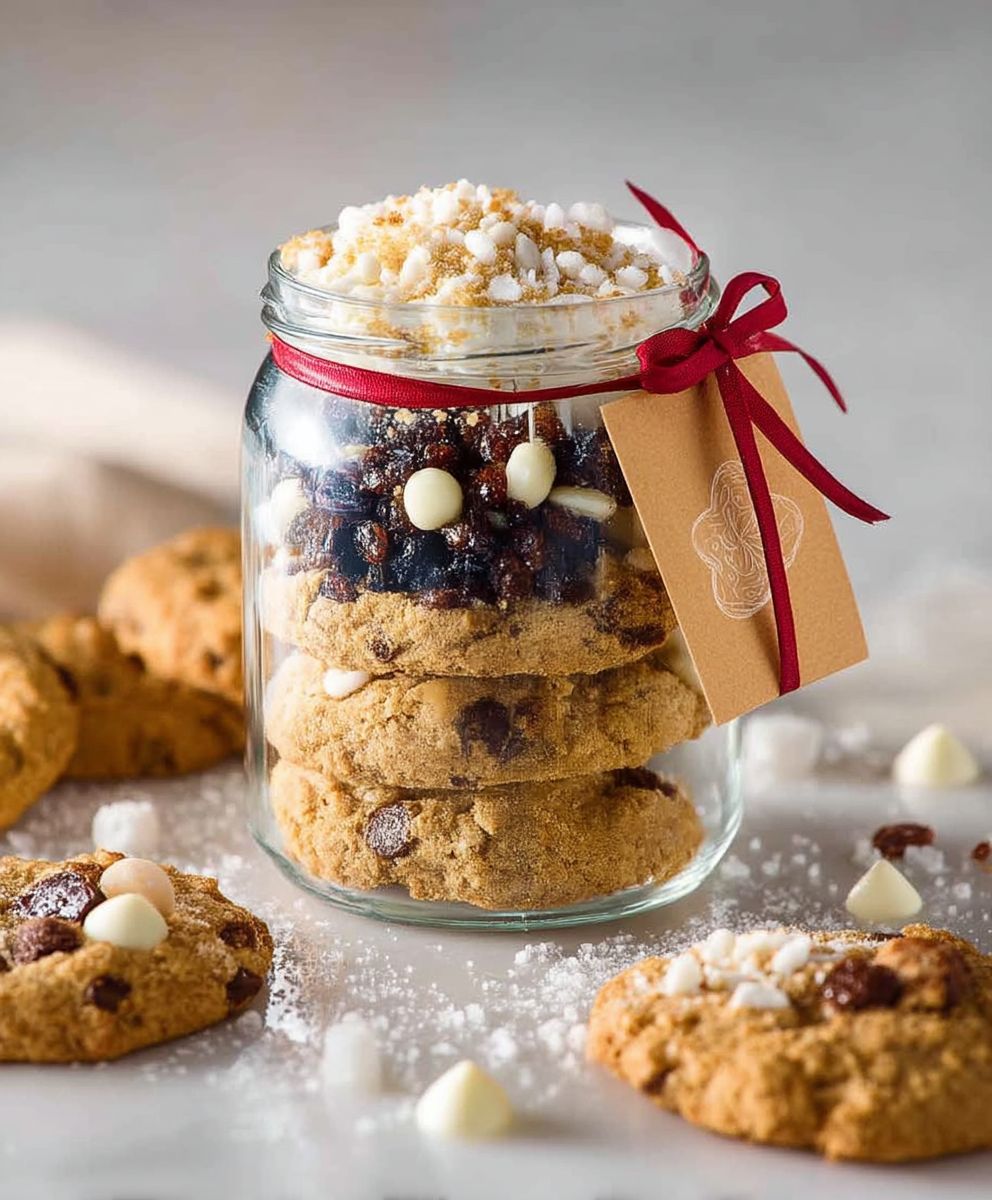
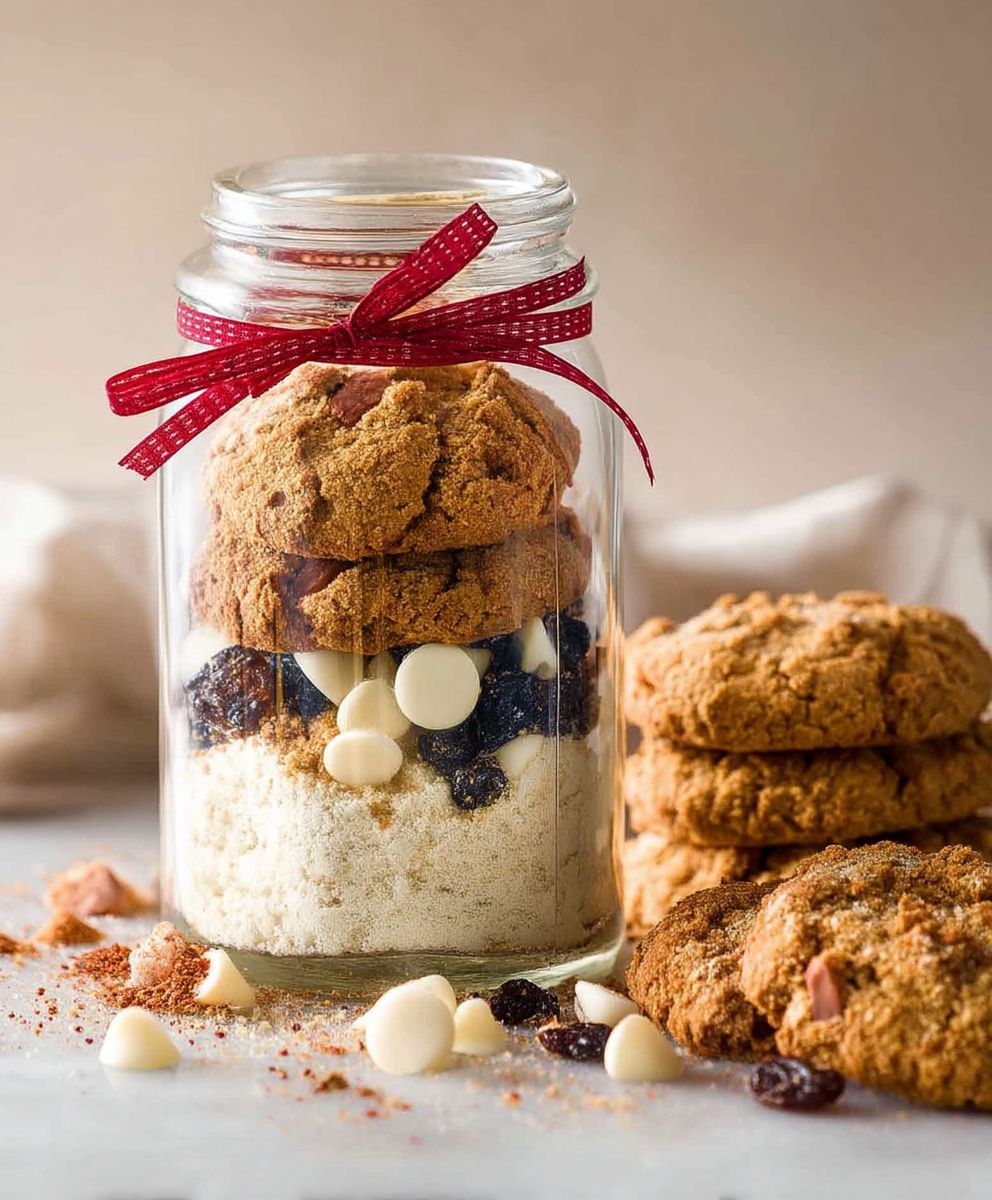
Cookie Mix Jar gifts are the perfect way to spread a little joy and homemade goodness! Imagine the delight on your friend’s face when they receive a beautifully layered jar filled with all the dry ingredients needed to bake a batch of warm, chewy cookies. It’s more than just a gift; it’s an experience waiting to happen.
While the exact origins of gifting layered dry ingredients in a jar are a bit hazy, the concept taps into a long tradition of sharing homemade treats and pantry staples. Think back to community gatherings where everyone brought a dish to share, or the simple act of a neighbor offering a cup of sugar. This modern twist on that tradition offers convenience and a personal touch, all wrapped up in a pretty package.
What makes a cookie mix jar so universally appealing? It’s the promise of delicious, freshly baked cookies with minimal effort. People love the convenience of simply adding wet ingredients and popping them in the oven. Plus, the visual appeal of the layered ingredients is undeniably charming. The taste, of course, is the ultimate reward warm, gooey cookies that are perfect for sharing (or not!). It’s a thoughtful and practical gift that anyone who loves cookies will truly appreciate. So, let’s get started on creating the perfect cookie mix jar!
Ingredients:
- 1 (32 ounce) jar cookie mix (any flavor, I’m using chocolate chip!)
- ½ cup (1 stick) unsalted butter, softened
- 2 large eggs
- 1 teaspoon vanilla extract
- Optional: ½ cup chocolate chips (for extra chocolatey goodness!)
- Optional: ¼ cup chopped nuts (walnuts, pecans, or almonds work great)
- Optional: Sprinkles (because why not?)
Preparing the Dough:
- Preheat your oven to 375°F (190°C). This is crucial for even baking! Make sure your oven rack is in the center position.
- Soften the butter. This is a really important step. You want the butter to be soft enough to easily cream with the sugar in the mix, but not melted. I usually leave it out on the counter for about an hour, or you can microwave it in 5-second intervals, checking frequently, until it’s softened but not melted.
- Empty the cookie mix into a large mixing bowl. Make sure you have a bowl big enough to comfortably mix all the ingredients.
- Add the softened butter, eggs, and vanilla extract to the bowl with the cookie mix. Now the fun begins!
- Mix the ingredients together until just combined. Be careful not to overmix the dough. Overmixing can develop the gluten in the flour, resulting in tough cookies. I usually start with a wooden spoon or spatula, and then switch to an electric mixer on low speed for the last bit to ensure everything is evenly incorporated. You’re looking for a dough that is just coming together and doesn’t have any streaks of dry mix.
- If using, gently fold in the extra chocolate chips, nuts, or sprinkles. This is where you can customize your cookies to your liking! I love adding extra chocolate chips for an extra decadent treat. Make sure you fold them in gently so you don’t overmix the dough.
Shaping and Baking the Cookies:
- Line a baking sheet with parchment paper. Parchment paper prevents the cookies from sticking to the baking sheet and makes cleanup a breeze. You can also use a silicone baking mat if you prefer.
- Drop rounded tablespoons of dough onto the prepared baking sheet, leaving about 2 inches between each cookie. This is important because the cookies will spread as they bake. I like to use a cookie scoop to ensure that all the cookies are the same size, which helps them bake evenly. If you don’t have a cookie scoop, you can use two spoons.
- Bake for 9-11 minutes, or until the edges are golden brown and the centers are set. The baking time will vary depending on your oven, so keep a close eye on the cookies. You want them to be golden brown around the edges and slightly soft in the center. They will continue to firm up as they cool.
- Remove the baking sheet from the oven and let the cookies cool on the baking sheet for a few minutes before transferring them to a wire rack to cool completely. This allows the cookies to firm up a bit before you move them, preventing them from breaking. Once they’re on the wire rack, they’ll cool down quickly.
Tips and Tricks for Perfect Cookies:
- Don’t overbake! This is the most common mistake people make when baking cookies. Overbaked cookies will be dry and crumbly. You want to take them out of the oven when they’re still slightly soft in the center.
- Use room temperature ingredients. This helps the ingredients to combine more easily and evenly, resulting in a better texture.
- Chill the dough (optional). If you have time, chilling the dough for 30 minutes to an hour before baking can help to prevent the cookies from spreading too much. This will result in thicker, chewier cookies.
- Adjust baking time for altitude. If you live at a high altitude, you may need to adjust the baking time. Start by reducing the baking time by a minute or two and see how the cookies turn out.
- Store cookies in an airtight container. This will help to keep them fresh for longer. They’re best enjoyed within a few days, but they can be stored for up to a week.
- Get creative with mix-ins! The possibilities are endless! Try adding different types of chocolate chips, nuts, dried fruit, or even spices.
Troubleshooting:
- Cookies are too flat: This could be due to a few things. Make sure you’re using the correct amount of butter and that it’s not melted. Also, try chilling the dough before baking.
- Cookies are too dry: This could be due to overbaking. Make sure you’re not baking them for too long. Also, make sure you’re using the correct amount of flour.
- Cookies are too hard: This could be due to overmixing the dough. Be careful not to overmix.
- Cookies are sticking to the baking sheet: Make sure you’re using parchment paper or a silicone baking mat.
Variations:
- Peanut Butter Chocolate Chip Cookies: Add ½ cup of peanut butter to the dough along with the butter and eggs.
- Oatmeal Raisin Cookies: Add 1 cup of rolled oats and ½ cup of raisins to the dough.
- Snickerdoodle Cookies: Roll the dough balls in a mixture of cinnamon and sugar before baking.
- Double Chocolate Chip Cookies: Use a chocolate cookie mix and add ½ cup of white chocolate chips.
- White Chocolate Macadamia Nut Cookies: Add ½ cup of white chocolate chips and ¼ cup of chopped macadamia nuts to the dough.
Serving Suggestions:
- Serve warm with a glass of milk.
- Enjoy with a scoop of ice cream.
- Pack them in a lunchbox for a sweet treat.
- Give them as a gift to friends and family.
- Crumble them over yogurt or oatmeal.
Storage Instructions:
Store the cooled cookies in an airtight container at room temperature for up to 5 days. For longer storage, you can freeze the cookies for up to 2 months. Thaw them at room temperature before serving.
Nutritional Information (approximate, per cookie):
Note: Nutritional information will vary depending on the specific cookie mix used and any added ingredients.
- Calories: 150-200
- Fat: 8-12g
- Saturated Fat: 5-8g
- Cholesterol: 20-30mg
- Sodium: 50-100mg
- Carbohydrates: 18-25g
- Sugar: 10-15g
- Protein: 1-2g
Why I Love This Recipe:
This recipe is so easy and versatile! It’s perfect for when you need a quick and delicious treat. I love that you can customize it with different mix-ins to create your own unique cookies. Plus, it’s a great way to use up that cookie mix jar that’s been sitting in your pantry. Enjoy!

Conclusion:
This Cookie Mix Jar recipe isn’t just another DIY project; it’s a shortcut to happiness, a thoughtful gift, and a delicious treat all rolled into one! Seriously, who wouldn’t love receiving a beautifully layered jar promising warm, gooey cookies at a moment’s notice? The convenience alone makes it a must-try, but the real magic lies in the taste. These cookies bake up perfectly chewy edges, soft centers, and that irresistible homemade flavor that store-bought cookies just can’t replicate.
But the best part? It’s incredibly versatile! While the recipe as written is a guaranteed crowd-pleaser, feel free to get creative. Imagine adding a layer of chopped pecans or walnuts for a nutty crunch. Or, for the chocolate obsessed (like myself!), throw in some dark chocolate chunks or even a swirl of peanut butter chips. During the holidays, a sprinkle of crushed candy canes or gingerbread spice would add a festive touch. The possibilities are truly endless!
Think about gifting these jars for birthdays, holidays, or even as a “just because” gesture. They’re perfect for teachers, neighbors, or anyone who deserves a little something special. Include a handwritten tag with baking instructions and a personal message for an extra touch of warmth. You could even pair the jar with a cute spatula or a set of cookie cutters to complete the gift.
Beyond gifting, consider keeping a few jars on hand for yourself. Trust me, you’ll thank yourself later when a cookie craving strikes and you can whip up a batch in minutes. They’re also a lifesaver for unexpected guests or last-minute potlucks. Just imagine the aroma of freshly baked cookies filling your home pure bliss!
Serving suggestions? Well, warm cookies are pretty amazing on their own, but why stop there? Try crumbling them over vanilla ice cream for a decadent dessert. Or, sandwich a scoop of ice cream between two cookies for an instant ice cream sandwich. For a truly indulgent treat, dip them in melted chocolate or drizzle them with caramel sauce. And of course, a glass of cold milk is always the perfect accompaniment.
I’m absolutely confident that you’ll love this Cookie Mix Jar recipe as much as I do. It’s simple, satisfying, and endlessly customizable. It’s more than just a recipe; it’s an experience a chance to create something special and share it with the people you care about.
So, what are you waiting for? Gather your ingredients, grab your jars, and get ready to spread some cookie cheer! I can’t wait to hear about your creations. Did you add any special ingredients? Did you give them as gifts? What was the reaction? Please, please, please share your experiences in the comments below! I’m genuinely excited to see what you come up with and to hear how much you enjoyed making and sharing these delicious cookies. Happy baking!
Cookie Mix Jar: The Ultimate Guide to Homemade Treats
Easy, customizable cookies from a jar of mix! A quick and delicious treat, personalize with your favorite mix-ins.
Ingredients
- 1 (32 ounce) jar cookie mix (any flavor, I’m using chocolate chip!)
- ½ cup (1 stick) unsalted butter, softened
- 2 large eggs
- 1 teaspoon vanilla extract
- Optional: ½ cup chocolate chips (for extra chocolatey goodness!)
- Optional: ¼ cup chopped nuts (walnuts, pecans, or almonds work great)
- Optional: Sprinkles (because why not?)
Instructions
- Preheat: Preheat your oven to 375°F (190°C). Make sure your oven rack is in the center position.
- Soften Butter: Soften the butter until it’s easily creamed but not melted.
- Combine: Empty the cookie mix into a large mixing bowl. Add the softened butter, eggs, and vanilla extract.
- Mix: Mix the ingredients together until just combined. Be careful not to overmix.
- Add-ins: If using, gently fold in the extra chocolate chips, nuts, or sprinkles.
- Prepare Baking Sheet: Line a baking sheet with parchment paper.
- Shape: Drop rounded tablespoons of dough onto the prepared baking sheet, leaving about 2 inches between each cookie.
- Bake: Bake for 9-11 minutes, or until the edges are golden brown and the centers are set.
- Cool: Remove the baking sheet from the oven and let the cookies cool on the baking sheet for a few minutes before transferring them to a wire rack to cool completely.
Notes
- Don’t overbake!
- Use room temperature ingredients.
- Chill the dough (optional) for 30 minutes to an hour to prevent spreading.
- Adjust baking time for altitude.
- Store cookies in an airtight container.
- Get creative with mix-ins!


