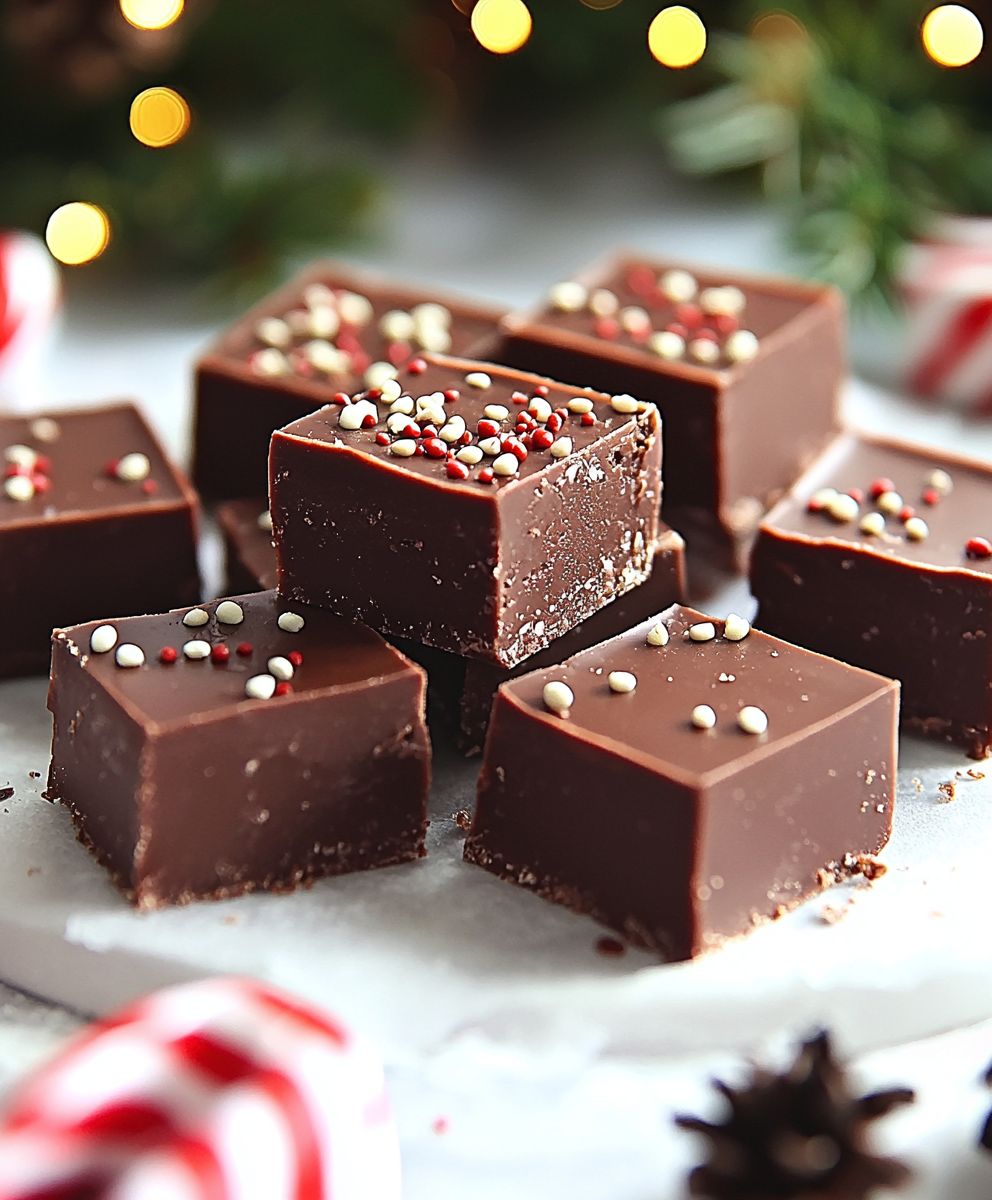
Christmas fudge, a decadent and delightful treat, is practically synonymous with the holiday season. Imagine biting into a creamy, melt-in-your-mouth square of pure chocolate bliss, infused with the festive spirit of Christmas. Is your mouth watering yet? Mine is! This isn’t just any fudge; it’s a tradition, a memory, and a guaranteed crowd-pleaser all rolled into one delicious bite.
While the exact origins of fudge are debated, most believe it emerged in America during the late 19th century, possibly as a “fudged” batch of caramels. Whatever its beginnings, it quickly became a beloved confection, especially around the holidays. Christmas fudge, in particular, has evolved into a canvas for creativity, with countless variations incorporating everything from peppermint and cranberries to nuts and sea salt.
What makes this particular dessert so irresistible? It’s the perfect combination of rich, chocolatey flavor and a smooth, velvety texture. It’s also incredibly versatile and relatively easy to make, making it a fantastic option for gifting, potlucks, or simply indulging in a little holiday cheer. Plus, who can resist the comforting aroma of chocolate wafting through the kitchen on a cold winter’s day? Let’s get started on creating some unforgettable Christmas memories, one square of fudge at a time!
Ingredients:
- 1 (14 ounce) can sweetened condensed milk
- 3 cups semi-sweet chocolate chips
- 1 cup milk chocolate chips
- 1/2 cup butter, softened
- 1 teaspoon vanilla extract
- 1/2 cup chopped walnuts or pecans (optional)
- 1/4 cup crushed peppermint candies (optional, for topping)
- Pinch of salt
Preparing the Fudge Base:
- Gather Your Equipment: Before we even think about melting chocolate, let’s make sure we have everything we need. You’ll want a good-sized microwave-safe bowl (glass or ceramic works best), a rubber spatula (silicone is my go-to), and an 8×8 inch square baking pan. Line the baking pan with parchment paper, leaving some overhang on the sides. This makes removing the fudge later a breeze! Trust me, you’ll thank me later.
- Combine the Ingredients: In your microwave-safe bowl, combine the sweetened condensed milk, semi-sweet chocolate chips, milk chocolate chips, softened butter, and a pinch of salt. Make sure the butter is truly softened; otherwise, it might not melt evenly and could affect the fudge’s texture.
- Microwave in Intervals: This is where patience comes in. Microwave the mixture on high for 1 minute. Then, remove the bowl and stir everything together really well. You might not see much melting happening yet, but that’s okay. Return the bowl to the microwave and heat for another 30 seconds. Stir again. Repeat this process in 30-second intervals, stirring after each interval, until the chocolate is almost completely melted.
- The Final Melt: Once the chocolate is mostly melted, but you still see a few small chunks, stop microwaving. The residual heat from the mixture will melt the remaining chocolate as you stir. Stir continuously until the mixture is smooth and glossy. This is crucial! Overheating the chocolate can cause it to seize and become grainy, and we definitely don’t want that.
- Add the Vanilla: Stir in the vanilla extract. The vanilla enhances the chocolate flavor and adds a lovely aroma.
- Incorporate Nuts (Optional): If you’re using nuts, gently fold them into the chocolate mixture. Be careful not to overmix, as this can make the fudge tough.
Setting the Fudge:
- Pour into Prepared Pan: Pour the fudge mixture into the parchment-lined baking pan. Use the spatula to spread it evenly to all corners.
- Add Toppings (Optional): If you’re using crushed peppermint candies, sprinkle them evenly over the top of the fudge. You can also add other toppings like sprinkles, sea salt, or even mini marshmallows.
- Chill to Set: Cover the pan with plastic wrap and refrigerate for at least 2 hours, or preferably overnight. This allows the fudge to firm up completely and develop its rich, decadent flavor. Don’t rush this step! The longer it chills, the better the texture will be.
Cutting and Serving:
- Remove from Pan: Once the fudge is firm, lift it out of the pan using the parchment paper overhang. Place it on a cutting board.
- Cut into Squares: Use a sharp knife to cut the fudge into squares. The size of the squares is up to you, but I usually aim for about 1-inch squares. For clean cuts, you can run the knife under hot water and wipe it dry between each cut.
- Serving and Storage: Serve the fudge immediately, or store it in an airtight container in the refrigerator for up to 2 weeks. You can also freeze it for longer storage (up to 2 months). Just be sure to wrap it tightly in plastic wrap and then place it in a freezer-safe bag or container.
Tips and Tricks for Perfect Fudge:
- Use High-Quality Chocolate: The quality of your chocolate will directly impact the taste of your fudge. Opt for good-quality chocolate chips for the best flavor.
- Don’t Overheat the Chocolate: As mentioned earlier, overheating the chocolate can cause it to seize. Microwave in short intervals and stir frequently to prevent this.
- Soften the Butter: Make sure your butter is softened to room temperature before adding it to the mixture. This will help it melt evenly and create a smooth, creamy fudge.
- Line the Pan with Parchment Paper: This is a lifesaver! It makes removing the fudge from the pan incredibly easy.
- Get Creative with Toppings: Don’t be afraid to experiment with different toppings! Some other ideas include chopped pretzels, dried cranberries, toffee bits, or even a drizzle of melted white chocolate.
- Adjust Sweetness to Your Liking: If you prefer a less sweet fudge, you can reduce the amount of sweetened condensed milk slightly.
- For a Richer Flavor: Add a tablespoon of unsweetened cocoa powder to the mixture for a deeper, more intense chocolate flavor.
- Make it Vegan: Substitute the sweetened condensed milk with a vegan version, use vegan chocolate chips, and replace the butter with a vegan butter alternative.
- Troubleshooting Grainy Fudge: If your fudge turns out grainy, it’s likely due to overheating the chocolate. Unfortunately, there’s not much you can do to fix it once it’s happened. The best way to avoid this is to be careful not to overheat the chocolate in the first place.
- Troubleshooting Soft Fudge: If your fudge is too soft, it might not have chilled long enough. Place it back in the refrigerator for a few more hours to allow it to firm up completely. Alternatively, you may have used too much butter or not enough chocolate.
Variations to Try:
- Peanut Butter Fudge: Add 1/2 cup of peanut butter to the mixture along with the chocolate chips.
- Rocky Road Fudge: Add 1 cup of mini marshmallows and 1/2 cup of chopped walnuts to the mixture.
- Cookies and Cream Fudge: Crush 10-12 Oreo cookies and fold them into the mixture.
- Salted Caramel Fudge: Drizzle melted caramel over the top of the fudge and sprinkle with sea salt.
- White Chocolate Fudge: Substitute the semi-sweet and milk chocolate chips with white chocolate chips.
Why This Recipe Works:
This recipe is a classic for a reason. The combination of sweetened condensed milk, chocolate chips, and butter creates a rich, creamy, and decadent fudge that’s incredibly easy to make. The microwave method is quick and convenient, and the simple ingredients are readily available. The optional additions of nuts and peppermint candies add extra flavor and texture, making it perfect for the holidays or any special occasion. The key to success is to be patient and avoid overheating the chocolate. With a little care and attention, you’ll be rewarded with a batch of perfect fudge every time. I’ve been making this recipe for years, and it’s always a crowd-pleaser! The simplicity of the recipe also makes it a great one to make with kids. They can help with measuring ingredients, stirring, and adding toppings. Just be sure to supervise them closely when using the microwave.
Conclusion:
This Christmas fudge recipe isn’t just another sweet treat; it’s a shortcut to creating cherished holiday memories. The rich, decadent flavor, combined with its surprisingly simple preparation, makes it a must-try for anyone looking to impress without spending hours in the kitchen. Forget complicated baking projects this fudge delivers maximum impact with minimal effort, leaving you more time to enjoy the festivities.
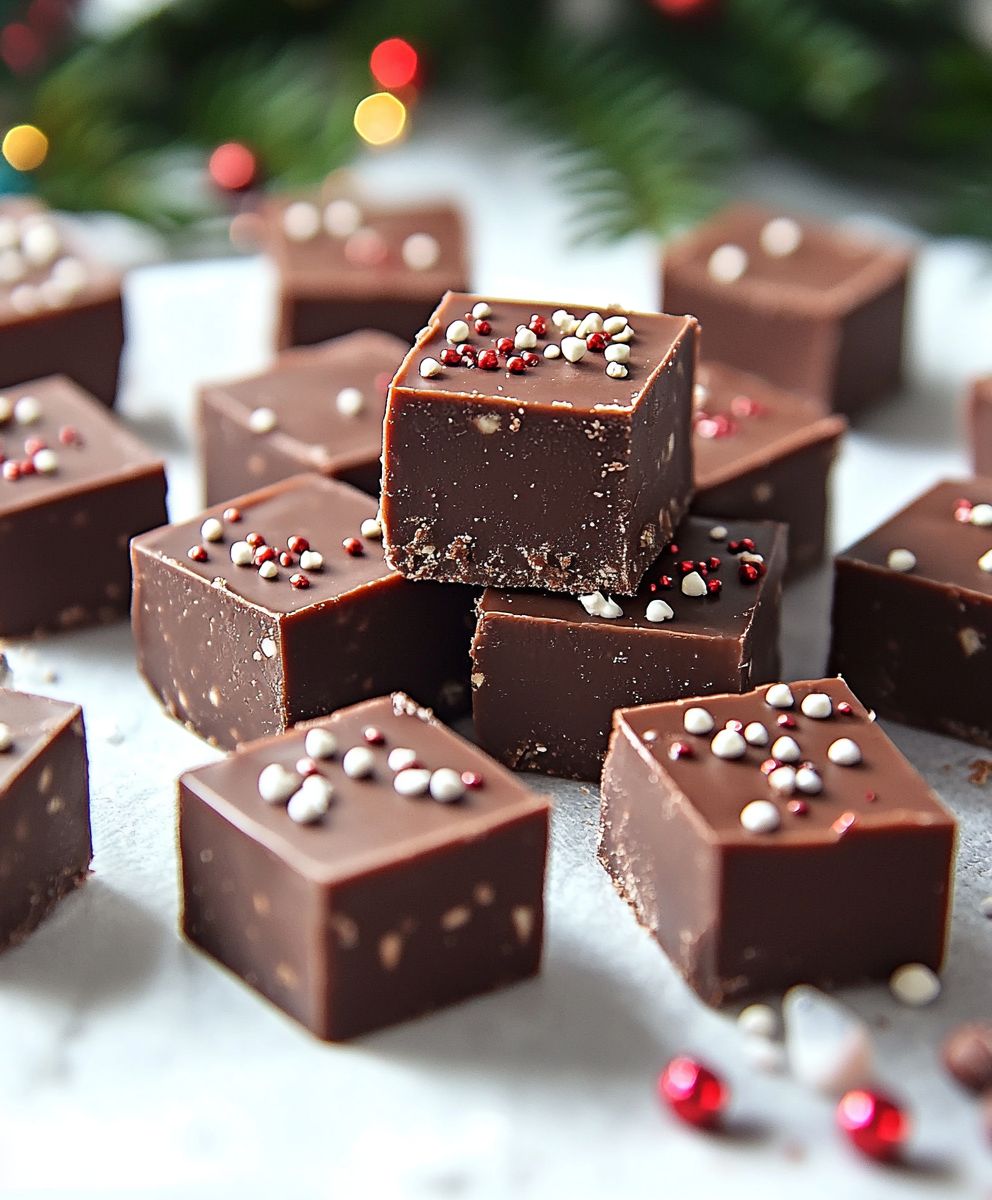
But why is this particular fudge recipe so special? It’s the perfect balance of creamy texture and intense chocolate flavor, enhanced by the festive additions that scream “Christmas.” The subtle hint of peppermint, the crunch of walnuts, or the vibrant colors of sprinkles each element works in harmony to create a truly unforgettable experience. It’s a crowd-pleaser that will disappear faster than you can say “Merry Christmas!”
Beyond its deliciousness, this fudge is incredibly versatile. Serve it as part of a festive dessert platter alongside cookies and other holiday treats. Cut it into small squares and package it in decorative tins as thoughtful homemade gifts for friends, family, and neighbors. Or, simply enjoy a piece with a warm cup of coffee or hot chocolate on a cold winter evening.
Looking for variations? The possibilities are endless! For a richer, more intense flavor, use dark chocolate instead of semi-sweet. Add a swirl of peanut butter for a salty-sweet twist. Incorporate dried cranberries and pistachios for a sophisticated and colorful touch. Or, for the truly adventurous, try adding a dash of cayenne pepper for a subtle kick. You can even experiment with different extracts, such as vanilla, almond, or rum, to create your own unique flavor profile. Consider adding a layer of crushed candy canes on top for an extra festive touch. Another fun idea is to swirl in some marshmallow fluff before the fudge sets for a gooey, marshmallow-infused treat. Don’t be afraid to get creative and personalize this recipe to your liking!
Serving Suggestions:
* Cut into small squares and arrange on a festive platter.
* Package in decorative tins for homemade gifts.
* Serve with coffee, hot chocolate, or a glass of milk.
* Crumble over ice cream or yogurt.
* Use as a topping for cakes or cupcakes.
Variations:
* Use dark chocolate for a richer flavor.
* Add peanut butter for a salty-sweet twist.
* Incorporate dried cranberries and pistachios.
* Add a dash of cayenne pepper for a subtle kick.
* Experiment with different extracts (vanilla, almond, rum).
* Top with crushed candy canes.
* Swirl in marshmallow fluff.
I truly believe that this Christmas fudge will become a new holiday tradition in your home. It’s a simple, delicious, and versatile recipe that is sure to bring joy to everyone who tries it. So, what are you waiting for? Gather your ingredients, put on some Christmas music, and get ready to create some magic in the kitchen!
I’m so excited for you to try this recipe! Once you’ve made it, I would absolutely love to hear about your experience. Did you make any variations? What did your family and friends think? Share your photos and stories in the comments below. Let’s spread the holiday cheer and inspire others to create their own delicious memories with this incredible Christmas fudge! Happy baking, and Merry Christmas!
Christmas Fudge: The Ultimate Holiday Recipe Guide
Easy, creamy, and decadent microwave fudge perfect for the holidays or any occasion! Made with sweetened condensed milk, chocolate chips, and optional nuts and peppermint.
Ingredients
- 1 (14 ounce) can sweetened condensed milk
- 3 cups semi-sweet chocolate chips
- 1 cup milk chocolate chips
- 1/2 cup butter, softened
- 1 teaspoon vanilla extract
- 1/2 cup chopped walnuts or pecans (optional)
- 1/4 cup crushed peppermint candies (optional, for topping)
- Pinch of salt
Instructions
- Prepare: Line an 8×8 inch square baking pan with parchment paper, leaving overhang.
- Combine: In a microwave-safe bowl, combine sweetened condensed milk, semi-sweet chocolate chips, milk chocolate chips, softened butter, and salt.
- Microwave: Microwave on high for 1 minute. Stir well. Repeat in 30-second intervals, stirring after each, until chocolate is almost melted.
- Final Melt: Stir continuously until smooth and glossy.
- Add Vanilla: Stir in vanilla extract.
- Incorporate Nuts (Optional): Gently fold in nuts, if using.
- Pour: Pour into prepared pan and spread evenly.
- Add Toppings (Optional): Sprinkle with crushed peppermint candies or other toppings.
- Chill: Cover and refrigerate for at least 2 hours, or overnight.
- Remove: Lift fudge from pan using parchment paper.
- Cut: Cut into squares.
- Serve: Serve immediately or store in an airtight container in the refrigerator for up to 2 weeks, or freeze for up to 2 months.
Notes
- Use high-quality chocolate for the best flavor.
- Don’t overheat the chocolate; microwave in short intervals and stir frequently.
- Soften the butter to room temperature before adding it to the mixture.
- Lining the pan with parchment paper makes removing the fudge easy.
- Get creative with toppings like chopped pretzels, dried cranberries, or toffee bits.
- Adjust sweetness by reducing the amount of sweetened condensed milk slightly.
- Add a tablespoon of unsweetened cocoa powder for a richer flavor.
- Make it vegan by substituting vegan sweetened condensed milk, chocolate chips, and butter.
- If the fudge turns out grainy, it’s likely due to overheating the chocolate.
- If the fudge is too soft, chill it for a few more hours or reduce the amount of butter.