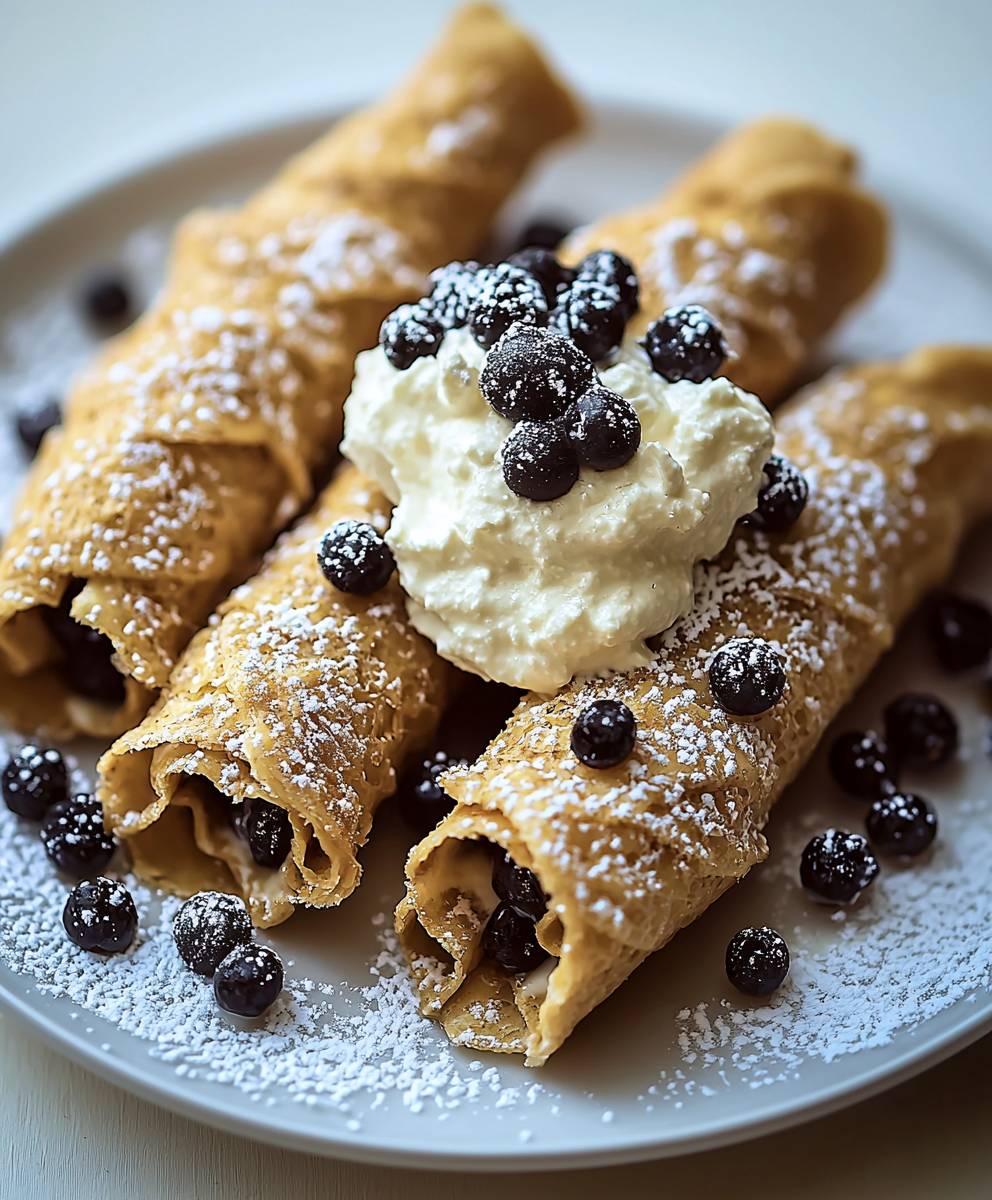
Cannoli filling, that creamy, dreamy heart of the iconic Sicilian pastry, is so much more than just a component it’s an experience! Have you ever wondered what makes a cannoli truly unforgettable? It’s not just the perfectly crisp shell, but the luscious, sweet ricotta filling that bursts with flavor in every bite. I’m going to show you how to make the perfect cannoli filling.
Cannoli have a rich history, dating back to the Arab rule of Sicily. Legend has it that they were first created as a fertility symbol, a sweet indulgence enjoyed during Carnevale. Over the centuries, they’ve evolved from a regional treat to a global phenomenon, loved for their unique combination of textures and flavors. But at its core, the magic of a cannoli lies in its filling.
People adore cannoli filling for its smooth, velvety texture and its delicate sweetness. The slight tang of the ricotta cheese, balanced with sugar and often enhanced with chocolate chips, candied fruit, or pistachios, creates a symphony of flavors that dance on your palate. It’s a dessert that’s both decadent and refreshing, perfect for satisfying your sweet cravings any time of year. Plus, you can enjoy the filling on its own, or use it in other desserts.

Ingredients:
- 15 ounces whole milk ricotta cheese, drained overnight
- 1 cup powdered sugar, sifted
- 1 teaspoon vanilla extract
- 1/2 teaspoon ground cinnamon
- 1/4 cup mini chocolate chips
- 1/4 cup candied orange peel, finely chopped (optional)
- 1/4 cup chopped pistachios (optional, for garnish)
Preparing the Ricotta Cheese:
The key to a truly exceptional cannoli filling lies in the ricotta cheese. You absolutely must drain it properly. Don’t skip this step! Excess moisture will result in a soggy, unappetizing filling. I prefer to drain my ricotta overnight, but a minimum of 4 hours is crucial.
- Line a colander with several layers of cheesecloth. Make sure the cheesecloth is large enough to overhang the sides of the colander. This will help contain the ricotta.
- Spoon the ricotta cheese into the cheesecloth-lined colander. Distribute it evenly.
- Gather the edges of the cheesecloth and tie them together to form a bundle. Gently squeeze out any excess liquid.
- Place the colander over a bowl to catch the draining liquid. You can also place a weight (like a can of beans or a small plate) on top of the ricotta bundle to help press out more moisture.
- Refrigerate for at least 4 hours, or preferably overnight. The longer it drains, the thicker and creamier your filling will be.
Making the Cannoli Filling:
Once your ricotta is properly drained, the rest of the filling comes together quickly and easily. Sifting the powdered sugar is important to prevent any lumps in the final product. Nobody wants a gritty cannoli!
- In a large bowl, combine the drained ricotta cheese and sifted powdered sugar. Use a rubber spatula to gently fold the ingredients together. Avoid overmixing, as this can make the ricotta watery.
- Add the vanilla extract and ground cinnamon. Continue to gently fold until everything is well combined.
- Fold in the mini chocolate chips and candied orange peel (if using). Again, be gentle and avoid overmixing. You want to distribute the ingredients evenly without breaking down the ricotta.
- Taste the filling and adjust sweetness if necessary. You can add a little more powdered sugar if you prefer a sweeter filling.
- Cover the bowl with plastic wrap and refrigerate for at least 30 minutes. This allows the flavors to meld together and the filling to firm up slightly. Chilling also makes it easier to pipe into the cannoli shells.
Filling the Cannoli Shells:
Now for the fun part! Filling the cannoli shells is best done right before serving to prevent them from becoming soggy. I like to use a piping bag for a neat and professional look, but you can also use a spoon if you don’t have one.
- Prepare your cannoli shells. Make sure they are fresh and crispy. If they seem a little stale, you can warm them slightly in a low oven (around 200°F) for a few minutes to crisp them up. Be careful not to burn them!
- Transfer the chilled cannoli filling to a piping bag fitted with a large round tip. If you don’t have a piping bag, you can use a large zip-top bag and cut off one of the corners.
- Pipe the filling into each end of the cannoli shell, starting from the center and working your way outwards. Fill the shell completely, but be careful not to overfill it, as the filling will expand slightly.
- Alternatively, if you don’t have a piping bag, use a small spoon to carefully fill each end of the cannoli shell.
- Once filled, garnish the ends of the cannoli with chopped pistachios (if using). This adds a nice pop of color and a nutty flavor. You can also dip the ends in mini chocolate chips or powdered sugar.
- Serve immediately and enjoy! Cannoli are best enjoyed fresh, as the shells will become soggy over time.
Tips and Tricks for the Best Cannoli Filling:
- Use high-quality ricotta cheese. The better the ricotta, the better the filling. Look for whole milk ricotta cheese for the richest flavor and creamiest texture.
- Drain the ricotta cheese thoroughly. This is the most important step! Don’t skip it!
- Sift the powdered sugar. This will prevent lumps in the filling.
- Don’t overmix the filling. Overmixing can make the ricotta watery.
- Chill the filling before using. This allows the flavors to meld together and the filling to firm up.
- Fill the cannoli shells right before serving. This will prevent them from becoming soggy.
- Get creative with your garnishes! Chopped pistachios, mini chocolate chips, candied orange peel, and powdered sugar are all great options.
- For a smoother filling, you can process the drained ricotta in a food processor until smooth before adding the other ingredients. Be careful not to over-process it, as this can make it watery.
- If you don’t have candied orange peel, you can use a little orange zest instead.
- For a chocolate cannoli filling, add a tablespoon or two of cocoa powder to the filling.
- You can also add a splash of liqueur, such as Marsala wine or rum, to the filling for extra flavor.
- If you find that your filling is too thick, you can add a tablespoon or two of heavy cream to thin it out.
- If you find that your filling is too thin, you can add a tablespoon or two of powdered sugar to thicken it up.
- Store any leftover filling in an airtight container in the refrigerator for up to 3 days.
Variations:
The basic cannoli filling recipe is a great starting point, but you can easily customize it to your liking. Here are a few ideas:
- Chocolate Cannoli Filling: Add 2 tablespoons of unsweetened cocoa powder to the filling. You can also add a handful of mini chocolate chips for extra chocolatey goodness.
- Pistachio Cannoli Filling: Add 1/4 cup of finely ground pistachios to the filling. You can also garnish the cannoli with chopped pistachios.
- Lemon Cannoli Filling: Add 1 tablespoon of lemon zest and 1 tablespoon of lemon juice to the filling.
- Coffee Cannoli Filling: Add 1 tablespoon of instant coffee powder dissolved in 1 tablespoon of hot water to the filling.
- Nutella Cannoli Filling: Swirl a spoonful of Nutella into the filling before chilling.
Troubleshooting:
- My cannoli shells are soggy. This is usually caused by filling the shells too far in advance. Fill the shells right before serving to prevent them from becoming soggy.
- My cannoli filling is too watery. This is usually caused by not draining the ricotta cheese properly. Make sure to drain the ricotta cheese for at least 4 hours, or preferably overnight.
- My cannoli filling is too thick. This can be caused by overmixing the filling or using too much powdered sugar. Add a tablespoon or two of heavy cream to thin it out.
- My cannoli filling is too thin. This can be caused by not using enough powdered sugar or by using ricotta cheese that is too wet. Add a tablespoon or two of powdered sugar to thicken it up.
- My cannoli filling is lumpy. This is usually caused by not sifting the powdered sugar. Make sure to sift the powdered sugar before adding it to the filling.
Enjoy making and eating your delicious homemade cannoli! I hope these tips and tricks help you create the perfect cannoli filling every time.

Conclusion:
So, there you have it! This cannoli filling recipe isn’t just another dessert component; it’s a passport to Italy, a creamy dream, and a guaranteed crowd-pleaser. I truly believe that once you taste the velvety smoothness and the delicate balance of sweet ricotta, bright citrus, and a hint of vanilla, you’ll understand why I consider this a must-try. It’s the kind of recipe that elevates any occasion, turning a simple gathering into a special event. But why is this particular cannoli filling so special? It’s all about the quality of ingredients and the careful attention to detail. Using fresh, whole milk ricotta is absolutely key don’t skimp on this! The difference in texture and flavor is remarkable. And the touch of orange zest? It’s a game-changer, adding a vibrant, aromatic note that perfectly complements the sweetness of the ricotta and sugar. This recipe is more than just a list of ingredients; it’s a carefully crafted symphony of flavors designed to tantalize your taste buds. Now, let’s talk about serving suggestions and variations because the possibilities are truly endless! Of course, the classic way to enjoy this filling is in crispy, freshly fried cannoli shells. But don’t limit yourself! This filling is also incredible spooned into small dessert cups, layered with crushed biscotti for a quick and easy parfait, or even used as a decadent topping for pancakes or waffles. For a fun twist, try adding mini chocolate chips, chopped pistachios, or candied fruit to the filling. If you’re feeling adventurous, a splash of Marsala wine or a dash of cinnamon can add a warm, complex flavor. And for those who prefer a lighter option, you can substitute part of the ricotta with Greek yogurt for a tangy and slightly less rich filling. Here are a few more ideas to get your creative juices flowing:Serving Suggestions:
- Cannoli Cups: Layer the filling with crushed cannoli shells or biscotti in small glasses for an elegant dessert.
- Fruit Dip: Serve the filling as a dip with fresh strawberries, raspberries, or apple slices.
- Cake Filling: Use the filling as a layer in cakes or cupcakes for a creamy and flavorful surprise.
- Sweet Crepes: Spread the filling on crepes and top with fresh fruit and a dusting of powdered sugar.
Variations:
- Chocolate Chip Cannoli Filling: Add mini chocolate chips for a classic twist.
- Pistachio Cannoli Filling: Mix in chopped pistachios for a nutty and crunchy texture.
- Citrus Cannoli Filling: Experiment with different citrus zests, such as lemon or grapefruit.
- Spiced Cannoli Filling: Add a pinch of cinnamon, nutmeg, or cardamom for a warm and aromatic flavor.

Cannoli Filling: The Ultimate Guide to Making Perfect Filling
- Total Time: 15 minutes
- Yield: 12–15 cannoli shells 1x
Description
Classic, creamy cannoli filling with ricotta, powdered sugar, vanilla, and cinnamon. Perfect for crispy cannoli shells!
Ingredients
- 15 ounces whole milk ricotta cheese, drained overnight
- 1 cup powdered sugar, sifted
- 1 teaspoon vanilla extract
- 1/2 teaspoon ground cinnamon
- 1/4 cup mini chocolate chips
- 1/4 cup candied orange peel, finely chopped (optional)
- 1/4 cup chopped pistachios (optional, for garnish)
Instructions
- Prepare the Ricotta Cheese: Line a colander with several layers of cheesecloth. Spoon the ricotta cheese into the cheesecloth-lined colander. Gather the edges of the cheesecloth and tie them together to form a bundle. Gently squeeze out any excess liquid. Place the colander over a bowl to catch the draining liquid. You can also place a weight (like a can of beans or a small plate) on top of the ricotta bundle to help press out more moisture. Refrigerate for at least 4 hours, or preferably overnight.
- Make the Cannoli Filling: In a large bowl, combine the drained ricotta cheese and sifted powdered sugar. Use a rubber spatula to gently fold the ingredients together. Avoid overmixing.
- Add the vanilla extract and ground cinnamon. Continue to gently fold until everything is well combined.
- Fold in the mini chocolate chips and candied orange peel (if using). Again, be gentle and avoid overmixing.
- Taste the filling and adjust sweetness if necessary. You can add a little more powdered sugar if you prefer a sweeter filling.
- Cover the bowl with plastic wrap and refrigerate for at least 30 minutes.
- Fill the Cannoli Shells: Prepare your cannoli shells.
- Transfer the chilled cannoli filling to a piping bag fitted with a large round tip. If you don’t have a piping bag, you can use a large zip-top bag and cut off one of the corners.
- Pipe the filling into each end of the cannoli shell, starting from the center and working your way outwards. Fill the shell completely, but be careful not to overfill it, as the filling will expand slightly.
- Alternatively, if you don’t have a piping bag, use a small spoon to carefully fill each end of the cannoli shell.
- Once filled, garnish the ends of the cannoli with chopped pistachios (if using).
- Serve immediately and enjoy!
Notes
- Draining the ricotta cheese is crucial for a non-soggy filling. Don’t skip this step!
- Sifting the powdered sugar prevents lumps.
- Fill cannoli shells right before serving to prevent sogginess.
- Use high-quality, whole milk ricotta for the best flavor.
- Don’t overmix the filling.
- Chill the filling for at least 30 minutes before using.
- Get creative with garnishes!
- For a smoother filling, process the drained ricotta in a food processor until smooth before adding the other ingredients.
- If you don’t have candied orange peel, you can use a little orange zest instead.
- For a chocolate cannoli filling, add a tablespoon or two of cocoa powder to the filling.
- You can also add a splash of liqueur, such as Marsala wine or rum, to the filling for extra flavor.
- If you find that your filling is too thick, you can add a tablespoon or two of heavy cream to thin it out.
- If you find that your filling is too thin, you can add a tablespoon or two of powdered sugar to thicken it up.
- Store any leftover filling in an airtight container in the refrigerator for up to 3 days.
- Prep Time: 15 minutes
- Cook Time: 0 minutes


