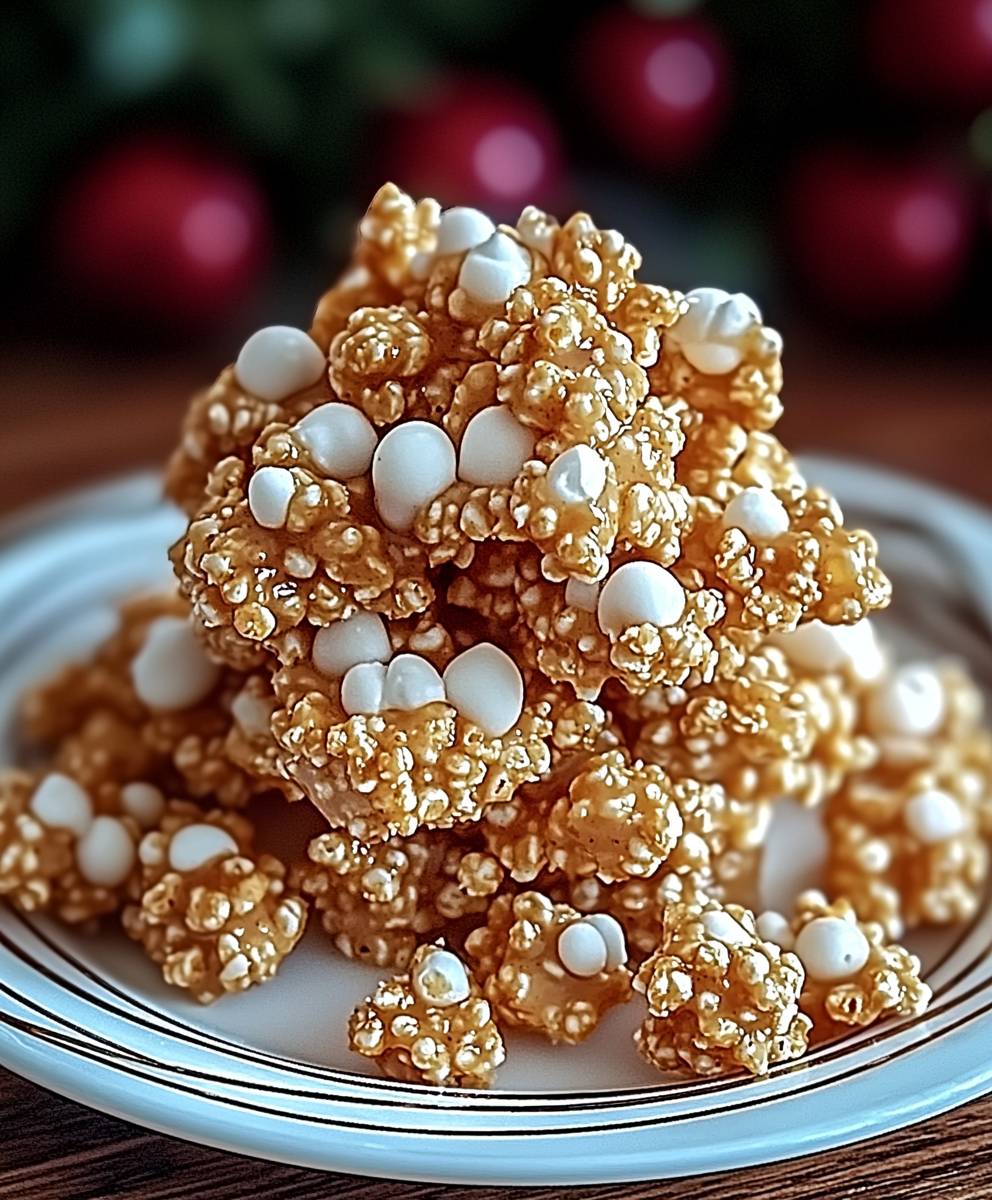
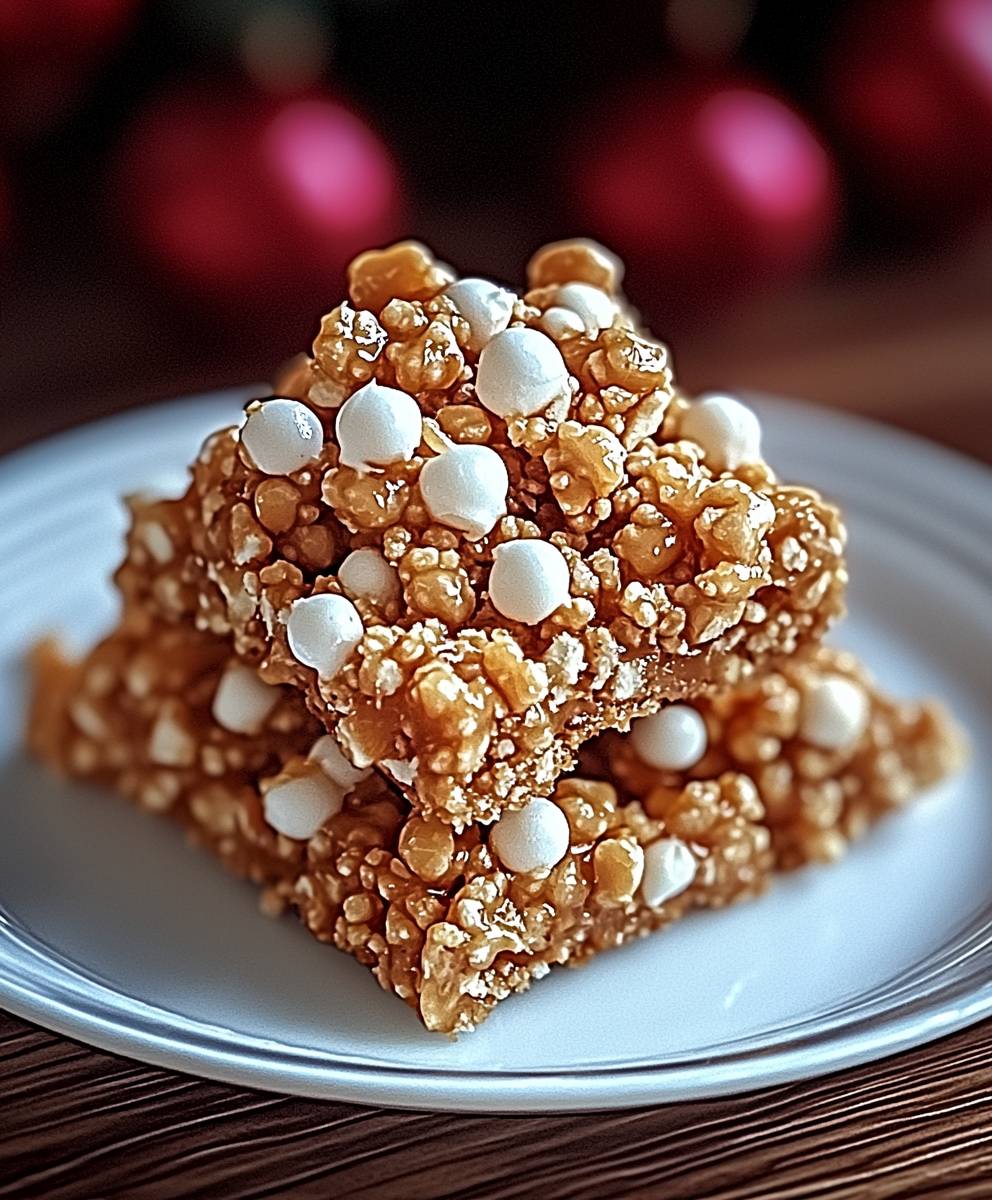
Butterscotch Crunchies: Prepare to be transported back to your childhood with this irresistible treat! Remember those after-school snacks that made everything better? Well, these aren’t just any cookies; they’re a nostalgic explosion of sweet, buttery goodness with a satisfying crunch that will have you reaching for seconds (and thirds!).
While the exact origins of butterscotch are debated, its rich, caramelized flavor has been a beloved indulgence for centuries. It’s no wonder that bakers have long sought ways to incorporate this delightful taste into cookies and other desserts. These Butterscotch Crunchies are a testament to that enduring love affair with butterscotch, offering a modern twist on a classic flavor.
What makes these cookies so special? It’s the perfect balance of textures and tastes. The chewy, buttery base is studded with crunchy bits that provide a delightful contrast in every bite. They’re also incredibly easy to make, requiring minimal ingredients and effort. Whether you’re baking for a holiday gathering, a bake sale, or simply a cozy night in, these cookies are guaranteed to be a crowd-pleaser. The warm, comforting aroma that fills your kitchen as they bake is an added bonus! So, let’s get baking and create some sweet memories with these amazing Butterscotch Crunchies!
Ingredients:
- 1 cup (2 sticks) unsalted butter, softened
- 1 cup granulated sugar
- 1 cup packed light brown sugar
- 2 large eggs
- 1 teaspoon vanilla extract
- 3 cups all-purpose flour
- 1 teaspoon baking soda
- 1/2 teaspoon salt
- 1 cup butterscotch chips
- 1 cup crushed butterscotch candies (like Werther’s Originals)
Preparing the Dough:
- Cream the Butter and Sugars: In a large bowl, or the bowl of your stand mixer, cream together the softened butter, granulated sugar, and light brown sugar until light and fluffy. This usually takes about 3-5 minutes. Make sure to scrape down the sides of the bowl occasionally to ensure everything is evenly mixed. You want a smooth, consistent mixture, free of any lumps of butter. The creaming process is crucial for incorporating air into the dough, which will result in a lighter, more tender cookie.
- Add the Eggs and Vanilla: Beat in the eggs one at a time, mixing well after each addition. Then, stir in the vanilla extract. Ensure the eggs are fully incorporated before adding the vanilla. The vanilla enhances the overall flavor profile of the cookies, complementing the butterscotch beautifully.
- Combine Dry Ingredients: In a separate medium bowl, whisk together the all-purpose flour, baking soda, and salt. Whisking ensures that the baking soda and salt are evenly distributed throughout the flour, which is essential for proper leavening and flavor balance.
- Gradually Add Dry Ingredients to Wet Ingredients: Gradually add the dry ingredients to the wet ingredients, mixing on low speed until just combined. Be careful not to overmix the dough, as this can develop the gluten in the flour and result in tough cookies. Mix until the flour is just incorporated, and then stop. A few streaks of flour are okay at this point.
- Fold in Butterscotch Chips and Candies: Gently fold in the butterscotch chips and crushed butterscotch candies until evenly distributed throughout the dough. I like to use a rubber spatula for this step to avoid overmixing. The butterscotch chips and candies are what give these cookies their signature butterscotch flavor and crunchy texture, so don’t skimp on them! Make sure they are evenly distributed so every cookie has a good amount of butterscotch goodness.
- Chill the Dough (Important!): Cover the bowl with plastic wrap and chill the dough in the refrigerator for at least 30 minutes, or up to 2 hours. Chilling the dough allows the gluten to relax, which will result in a more tender cookie. It also prevents the cookies from spreading too much during baking. If you’re short on time, 30 minutes is sufficient, but longer chilling times will result in even better cookies.
Baking the Cookies:
- Preheat Oven and Prepare Baking Sheets: Preheat your oven to 375°F (190°C). Line baking sheets with parchment paper or silicone baking mats. Parchment paper or silicone mats prevent the cookies from sticking to the baking sheets and make cleanup a breeze.
- Scoop and Arrange Dough: Use a cookie scoop or spoon to drop rounded tablespoons of dough onto the prepared baking sheets, leaving about 2 inches between each cookie. The cookies will spread during baking, so it’s important to leave enough space between them.
- Bake the Cookies: Bake for 9-11 minutes, or until the edges are golden brown and the centers are set. The baking time may vary depending on your oven, so keep a close eye on the cookies. You want them to be golden brown around the edges but still slightly soft in the center.
- Cool on Baking Sheets: Remove the baking sheets from the oven and let the cookies cool on the baking sheets for a few minutes before transferring them to a wire rack to cool completely. This allows the cookies to firm up slightly and prevents them from breaking when you transfer them.
Tips and Variations:
- For extra crunch: Before baking, sprinkle a few extra crushed butterscotch candies on top of each cookie. This will add even more crunch and butterscotch flavor.
- Nutty Butterscotch: Add 1/2 cup of chopped pecans or walnuts to the dough for a nutty twist. The nuts complement the butterscotch flavor beautifully.
- Salted Butterscotch: Sprinkle a pinch of sea salt on top of the cookies immediately after baking to enhance the sweetness and create a salted butterscotch flavor.
- Chocolate Butterscotch: Add 1/2 cup of chocolate chips (milk, dark, or semi-sweet) to the dough for a chocolate butterscotch combination.
- Storage: Store the cooled cookies in an airtight container at room temperature for up to 5 days. They can also be frozen for longer storage.
- Soft Butter: Make sure your butter is properly softened. It should be soft enough to easily cream with the sugars, but not melted. If the butter is too soft, the cookies may spread too much during baking.
- Don’t Overbake: Overbaking will result in dry, crumbly cookies. Keep a close eye on them and remove them from the oven when the edges are golden brown and the centers are set.
- Even Baking: For even baking, rotate the baking sheets halfway through the baking time. This will ensure that all the cookies are baked evenly.
- High Altitude Adjustments: If you live at a high altitude, you may need to adjust the recipe slightly. Try reducing the amount of sugar by 1-2 tablespoons and adding 1-2 tablespoons of extra flour. You may also need to increase the baking time slightly.
- Butterscotch Extract: For an even more intense butterscotch flavor, add 1/2 teaspoon of butterscotch extract to the dough along with the vanilla extract.
- Make them bigger: For larger cookies, use a larger cookie scoop and increase the baking time by a few minutes.
- Make them smaller: For smaller cookies, use a smaller cookie scoop and reduce the baking time by a few minutes. These are great for parties or snacking!
Troubleshooting:
- Cookies spreading too much: This is usually caused by using butter that is too soft or not chilling the dough long enough. Make sure your butter is properly softened, but not melted, and chill the dough for at least 30 minutes before baking.
- Cookies are too dry: This is usually caused by overbaking. Keep a close eye on the cookies and remove them from the oven when the edges are golden brown and the centers are set.
- Cookies are too hard: This can be caused by overmixing the dough or using too much flour. Be careful not to overmix the dough, and measure the flour accurately.
- Cookies are not spreading enough: This can be caused by using too much flour or not enough butter. Make sure you are measuring the flour accurately, and use the correct amount of butter.
Enjoy your delicious Butterscotch Crunchies!
Conclusion:
So there you have it! These Butterscotch Crunchies are more than just a cookie; they’re a little bite of happiness, a nostalgic trip down memory lane, and a guaranteed crowd-pleaser all rolled into one delightfully crunchy package. I truly believe this recipe is a must-try for anyone who loves a good homemade treat. The combination of the rich, buttery butterscotch flavor with the satisfying crunch is simply irresistible. It’s the kind of cookie that disappears quickly, leaving everyone wanting more.
But why is it a must-try, you ask? Well, beyond the incredible taste and texture, it’s also surprisingly easy to make. You don’t need to be a seasoned baker to whip up a batch of these beauties. The ingredients are simple and readily available, and the instructions are straightforward. Plus, the recipe is incredibly versatile.
Looking for serving suggestions? These Butterscotch Crunchies are perfect on their own, enjoyed with a glass of cold milk or a steaming cup of coffee. They make a wonderful addition to any cookie platter, and they’re also fantastic crumbled over ice cream or yogurt for a little extra sweetness and crunch. Imagine them as a topping for a butter pecan ice cream pure bliss!
And speaking of versatility, let’s talk variations! Feel free to get creative and customize this recipe to your liking. Add a handful of chopped pecans or walnuts for an even nuttier flavor. Drizzle them with melted chocolate for an extra touch of decadence. Or, if you’re feeling adventurous, try adding a pinch of sea salt to the dough to enhance the butterscotch flavor. You could even experiment with different extracts, like vanilla or almond, to create your own unique twist. Another fun idea is to dip half of each cookie in melted white chocolate and then sprinkle with crushed pretzels for a sweet and salty treat. The possibilities are endless!
I’ve made these Butterscotch Crunchies countless times, and they always disappear in a flash. They’re perfect for bake sales, potlucks, holiday gatherings, or simply a cozy night in. They also make a thoughtful and delicious homemade gift for friends and family. Trust me, once you try this recipe, it will become a staple in your baking repertoire.
I’m so confident that you’ll love these cookies that I urge you to give them a try. Don’t be intimidated by baking; this recipe is truly foolproof. Gather your ingredients, preheat your oven, and get ready to experience the joy of homemade Butterscotch Crunchies.
And most importantly, I want to hear about your experience! Did you try the recipe? Did you make any variations? What did your family and friends think? Share your photos and stories with me in the comments below. I can’t wait to see your creations and hear all about your baking adventures. Happy baking! I hope you enjoy these as much as I do. They are truly a special treat.
Butterscotch Crunchies: The Ultimate Guide to Homemade Perfection
Chewy butterscotch cookies with butterscotch chips and crunchy crushed butterscotch candies. Easy to make and irresistible!
Ingredients
- 1 cup (2 sticks) unsalted butter, softened
- 1 cup granulated sugar
- 1 cup packed light brown sugar
- 2 large eggs
- 1 teaspoon vanilla extract
- 3 cups all-purpose flour
- 1 teaspoon baking soda
- 1/2 teaspoon salt
- 1 cup butterscotch chips
- 1 cup crushed butterscotch candies (like Werther’s Originals)
Instructions
- Cream the Butter and Sugars: In a large bowl, or the bowl of your stand mixer, cream together the softened butter, granulated sugar, and light brown sugar until light and fluffy (3-5 minutes). Scrape down the sides of the bowl occasionally.
- Add the Eggs and Vanilla: Beat in the eggs one at a time, mixing well after each addition. Stir in the vanilla extract.
- Combine Dry Ingredients: In a separate medium bowl, whisk together the all-purpose flour, baking soda, and salt.
- Gradually Add Dry Ingredients to Wet Ingredients: Gradually add the dry ingredients to the wet ingredients, mixing on low speed until just combined. Be careful not to overmix.
- Fold in Butterscotch Chips and Candies: Gently fold in the butterscotch chips and crushed butterscotch candies until evenly distributed.
- Chill the Dough (Important!): Cover the bowl with plastic wrap and chill the dough in the refrigerator for at least 30 minutes, or up to 2 hours.
- Preheat Oven and Prepare Baking Sheets: Preheat your oven to 375°F (190°C). Line baking sheets with parchment paper or silicone baking mats.
- Scoop and Arrange Dough: Use a cookie scoop or spoon to drop rounded tablespoons of dough onto the prepared baking sheets, leaving about 2 inches between each cookie.
- Bake the Cookies: Bake for 9-11 minutes, or until the edges are golden brown and the centers are set.
- Cool on Baking Sheets: Remove the baking sheets from the oven and let the cookies cool on the baking sheets for a few minutes before transferring them to a wire rack to cool completely.
Notes
- For extra crunch: Before baking, sprinkle a few extra crushed butterscotch candies on top of each cookie.
- Nutty Butterscotch: Add 1/2 cup of chopped pecans or walnuts to the dough for a nutty twist.
- Salted Butterscotch: Sprinkle a pinch of sea salt on top of the cookies immediately after baking to enhance the sweetness and create a salted butterscotch flavor.
- Chocolate Butterscotch: Add 1/2 cup of chocolate chips (milk, dark, or semi-sweet) to the dough for a chocolate butterscotch combination.
- Storage: Store the cooled cookies in an airtight container at room temperature for up to 5 days. They can also be frozen for longer storage.
- Soft Butter: Make sure your butter is properly softened. It should be soft enough to easily cream with the sugars, but not melted. If the butter is too soft, the cookies may spread too much during baking.
- Don’t Overbake: Overbaking will result in dry, crumbly cookies. Keep a close eye on them and remove them from the oven when the edges are golden brown and the centers are set.
- Even Baking: For even baking, rotate the baking sheets halfway through the baking time. This will ensure that all the cookies are baked evenly.
- High Altitude Adjustments: If you live at a high altitude, you may need to adjust the recipe slightly. Try reducing the amount of sugar by 1-2 tablespoons and adding 1-2 tablespoons of extra flour. You may also need to increase the baking time slightly.
- Butterscotch Extract: For an even more intense butterscotch flavor, add 1/2 teaspoon of butterscotch extract to the dough along with the vanilla extract.
- Make them bigger: For larger cookies, use a larger cookie scoop and increase the baking time by a few minutes.
- Make them smaller: For smaller cookies, use a smaller cookie scoop and reduce the baking time by a few minutes. These are great for parties or snacking!