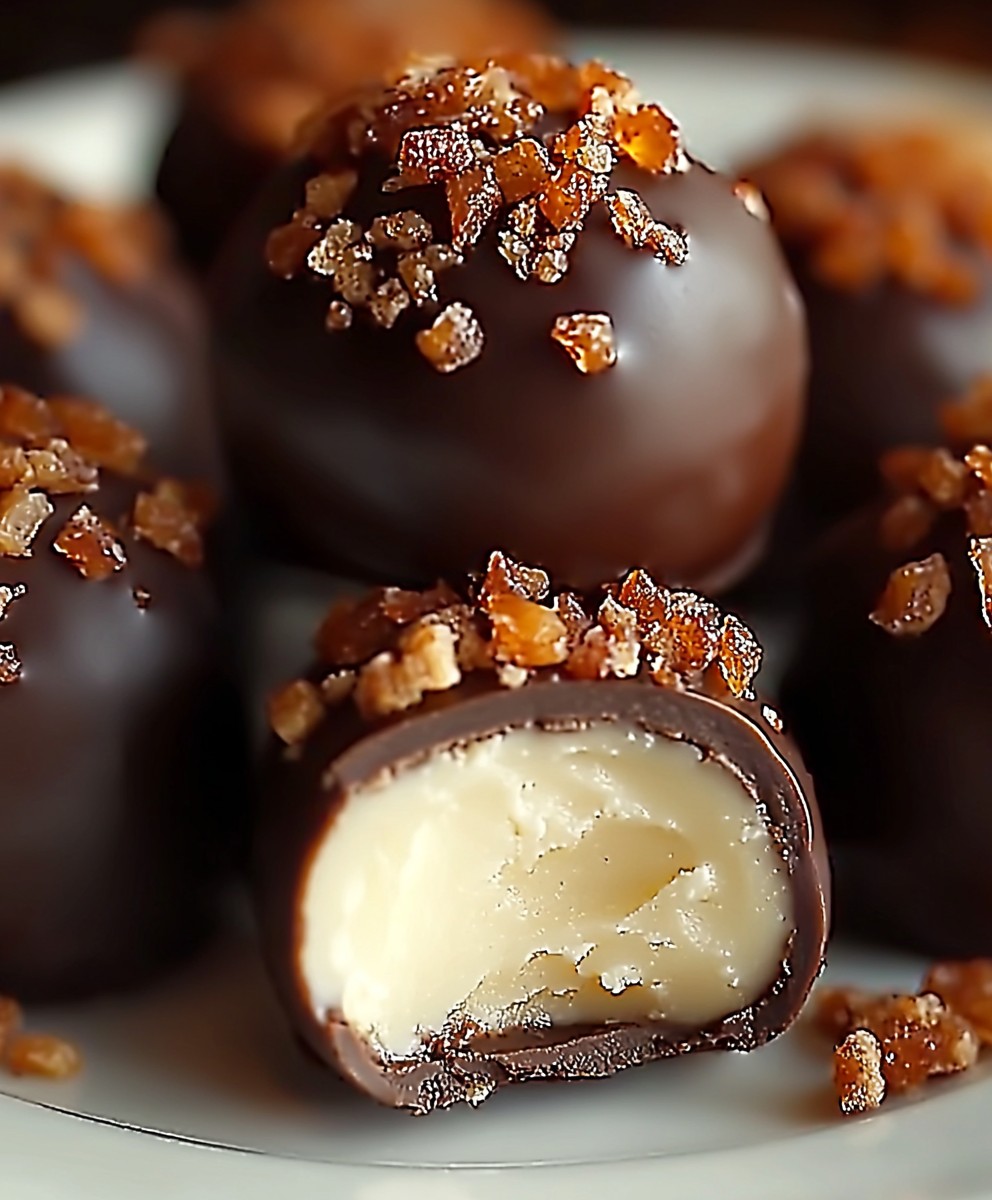
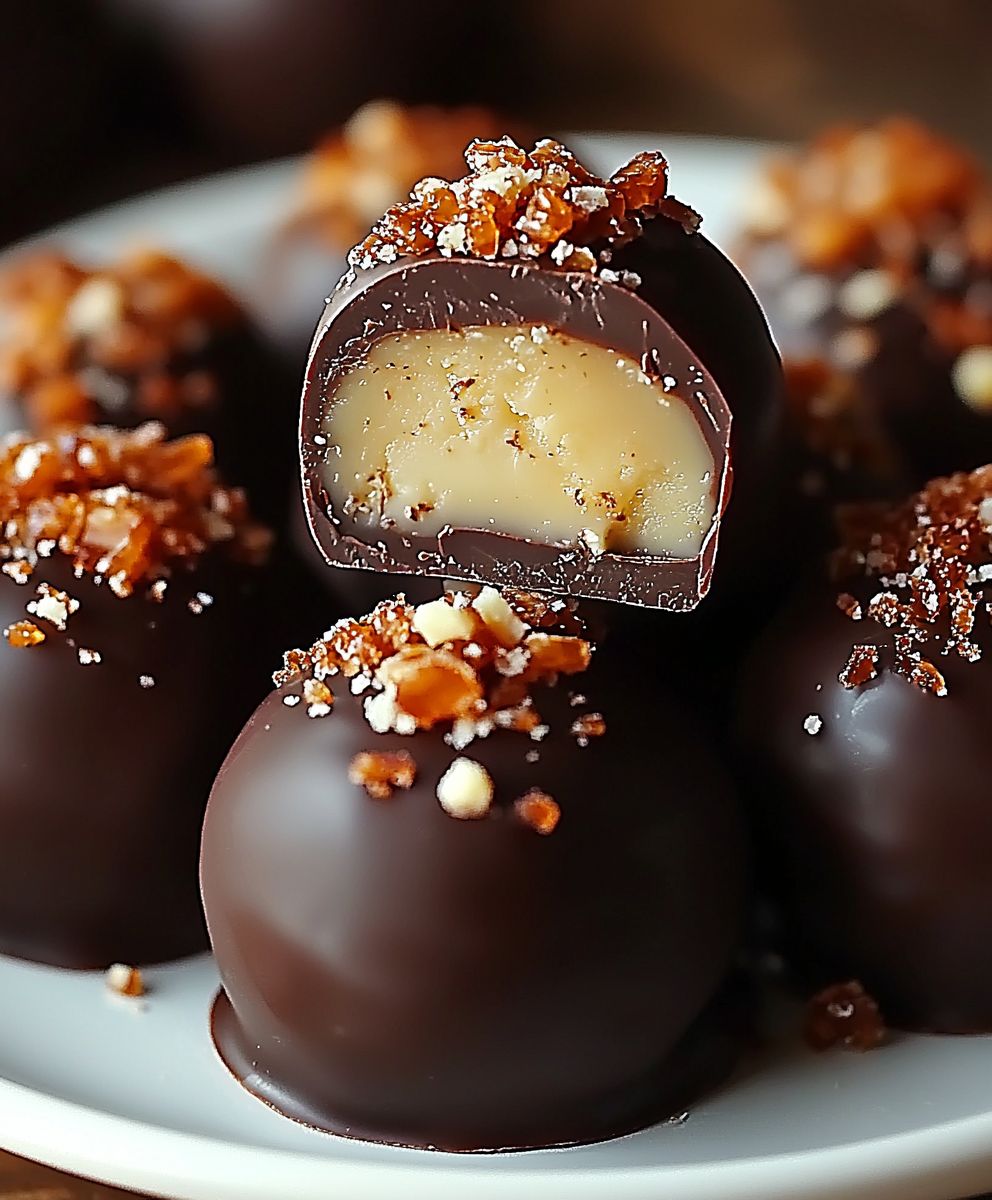
Butterfinger Chocolate Caramel Truffles: Prepare to enter a realm of pure, unadulterated indulgence! Imagine biting into a decadent chocolate shell that gives way to a creamy, dreamy caramel center, studded with the unmistakable, irresistible crunch of Butterfinger candy. These aren’t just truffles; they’re a symphony of textures and flavors that will have you saying “goodbye” to store-bought sweets forever.
While the exact origins of combining chocolate, caramel, and peanut butter are somewhat shrouded in delicious mystery, the combination has become a beloved staple in American confectionery. Think of the iconic candy bars that have graced our shelves for generations! This recipe takes that classic combination and elevates it to a sophisticated, yet playful, truffle form.
What makes these Butterfinger Chocolate Caramel Truffles so incredibly popular? It’s the perfect balance of sweet and salty, smooth and crunchy. The rich, dark chocolate provides a counterpoint to the sweet caramel, while the Butterfinger adds a delightful peanut butter flavor and that signature crispy texture that everyone adores. Plus, they’re surprisingly easy to make! Whether you’re looking for a show-stopping dessert for a special occasion or a delightful homemade gift, these truffles are guaranteed to impress. Get ready to experience a taste of pure bliss!
Ingredients:
- For the Butterfinger Filling:
- 1 cup Butterfinger candy bars, finely chopped (about 6 fun-size bars)
- 4 ounces cream cheese, softened
- 1/4 cup powdered sugar
- 1/4 teaspoon vanilla extract
- Pinch of salt
- For the Chocolate Caramel Coating:
- 12 ounces semi-sweet chocolate chips
- 2 tablespoons coconut oil (or vegetable shortening)
- 1/2 cup caramel bits (or chopped caramel candies)
- 1 tablespoon heavy cream
- Optional: Additional chopped Butterfinger candy bars for garnish
Preparing the Butterfinger Filling:
- First, let’s get our Butterfinger filling ready. This part is super easy! Make sure your cream cheese is nice and soft this will help everything blend together smoothly. If you forgot to take it out of the fridge ahead of time, you can microwave it for a few seconds, but be careful not to melt it!
- In a medium-sized bowl, combine the softened cream cheese, powdered sugar, vanilla extract, and a pinch of salt. I like to use an electric mixer for this, but you can definitely do it by hand. Just make sure everything is well combined and there are no lumps of cream cheese.
- Now for the best part the Butterfingers! Add the finely chopped Butterfinger candy bars to the cream cheese mixture. Gently fold them in until they are evenly distributed. You don’t want to overmix, just enough to incorporate the candy.
- Once everything is mixed, cover the bowl with plastic wrap and pop it into the refrigerator. We need to chill this mixture for at least 30 minutes, or even better, an hour. This will help it firm up and make it easier to roll into truffles. Trust me, this step is important!
Forming the Truffle Centers:
- After the Butterfinger filling has chilled, it’s time to form the truffle centers. Get a baking sheet ready and line it with parchment paper or a silicone baking mat. This will prevent the truffles from sticking.
- Using a small cookie scoop or a spoon, scoop out about a tablespoon of the Butterfinger mixture. Roll it between your palms to form a smooth ball. Don’t worry if they’re not perfectly round they’ll still taste amazing!
- Place each truffle ball onto the prepared baking sheet. Repeat until all of the Butterfinger mixture is used up. You should end up with around 20-24 truffles, depending on the size of your scoops.
- Once all the truffles are formed, put the baking sheet back into the refrigerator (or even the freezer for a few minutes) to firm them up even more. This will make the dipping process much easier and less messy.
Preparing the Chocolate Caramel Coating:
- While the truffles are chilling, let’s get the chocolate caramel coating ready. This is where the magic happens! In a heat-safe bowl, combine the semi-sweet chocolate chips and coconut oil (or vegetable shortening). The coconut oil helps to thin out the chocolate and gives it a nice shine.
- Melt the chocolate and coconut oil using your preferred method. You can either use a double boiler or microwave it in 30-second intervals, stirring in between, until smooth. Be careful not to overheat the chocolate, as it can seize up and become grainy.
- Once the chocolate is melted and smooth, add the caramel bits and heavy cream to the bowl. Stir until the caramel is completely melted and incorporated into the chocolate. The heavy cream will help to create a smooth and creamy caramel flavor.
- If the coating is too thick, you can add a little more heavy cream, a teaspoon at a time, until it reaches your desired consistency. You want it to be thin enough to easily coat the truffles, but not so thin that it runs off completely.
Dipping and Decorating the Truffles:
- Now for the fun part dipping the truffles! Take the baking sheet with the chilled truffle centers out of the refrigerator.
- Using a fork or dipping tools, carefully dip each truffle into the melted chocolate caramel coating. Make sure the entire truffle is covered.
- Lift the truffle out of the coating and gently tap the fork against the side of the bowl to remove any excess chocolate.
- Place the dipped truffle back onto the parchment-lined baking sheet.
- If you want to add a garnish, now is the time to do it! Sprinkle some chopped Butterfinger candy bars over the top of each truffle while the chocolate is still wet. This will add extra flavor and a nice visual appeal.
- Repeat the dipping and decorating process until all of the truffles are coated.
- Once all the truffles are dipped and decorated, put the baking sheet back into the refrigerator to allow the chocolate to set completely. This usually takes about 30 minutes to an hour.
Storing and Serving:
- Once the chocolate has set, the Butterfinger Chocolate Caramel Truffles are ready to be enjoyed!
- Store the truffles in an airtight container in the refrigerator. They will keep for up to a week, but I doubt they’ll last that long!
- These truffles are perfect for parties, holidays, or just a special treat for yourself. They also make a great gift for friends and family.
- For the best flavor, let the truffles sit at room temperature for a few minutes before serving. This will allow the chocolate to soften slightly and the flavors to meld together.
- Enjoy your homemade Butterfinger Chocolate Caramel Truffles! I hope you love them as much as I do.

Conclusion:
And there you have it! These Butterfinger Chocolate Caramel Truffles are more than just a dessert; they’re an experience. The perfect balance of creamy, crunchy, and chocolatey goodness makes them utterly irresistible. Seriously, if you’re looking for a show-stopping treat that will impress your friends and family (or just satisfy your own sweet tooth!), this is it. I’ve made these for countless occasions, from holiday gatherings to casual movie nights, and they’re always a hit.
Why are these truffles a must-try? Well, first, the flavor combination is simply divine. The rich, smooth chocolate ganache perfectly complements the salty-sweet crunch of the Butterfinger pieces and the gooey, decadent caramel. Second, they’re surprisingly easy to make. While they look fancy and impressive, the process is straightforward and doesn’t require any special equipment or advanced baking skills. Third, they’re incredibly versatile. You can customize them to your liking by using different types of chocolate, adding other mix-ins, or even drizzling them with a contrasting chocolate color for a more elegant presentation.
Speaking of variations, let’s talk about some serving suggestions and creative twists you can put on these little gems. For a truly decadent experience, try serving them chilled alongside a scoop of vanilla ice cream or a dollop of whipped cream. You could also crumble a few truffles over a warm brownie or use them as a topping for a chocolate milkshake.
If you’re feeling adventurous, consider experimenting with different types of chocolate. Dark chocolate will add a richer, more intense flavor, while white chocolate will create a sweeter, more delicate truffle. You could also try using a flavored chocolate, such as mint or raspberry, to add a unique twist.
Another fun variation is to add other mix-ins to the ganache. Chopped nuts, such as pecans or walnuts, would add a nice crunch and nutty flavor. You could also add a pinch of sea salt to enhance the sweetness of the caramel and chocolate. For a spicy kick, try adding a pinch of cayenne pepper to the ganache.
For a more festive presentation, consider rolling the truffles in different toppings. Crushed pretzels, chopped nuts, or sprinkles would all add a fun and colorful touch. You could also drizzle them with melted chocolate or dust them with cocoa powder.
No matter how you choose to make them, I’m confident that these Butterfinger Chocolate Caramel Truffles will be a huge success. They’re the perfect treat for any occasion, and they’re sure to impress everyone who tries them.
So, what are you waiting for? Grab your ingredients and get ready to indulge in some serious chocolatey goodness. I promise you won’t regret it!
I’m so excited for you to try this recipe! Once you’ve made your own batch of these irresistible truffles, please come back and share your experience in the comments below. I’d love to hear what you think and see any variations you’ve come up with. Did you use a different type of chocolate? Did you add any unique mix-ins? Did you find a creative way to present them? Let me know! Your feedback is invaluable, and it helps me to improve my recipes and create even more delicious treats for you to enjoy. Happy truffle-making!
Butterfinger Chocolate Caramel Truffles: A Deliciously Easy Recipe
Creamy Butterfinger filling coated in rich chocolate caramel. Perfect for parties, gifts, or a special treat.
Ingredients
- 1 cup Butterfinger candy bars, finely chopped (about 6 fun-size bars)
- 4 ounces cream cheese, softened
- 1/4 cup powdered sugar
- 1/4 teaspoon vanilla extract
- Pinch of salt
- 12 ounces semi-sweet chocolate chips
- 2 tablespoons coconut oil (or vegetable shortening)
- 1/2 cup caramel bits (or chopped caramel candies)
- 1 tablespoon heavy cream
- Optional: Additional chopped Butterfinger candy bars for garnish
Instructions
- Prepare the Butterfinger Filling: In a medium bowl, combine softened cream cheese, powdered sugar, vanilla extract, and salt. Mix until smooth.
- Add finely chopped Butterfinger candy bars and gently fold them in until evenly distributed.
- Cover the bowl with plastic wrap and refrigerate for at least 30 minutes (or up to an hour) to firm up.
- Form the Truffle Centers: Line a baking sheet with parchment paper or a silicone baking mat.
- Scoop out about a tablespoon of the chilled Butterfinger mixture and roll it between your palms to form a smooth ball.
- Place each truffle ball onto the prepared baking sheet. Repeat until all the mixture is used.
- Refrigerate (or freeze briefly) the formed truffles to firm them up further.
- Prepare the Chocolate Caramel Coating: In a heat-safe bowl, combine semi-sweet chocolate chips and coconut oil.
- Melt the chocolate and coconut oil using a double boiler or microwave in 30-second intervals, stirring in between, until smooth.
- Add caramel bits and heavy cream to the melted chocolate. Stir until the caramel is completely melted and incorporated.
- If the coating is too thick, add more heavy cream, a teaspoon at a time, until desired consistency is reached.
- Dip and Decorate the Truffles: Take the chilled truffle centers out of the refrigerator.
- Using a fork or dipping tools, carefully dip each truffle into the melted chocolate caramel coating, ensuring it’s fully covered.
- Lift the truffle and tap the fork to remove excess chocolate.
- Place the dipped truffle back onto the parchment-lined baking sheet.
- Sprinkle chopped Butterfinger candy bars over the top of each truffle while the chocolate is still wet (optional).
- Repeat the dipping and decorating process until all truffles are coated.
- Refrigerate the truffles to allow the chocolate to set completely (about 30 minutes to an hour).
- Storing and Serving: Store the truffles in an airtight container in the refrigerator for up to a week.
- Let the truffles sit at room temperature for a few minutes before serving for the best flavor.
Notes
- Make sure your cream cheese is softened for a smooth filling.
- Chilling the Butterfinger filling and formed truffles is crucial for easy handling.
- Be careful not to overheat the chocolate when melting.
- Adjust the amount of heavy cream in the coating to achieve the desired consistency.
- Garnish with additional chopped Butterfinger candy bars for extra flavor and visual appeal.


