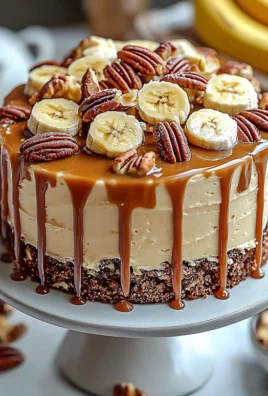
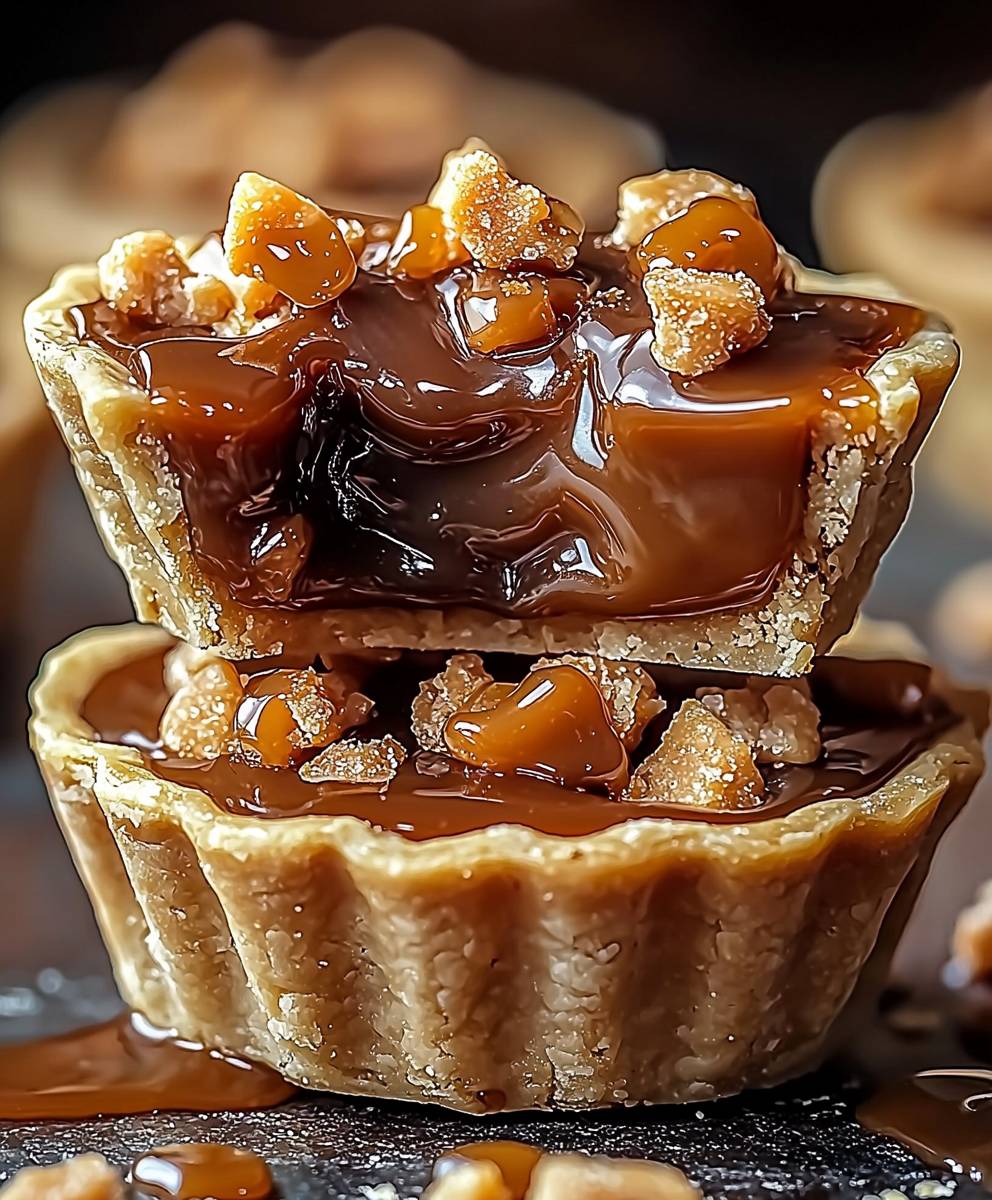
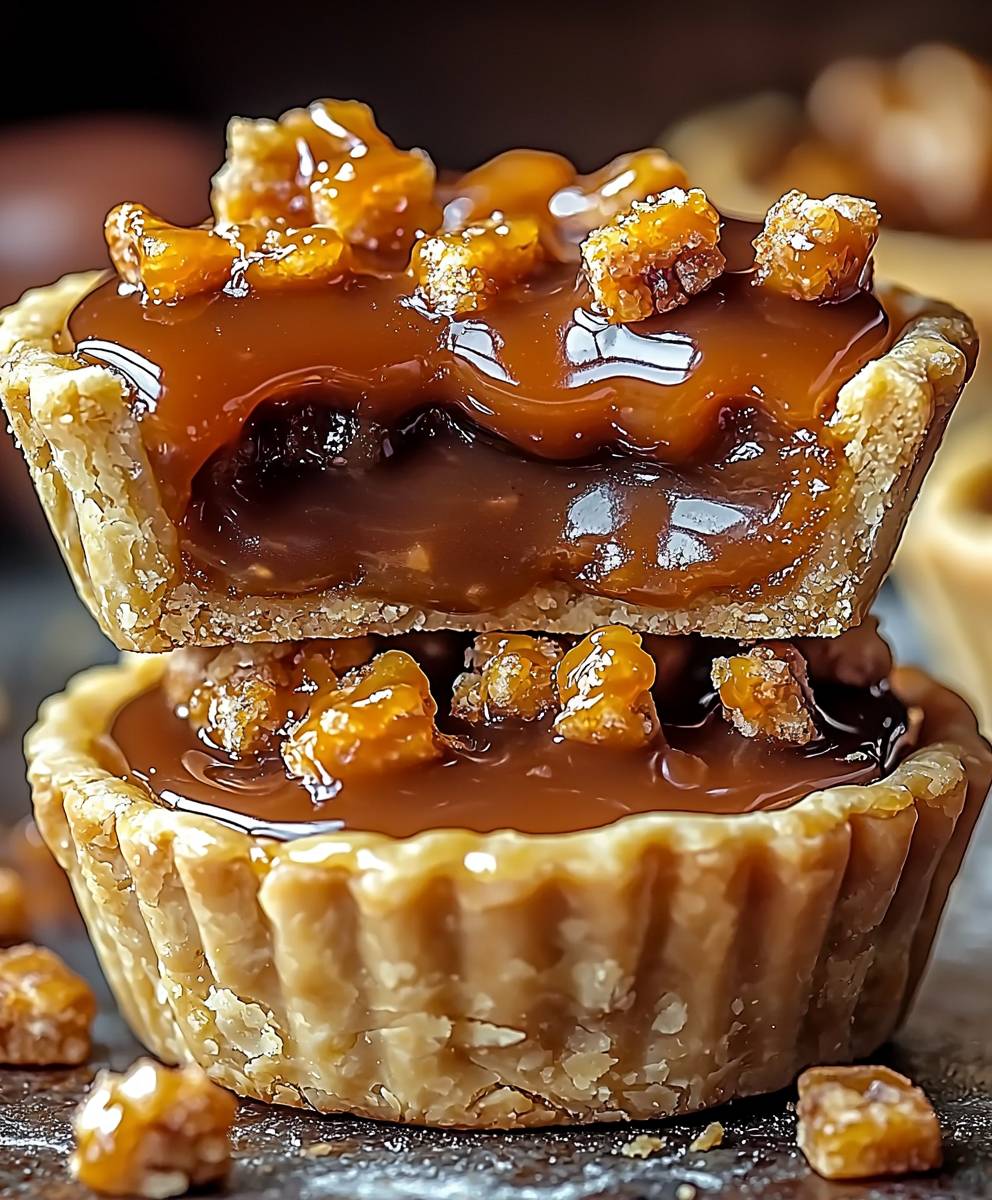
Butterfinger Caramel Mini Pies: Prepare to be utterly captivated by these irresistible bite-sized treats! Imagine the satisfying crunch of a Butterfinger candy bar, the smooth, gooey embrace of caramel, all nestled within a perfectly crisp, buttery pie crust. These aren’t just desserts; they’re miniature explosions of flavor and texture that will have everyone begging for more.
While the Butterfinger candy bar itself doesn’t boast centuries of tradition, its introduction in the 1920s marked a significant moment in American confectionery history. Its unique combination of peanut butter and crunchy corn flakes quickly captured the hearts (and taste buds) of generations. Now, we’re taking that beloved flavor profile and elevating it to a new level of decadence with these delightful mini pies.
What makes these Butterfinger Caramel Mini Pies so universally appealing? It’s the symphony of textures the creamy caramel, the flaky crust, and the signature Butterfinger crunch. They’re also incredibly convenient. Perfect for parties, potlucks, or even a simple weeknight indulgence, these mini pies are easy to make, easy to transport, and even easier to devour. The combination of sweet, salty, and crunchy is simply irresistible, making them a guaranteed crowd-pleaser. Get ready to experience a taste sensation that will leave you wanting more!
Ingredients:
- For the Crust:
- 1 ½ cups all-purpose flour
- ½ teaspoon salt
- ½ cup (1 stick) cold unsalted butter, cut into small cubes
- ¼ cup cold vegetable shortening, cut into small pieces
- 5-7 tablespoons ice water
- For the Caramel Filling:
- 1 cup granulated sugar
- 6 tablespoons (¾ stick) unsalted butter, cut into pieces
- ½ cup heavy cream
- 1 teaspoon vanilla extract
- ½ teaspoon sea salt
- For the Butterfinger Crumble Topping:
- 6 fun-size Butterfinger candy bars, coarsely chopped
- ¼ cup all-purpose flour
- 2 tablespoons cold unsalted butter, cut into small pieces
- 2 tablespoons packed light brown sugar
- For Assembly:
- 1 fun-size Butterfinger candy bar, finely chopped (for garnish)
- Whipped cream or vanilla ice cream (optional, for serving)
Preparing the Crust:
- In a large bowl, whisk together the flour and salt.
- Add the cold butter and shortening to the flour mixture. Using a pastry blender or your fingertips, cut the butter and shortening into the flour until the mixture resembles coarse crumbs. You should still see small pieces of butter and shortening. This is crucial for a flaky crust!
- Gradually add the ice water, one tablespoon at a time, mixing gently after each addition. Continue adding water until the dough just comes together. Be careful not to overmix, as this will develop the gluten and result in a tough crust.
- Form the dough into a disc, wrap it tightly in plastic wrap, and refrigerate for at least 30 minutes. This allows the gluten to relax and the butter to firm up, which will prevent the crust from shrinking during baking. I usually chill it for an hour, just to be safe!
- While the dough is chilling, preheat your oven to 375°F (190°C).
- Lightly grease a 12-cup muffin tin. You can also use cupcake liners if you prefer, but I like the rustic look of the pies baked directly in the tin.
- On a lightly floured surface, roll out the chilled dough to about 1/8-inch thickness.
- Use a 3-inch round cookie cutter (or a glass with a 3-inch diameter) to cut out circles from the dough.
- Gently press each circle into the prepared muffin tin cups, making sure the dough comes up the sides.
- Prick the bottom of each crust with a fork to prevent them from puffing up during baking.
- Bake the crusts for 12-15 minutes, or until they are lightly golden brown. Keep a close eye on them, as they can burn easily.
- Remove the muffin tin from the oven and let the crusts cool completely in the tin before filling.
Making the Caramel Filling:
- In a medium saucepan, combine the granulated sugar and ¼ cup of water.
- Cook over medium heat, without stirring, until the sugar melts and turns into a deep amber color. This will take about 8-10 minutes. Be patient and don’t stir! You can swirl the pan gently if needed to ensure even cooking.
- Once the sugar has caramelized, remove the saucepan from the heat and carefully add the butter. It will bubble vigorously, so be cautious!
- Stir until the butter is completely melted and incorporated into the caramel.
- Slowly pour in the heavy cream, stirring constantly. The mixture will bubble up again, so be careful!
- Return the saucepan to medium heat and cook, stirring constantly, until the caramel is smooth and thickened, about 2-3 minutes.
- Remove from heat and stir in the vanilla extract and sea salt.
- Let the caramel cool slightly before filling the crusts. This will prevent the crusts from becoming soggy.
Preparing the Butterfinger Crumble Topping:
- In a medium bowl, combine the chopped Butterfinger candy bars, flour, cold butter, and brown sugar.
- Use your fingertips or a pastry blender to cut the butter into the mixture until it resembles coarse crumbs.
- Set aside until ready to use.
Assembling the Mini Pies:
- Once the crusts have cooled completely, spoon the slightly cooled caramel filling into each crust, filling them almost to the top.
- Sprinkle the Butterfinger crumble topping evenly over the caramel filling in each pie.
- Bake the mini pies in the preheated oven for 8-10 minutes, or until the topping is golden brown and the caramel is bubbly.
- Remove the muffin tin from the oven and let the mini pies cool completely in the tin before removing them. This will allow the caramel to set and prevent them from falling apart.
- Once cooled, carefully remove the mini pies from the muffin tin. A thin spatula can help with this.
- Garnish with finely chopped Butterfinger candy bar pieces.
- Serve immediately or store in an airtight container at room temperature for up to 3 days.
- Optional: Serve with a dollop of whipped cream or a scoop of vanilla ice cream for an extra decadent treat!
Tips and Tricks for Perfect Butterfinger Caramel Mini Pies:
- Keep your ingredients cold: Cold butter and shortening are essential for a flaky crust. Make sure your butter and shortening are very cold before you start, and use ice water to bring the dough together.
- Don’t overmix the dough: Overmixing develops the gluten in the flour, which will result in a tough crust. Mix the dough just until it comes together, and then stop.
- Chill the dough: Chilling the dough allows the gluten to relax and the butter to firm up, which will prevent the crust from shrinking during baking.
- Use a pastry blender or your fingertips: A pastry blender or your fingertips are the best tools for cutting the butter and shortening into the flour. This will create small pockets of fat that will melt during baking, resulting in a flaky crust.
- Don’t stir the caramel while it’s cooking: Stirring the caramel can cause it to crystallize. Let the sugar melt and turn into a deep amber color without stirring. You can swirl the pan gently if needed.
- Be careful when adding the butter and cream to the caramel: The mixture will bubble vigorously when you add the butter and cream, so be cautious. Use a long-handled spoon and stand back to avoid getting splattered.
- Let the caramel cool slightly before filling the crusts: This will prevent the crusts from becoming soggy.
- Cool the mini pies completely before removing them from the muffin tin: This will allow the caramel to set and prevent them from falling apart.
- Get creative with the toppings: Feel free to experiment with different toppings, such as chopped nuts, chocolate shavings, or a drizzle of melted chocolate.
Variations:
- Chocolate Crust: Add 2 tablespoons of unsweetened cocoa powder to the flour mixture for a chocolate crust.
- Peanut Butter Caramel: Add 2 tablespoons of peanut butter to the caramel filling for a peanut butter caramel flavor.
- Salted Caramel: Increase the amount of sea salt in the caramel filling to 1 teaspoon for a more pronounced salted caramel flavor.
- Different Candy Bar: Substitute the Butterfinger candy bars with other candy bars, such as Snickers, Twix, or Milky Way.
Conclusion:
These Butterfinger Caramel Mini Pies are, without a doubt, a dessert experience you absolutely must try. Seriously, stop what you’re doing and add these ingredients to your grocery list right now! The combination of the buttery, flaky crust, the gooey, rich caramel, and that unmistakable, crunchy Butterfinger flavor is simply divine. Its a symphony of textures and tastes that will have everyone begging for seconds (and thirds!).
But what makes these mini pies truly special is their versatility. They’re perfect for any occasion, from a casual weeknight treat to a show-stopping dessert at your next party. Imagine serving these at a potluck they’ll be the first thing to disappear, guaranteed! And because they’re mini, they’re perfectly portioned, making them ideal for satisfying your sweet tooth without overindulging (although, let’s be honest, you might want more than one!).
Beyond the basic recipe, there are so many ways to customize these little beauties. Feeling adventurous? Try adding a sprinkle of sea salt to the caramel for a salted caramel version that’s both sweet and savory. Or, for a chocolatey twist, drizzle melted dark chocolate over the top after they’ve cooled. You could even incorporate a layer of peanut butter between the crust and the caramel for an extra peanut butter punch! For a festive touch, consider adding a dollop of whipped cream and a sprinkle of crushed Butterfinger pieces on top.
Serving suggestions are endless! These mini pies are fantastic on their own, but they also pair beautifully with a scoop of vanilla ice cream or a dollop of freshly whipped cream. A warm cup of coffee or a glass of cold milk is the perfect accompaniment. And if you’re feeling extra fancy, try serving them with a drizzle of chocolate sauce and a sprinkle of chopped nuts.
I truly believe that this recipe is a winner. It’s easy to follow, uses readily available ingredients, and delivers incredible results. The hardest part is waiting for them to cool before you can dig in! Ive made these countless times, and theyre always a hit. My family raves about them, and my friends are constantly asking for the recipe. Im confident that you and your loved ones will enjoy them just as much.
So, what are you waiting for? Gather your ingredients, preheat your oven, and get ready to create some magic in the kitchen. I’m so excited for you to try these Butterfinger Caramel Mini Pies and experience the joy of biting into that perfect combination of textures and flavors.
And most importantly, I want to hear about your experience! Did you try any variations? Did you make them for a special occasion? What did your family and friends think? Please, share your photos and stories in the comments below. I can’t wait to see your creations and hear all about your baking adventures. Happy baking! Let me know if you have any questions, and I’ll do my best to help. I’m sure you’ll find that making these mini pies is as much fun as eating them!
Butterfinger Caramel Mini Pies: A Delicious & Easy Dessert Recipe
Flaky mini pies filled with gooey caramel and topped with a crunchy Butterfinger crumble.
Ingredients
- 1 ½ cups all-purpose flour
- ½ teaspoon salt
- ½ cup (1 stick) cold unsalted butter, cut into small cubes
- ¼ cup cold vegetable shortening, cut into small pieces
- 5-7 tablespoons ice water
- 1 cup granulated sugar
- 6 tablespoons (¾ stick) unsalted butter, cut into pieces
- ½ cup heavy cream
- 1 teaspoon vanilla extract
- ½ teaspoon sea salt
- 6 fun-size Butterfinger candy bars, coarsely chopped
- ¼ cup all-purpose flour
- 2 tablespoons cold unsalted butter, cut into small pieces
- 2 tablespoons packed light brown sugar
- 1 fun-size Butterfinger candy bar, finely chopped (for garnish)
- Whipped cream or vanilla ice cream (optional, for serving)
Instructions
- In a large bowl, whisk together the flour and salt.
- Add the cold butter and shortening to the flour mixture. Using a pastry blender or your fingertips, cut the butter and shortening into the flour until the mixture resembles coarse crumbs. You should still see small pieces of butter and shortening. This is crucial for a flaky crust!
- Gradually add the ice water, one tablespoon at a time, mixing gently after each addition. Continue adding water until the dough just comes together. Be careful not to overmix, as this will develop the gluten and result in a tough crust.
- Form the dough into a disc, wrap it tightly in plastic wrap, and refrigerate for at least 30 minutes. This allows the gluten to relax and the butter to firm up, which will prevent the crust from shrinking during baking.
- While the dough is chilling, preheat your oven to 375°F (190°C).
- Lightly grease a 12-cup muffin tin. You can also use cupcake liners if you prefer, but I like the rustic look of the pies baked directly in the tin.
- On a lightly floured surface, roll out the chilled dough to about 1/8-inch thickness.
- Use a 3-inch round cookie cutter (or a glass with a 3-inch diameter) to cut out circles from the dough.
- Gently press each circle into the prepared muffin tin cups, making sure the dough comes up the sides.
- Prick the bottom of each crust with a fork to prevent them from puffing up during baking.
- Bake the crusts for 12-15 minutes, or until they are lightly golden brown. Keep a close eye on them, as they can burn easily.
- Remove the muffin tin from the oven and let the crusts cool completely in the tin before filling.
- In a medium saucepan, combine the granulated sugar and ¼ cup of water.
- Cook over medium heat, without stirring, until the sugar melts and turns into a deep amber color. This will take about 8-10 minutes. Be patient and don’t stir! You can swirl the pan gently if needed to ensure even cooking.
- Once the sugar has caramelized, remove the saucepan from the heat and carefully add the butter. It will bubble vigorously, so be cautious!
- Stir until the butter is completely melted and incorporated into the caramel.
- Slowly pour in the heavy cream, stirring constantly. The mixture will bubble up again, so be careful!
- Return the saucepan to medium heat and cook, stirring constantly, until the caramel is smooth and thickened, about 2-3 minutes.
- Remove from heat and stir in the vanilla extract and sea salt.
- Let the caramel cool slightly before filling the crusts. This will prevent the crusts from becoming soggy.
- In a medium bowl, combine the chopped Butterfinger candy bars, flour, cold butter, and brown sugar.
- Use your fingertips or a pastry blender to cut the butter into the mixture until it resembles coarse crumbs.
- Set aside until ready to use.
- Once the crusts have cooled completely, spoon the slightly cooled caramel filling into each crust, filling them almost to the top.
- Sprinkle the Butterfinger crumble topping evenly over the caramel filling in each pie.
- Bake the mini pies in the preheated oven for 8-10 minutes, or until the topping is golden brown and the caramel is bubbly.
- Remove the muffin tin from the oven and let the mini pies cool completely in the tin before removing them. This will allow the caramel to set and prevent them from falling apart.
- Once cooled, carefully remove the mini pies from the muffin tin. A thin spatula can help with this.
- Garnish with finely chopped Butterfinger candy bar pieces.
- Serve immediately or store in an airtight container at room temperature for up to 3 days.
- Optional: Serve with a dollop of whipped cream or a scoop of vanilla ice cream for an extra decadent treat!
Notes
- Keep your ingredients cold: Cold butter and shortening are essential for a flaky crust. Make sure your butter and shortening are very cold before you start, and use ice water to bring the dough together.
- Don’t overmix the dough: Overmixing develops the gluten in the flour, which will result in a tough crust. Mix the dough just until it comes together, and then stop.
- Chill the dough: Chilling the dough allows the gluten to relax and the butter to firm up, which will prevent the crust from shrinking during baking.
- Use a pastry blender or your fingertips: A pastry blender or your fingertips are the best tools for cutting the butter and shortening into the flour. This will create small pockets of fat that will melt during baking, resulting in a flaky crust.
- Don’t stir the caramel while it’s cooking: Stirring the caramel can cause it to crystallize. Let the sugar melt and turn into a deep amber color without stirring. You can swirl the pan gently if needed.
- Be careful when adding the butter and cream to the caramel: The mixture will bubble vigorously when you add the butter and cream, so be cautious. Use a long-handled spoon and stand back to avoid getting splattered.
- Let the caramel cool slightly before filling the crusts: This will prevent the crusts from becoming soggy.
- Cool the mini pies completely before removing them from the muffin tin: This will allow the caramel to set and prevent them from falling apart.
- Get creative with the toppings: Feel free to experiment with different toppings, such as chopped nuts, chocolate shavings, or a drizzle of melted chocolate.