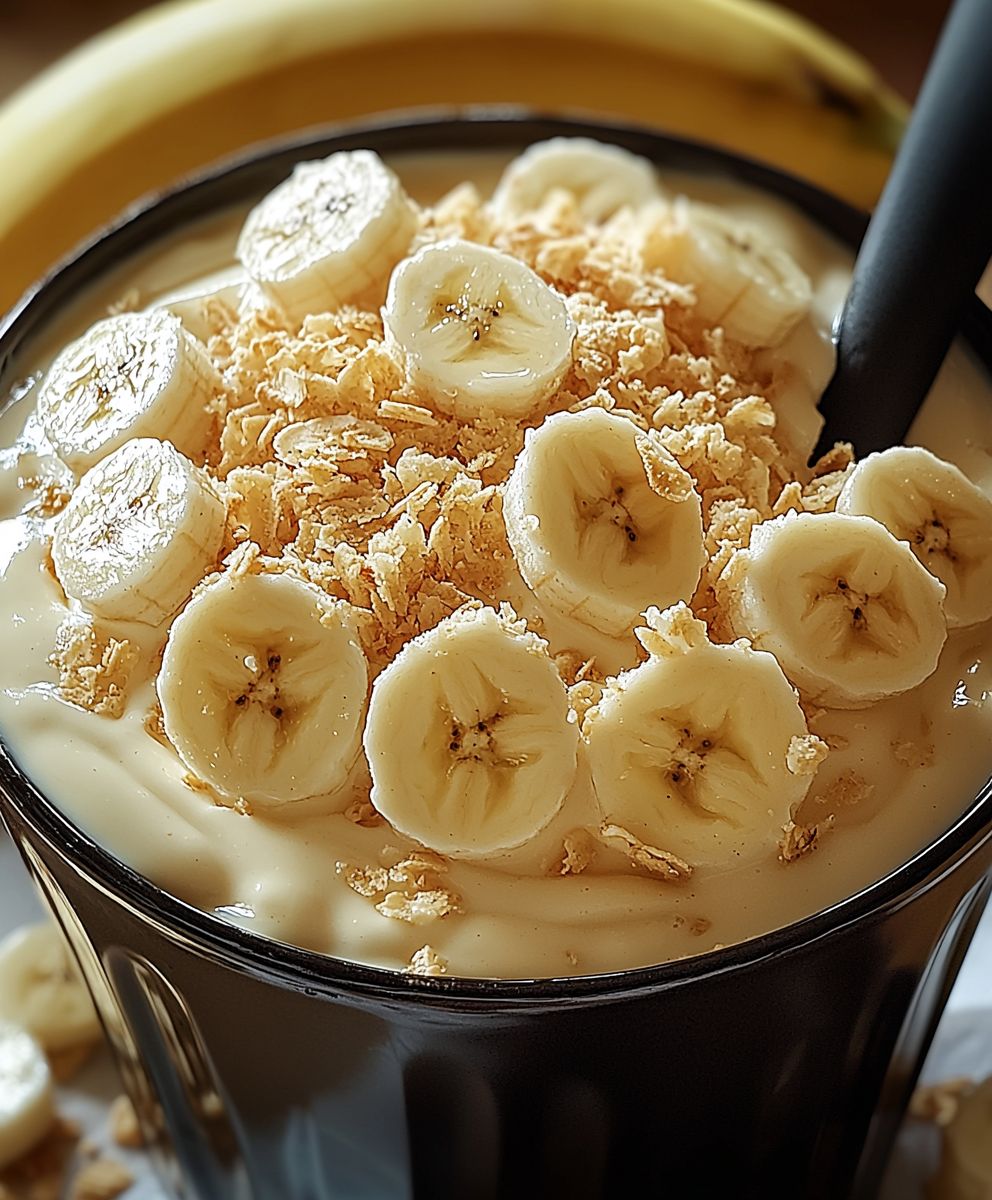
Banana pudding, oh, where do I even begin? Imagine sinking your spoon into layers of creamy vanilla custard, sweet slices of ripe banana, and crisp vanilla wafers, all melding together in perfect harmony. It’s a dessert that evokes feelings of warmth, nostalgia, and pure, unadulterated comfort. This isn’t just a recipe; it’s a trip down memory lane!
While the exact origins are debated, banana pudding as we know it gained popularity in the early 20th century, thanks in part to the increased availability of bananas and the clever marketing of Nabisco’s vanilla wafers. It quickly became a staple in Southern kitchens, a beloved dessert served at family gatherings, potlucks, and holiday celebrations. Its a dish that transcends generations, passed down through families with each cook adding their own special touch.
What makes banana pudding so irresistible? It’s the delightful combination of textures the smooth, velvety custard, the soft, yielding bananas, and the satisfying crunch of the wafers. The sweetness is perfectly balanced, never cloying, and the vanilla flavor is simply divine. Plus, it’s incredibly easy to make, requiring minimal effort for maximum reward. Whether you’re a seasoned baker or a kitchen novice, you can whip up a batch of this classic dessert and impress your friends and family. So, let’s get started and create a banana pudding that will have everyone asking for seconds!

Ingredients:
- 6-8 ripe bananas, sliced
- 1 (14 ounce) can sweetened condensed milk
- 1 (8 ounce) package cream cheese, softened
- 1 (3.4 ounce) package instant vanilla pudding mix
- 3 cups cold milk
- 1 (12 ounce) container frozen whipped topping, thawed
- 1 box (12 ounces) vanilla wafers
- Optional: A sprinkle of ground nutmeg or cinnamon for garnish
Preparing the Pudding Base:
Okay, let’s get started with the creamy heart of our banana pudding! This part is super important because it’s what gives the pudding its luscious texture and rich flavor. Trust me, taking your time here will make all the difference.
- Cream Together the Sweetened Condensed Milk and Cream Cheese: In a large bowl, combine the sweetened condensed milk and softened cream cheese. Make sure your cream cheese is really soft like, leave it out on the counter for at least an hour soft. This will prevent any lumps and ensure a smooth, velvety base. Use an electric mixer (handheld or stand mixer) to beat these two together until they are completely smooth and well combined. This usually takes about 2-3 minutes on medium speed. Scrape down the sides of the bowl a couple of times to make sure everything is incorporated.
- Incorporate the Cold Milk: Gradually add the cold milk to the cream cheese mixture, beating on low speed until everything is well combined. Don’t add all the milk at once, or you might end up with a splashy mess! Adding it slowly helps the mixture stay smooth and emulsified. Continue mixing until the mixture is smooth and there are no streaks of cream cheese.
- Add the Instant Vanilla Pudding Mix: Now, sprinkle the instant vanilla pudding mix over the milk mixture. Beat on low speed for about 2 minutes, or until the pudding mix is fully incorporated and the mixture starts to thicken slightly. Don’t overbeat it, or it might become too thick too quickly. The pudding mix will help to set the pudding and give it that classic vanilla flavor we all love.
- Fold in the Whipped Topping: Gently fold in the thawed whipped topping. Be careful not to deflate the whipped topping; we want to keep it light and airy. Use a rubber spatula and gently fold the whipped topping into the pudding mixture until just combined. Don’t overmix! You should still see some streaks of whipped topping throughout the mixture. This will give the pudding a wonderful light and fluffy texture.
- Chill the Pudding Base: Cover the bowl with plastic wrap and refrigerate for at least 1 hour, or preferably longer (up to 4 hours). This chilling time allows the pudding to thicken and the flavors to meld together beautifully. The longer it chills, the better the flavor will be! This step is crucial for achieving the perfect consistency.
Assembling the Banana Pudding:
Alright, the pudding base is chilled and ready to go! Now comes the fun part layering all those delicious ingredients together to create the ultimate banana pudding masterpiece. Get ready to unleash your inner artist!
- Prepare Your Dish: Choose your serving dish. A trifle bowl is classic and beautiful, but you can also use a 9×13 inch baking dish or individual serving cups. If you’re using a trifle bowl, the layers will be more visible, which is always a nice presentation.
- First Layer: Vanilla Wafers: Arrange a layer of vanilla wafers on the bottom of your dish. You can use whole wafers or break them into smaller pieces to fit the shape of your dish. Don’t worry about covering every single spot; a little bit of space is fine. The wafers will soften as they sit in the pudding, so they don’t need to be perfectly arranged.
- Second Layer: Sliced Bananas: Arrange a layer of sliced bananas over the vanilla wafers. Make sure the bananas are ripe but not overly ripe, as they will become mushy. You want them to be firm enough to hold their shape. Try to create an even layer of bananas, covering as much of the wafer layer as possible.
- Third Layer: Pudding Mixture: Spread a layer of the prepared pudding mixture over the bananas. Use a spatula to gently spread the pudding evenly, making sure to cover all the bananas. Don’t press down too hard, or you’ll squish the bananas.
- Repeat Layers: Repeat the layers of vanilla wafers, bananas, and pudding mixture until you’ve used up all the ingredients. The number of layers will depend on the size of your dish and the amount of ingredients you have. Aim for at least three layers of each ingredient.
- Final Layer: Whipped Topping: For the final layer, spread the remaining whipped topping evenly over the top of the pudding. You can create swirls or peaks with a spoon or spatula for a more decorative look.
- Garnish (Optional): If desired, sprinkle the top of the pudding with a little bit of ground nutmeg or cinnamon. This adds a warm, spicy note that complements the banana and vanilla flavors perfectly. You can also crumble a few vanilla wafers on top for added texture and visual appeal.
Chilling and Serving:
Almost there! Now comes the hardest part waiting! Chilling the banana pudding allows the flavors to meld together and the wafers to soften, resulting in the perfect texture and taste. Trust me, it’s worth the wait!
- Chill the Pudding: Cover the dish with plastic wrap and refrigerate for at least 4 hours, or preferably overnight. This allows the vanilla wafers to soften and the flavors to meld together. The longer it chills, the better it will taste! If you’re short on time, you can chill it for a minimum of 2 hours, but overnight is ideal.
- Serve and Enjoy: Before serving, remove the pudding from the refrigerator and let it sit at room temperature for about 10-15 minutes. This will soften the whipped topping slightly and make it easier to serve. Serve chilled and enjoy every delicious bite!
Tips and Variations:
Want to take your banana pudding to the next level? Here are a few tips and variations to try:
- Use Ripe Bananas: The riper the bananas, the sweeter and more flavorful the pudding will be. However, avoid using overly ripe bananas that are mushy.
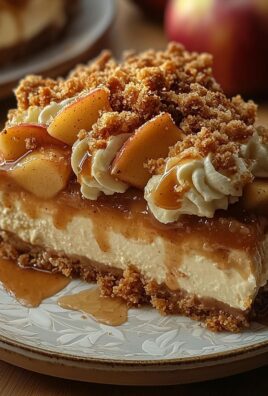
- Add a Layer of Caramel: Drizzle a layer of caramel sauce over the bananas for an extra touch of sweetness and richness.
- Use Different Flavors of Pudding: Experiment with different flavors of instant pudding mix, such as banana cream, butterscotch, or cheesecake.
- Add Nuts: Sprinkle chopped pecans or walnuts over the top of the pudding for added crunch and flavor.
- Make it Boozy: Add a splash of rum or bourbon to the pudding mixture for an adult twist.
- Individual Servings: Assemble the pudding in individual serving cups or mason jars for a fun and portable dessert.
- Homemade Whipped Cream: For an even more decadent treat, use homemade whipped cream instead of store-bought whipped topping.
- Chocolate Banana Pudding: Add a layer of chocolate shavings or chocolate sauce for a chocolatey twist.
- Lemon Zest: Add a teaspoon of lemon zest to the pudding mixture for a bright and refreshing flavor.
- Storage: Store leftover banana pudding in the refrigerator for up to 3 days. The wafers may become softer over time, but the pudding will still be delicious.
Enjoy your homemade banana pudding!
Conclusion:
This isn’t just another dessert; it’s a slice of sunshine in a bowl, a comforting hug after a long day, and a guaranteed crowd-pleaser. I truly believe this banana pudding recipe is a must-try, and here’s why: it’s incredibly easy to make, requires minimal ingredients you probably already have in your pantry, and delivers a flavor explosion that will transport you back to your childhood (or create new, delicious memories!). The creamy, dreamy texture combined with the sweet banana slices and the satisfying crunch of the vanilla wafers is simply irresistible. But the best part? It’s endlessly adaptable! Feel free to get creative and put your own spin on this classic. For a richer, more decadent experience, try using sweetened condensed milk in the custard. If you’re feeling adventurous, a splash of rum or bourbon extract can add a sophisticated touch. Want to lighten it up? Use fat-free whipped topping and reduced-fat wafers. Serving suggestions are just as versatile. Of course, it’s perfect served chilled straight from the fridge. But you can also layer it in individual parfait glasses for an elegant presentation. For a fun twist, try grilling the banana slices before adding them to the pudding the caramelized flavor is absolutely divine! And don’t forget the toppings! A sprinkle of chopped pecans, a drizzle of caramel sauce, or even a few chocolate shavings can elevate this simple dessert to a whole new level. Think about adding some fresh berries for a pop of color and flavor. Strawberries, blueberries, or raspberries would all complement the banana perfectly. You could even create a banana split-inspired pudding by adding pineapple chunks and a cherry on top! I’ve made this banana pudding countless times, and it’s always a hit. From family gatherings to potlucks to simple weeknight treats, it never fails to bring smiles to faces. It’s the kind of dessert that everyone loves, regardless of age or taste preferences. So, what are you waiting for? Gather your ingredients, put on your apron, and get ready to whip up a batch of this incredible banana pudding. I promise you won’t regret it! It’s the perfect dessert for any occasion, and it’s guaranteed to become a new family favorite. And now, for the most important part: I want to hear about your experience! Did you try the recipe? What variations did you make? Did your family and friends love it as much as mine do? Please, share your thoughts, photos, and tips in the comments below. I’m always eager to learn new ways to make this classic dessert even better. Your feedback is invaluable, and it helps me create even more delicious recipes for you to enjoy. Let’s spread the banana pudding love! I can’t wait to see what you create. Happy baking (or should I say, pudding-making!)! Print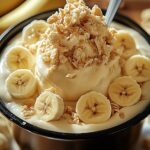
Banana Pudding: The Ultimate Guide to Making the Perfect Dessert
- Total Time: 260 minutes
- Yield: 8–10 servings 1x
Description
Creamy vanilla pudding layered with sweet bananas and crunchy vanilla wafers, topped with whipped cream. A comforting and easy dessert!
Ingredients
- 6–8 ripe bananas, sliced
- 1 (14 ounce) can sweetened condensed milk
- 1 (8 ounce) package cream cheese, softened
- 1 (3.4 ounce) package instant vanilla pudding mix
- 3 cups cold milk
- 1 (12 ounce) container frozen whipped topping, thawed
- 1 box (12 ounces) vanilla wafers
- Optional: A sprinkle of ground nutmeg or cinnamon for garnish
Instructions
- In a large bowl, combine the sweetened condensed milk and softened cream cheese. Beat with an electric mixer until completely smooth (2-3 minutes on medium speed). Scrape down the sides of the bowl as needed.
- Gradually add the cold milk to the cream cheese mixture, beating on low speed until well combined.
- Sprinkle the instant vanilla pudding mix over the milk mixture. Beat on low speed for about 2 minutes, or until the pudding mix is fully incorporated and the mixture starts to thicken slightly.
- Gently fold in the thawed whipped topping until just combined. Be careful not to deflate the whipped topping.
- Cover the bowl with plastic wrap and refrigerate for at least 1 hour, or preferably longer (up to 4 hours).
- Choose your serving dish (trifle bowl, 9×13 inch baking dish, or individual cups).
- Arrange a layer of vanilla wafers on the bottom of your dish.
- Arrange a layer of sliced bananas over the vanilla wafers.
- Spread a layer of the prepared pudding mixture over the bananas.
- Repeat the layers of vanilla wafers, bananas, and pudding mixture until you’ve used up all the ingredients.
- Spread the remaining whipped topping evenly over the top of the pudding.
- Sprinkle the top of the pudding with a little bit of ground nutmeg or cinnamon.
- Cover the dish with plastic wrap and refrigerate for at least 4 hours, or preferably overnight.
- Before serving, remove the pudding from the refrigerator and let it sit at room temperature for about 10-15 minutes. Serve chilled.
Notes
- Use ripe but not overly ripe bananas.
- Make sure cream cheese is fully softened to avoid lumps.
- Don’t overbeat the pudding mixture.
- Chill for at least 4 hours, or preferably overnight, for best flavor and texture.
- Optional variations: Add a layer of caramel, use different pudding flavors, add nuts, make it boozy, use homemade whipped cream, add chocolate, or lemon zest.
- Store leftover banana pudding in the refrigerator for up to 3 days.
- Prep Time: 20 minutes
- Cook Time: 0 minutes