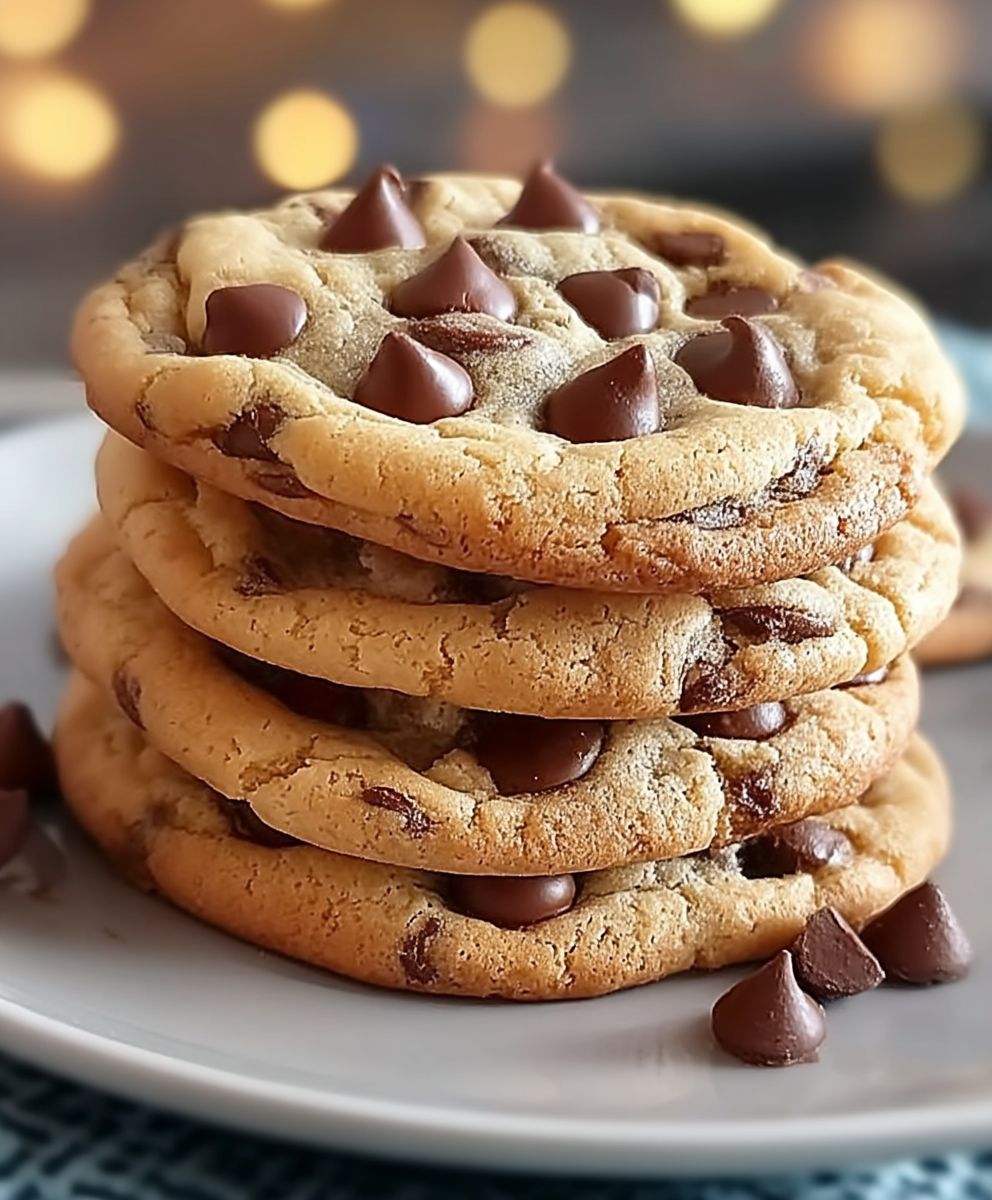
Bakery Style Chocolate Chip Cookies: the mere mention of them conjures up images of warm, gooey goodness, doesn’t it? Forget those thin, crispy excuses for cookies; we’re talking about the kind that are thick, chewy, and practically bursting with chocolate chips in every single bite. These aren’t just cookies; they’re an experience!
The humble chocolate chip cookie, a staple in American households, has a surprisingly recent history. Credited to Ruth Graves Wakefield in 1938, who accidentally added chopped chocolate to her butter cookies, it quickly became a national sensation. But what transforms a simple chocolate chip cookie into a truly exceptional, bakery-worthy treat?
It’s all about the texture and the flavor. People adore Bakery Style Chocolate Chip Cookies because of their perfectly balanced sweetness, the satisfying chewiness that gives way to a soft, melt-in-your-mouth center, and the generous pockets of rich, decadent chocolate. They’re comforting, nostalgic, and undeniably delicious. Plus, who can resist the aroma of freshly baked cookies wafting through the air? Get ready to unlock the secrets to achieving that perfect bakery-style cookie right in your own kitchen. I’m going to show you how!

Ingredients:
- 1 cup (2 sticks) unsalted butter, softened
- 1 cup granulated sugar
- 1 cup packed brown sugar
- 2 large eggs
- 2 teaspoons vanilla extract
- 3 cups all-purpose flour
- 1 teaspoon baking soda
- 1 teaspoon salt
- 2 cups chocolate chips (semi-sweet or dark, your preference!)
- 1 cup chopped walnuts or pecans (optional, but highly recommended!)
- Sea salt flakes, for sprinkling (optional)
Preparing the Dough: The Foundation of Cookie Perfection
- Cream the Butter and Sugars: In a large bowl, or the bowl of your stand mixer fitted with the paddle attachment, cream together the softened butter, granulated sugar, and brown sugar until light and fluffy. This usually takes about 3-5 minutes. Don’t rush this step! Properly creaming the butter and sugar incorporates air, which is crucial for a light and airy cookie. Scrape down the sides of the bowl occasionally to ensure everything is evenly mixed. I like to use a stand mixer for this, but a hand mixer works just as well just be prepared for a little arm workout!
- Incorporate the Eggs and Vanilla: Beat in the eggs one at a time, mixing well after each addition. Then, stir in the vanilla extract. Make sure the eggs are fully incorporated before adding the vanilla. This helps to create a smooth and consistent batter.
- Combine Dry Ingredients: In a separate medium bowl, whisk together the all-purpose flour, baking soda, and salt. Whisking is important to evenly distribute the baking soda and salt throughout the flour, which will ensure that your cookies rise properly and have a balanced flavor.
- Gradually Add Dry Ingredients to Wet Ingredients: Gradually add the dry ingredients to the wet ingredients, mixing on low speed until just combined. Be careful not to overmix! Overmixing develops the gluten in the flour, which can result in tough cookies. Mix until you see the flour disappear, then stop.
- Fold in Chocolate Chips and Nuts (Optional): Gently fold in the chocolate chips and chopped nuts (if using). I like to use a rubber spatula for this step to avoid overmixing. Make sure the chocolate chips and nuts are evenly distributed throughout the dough.
- Chill the Dough (Important!): Cover the bowl with plastic wrap and chill the dough in the refrigerator for at least 30 minutes, or up to 24 hours. Chilling the dough allows the gluten to relax, which results in a more tender cookie. It also helps to prevent the cookies from spreading too much during baking. I find that chilling for at least an hour yields the best results. If you’re short on time, 30 minutes will do, but longer is better!
Baking the Cookies: Achieving Golden Brown Goodness
- Preheat the Oven: Preheat your oven to 375°F (190°C). Make sure your oven rack is in the center position. An even oven temperature is key to baking cookies evenly.
- Prepare Baking Sheets: Line baking sheets with parchment paper or silicone baking mats. This will prevent the cookies from sticking and make cleanup a breeze. I highly recommend using parchment paper or silicone mats for best results.
- Scoop the Dough: Use a cookie scoop or spoon to drop rounded tablespoons of dough onto the prepared baking sheets, leaving about 2 inches between each cookie. I like to use a large cookie scoop to get those bakery-style sized cookies.
- Sprinkle with Sea Salt (Optional): If desired, sprinkle the cookies with sea salt flakes before baking. The salt enhances the sweetness of the chocolate and adds a delightful salty-sweet contrast.
- Bake the Cookies: Bake for 9-11 minutes, or until the edges are golden brown and the centers are still slightly soft. Keep a close eye on the cookies, as baking times may vary depending on your oven. You want the edges to be nicely browned, but the centers should still be a little soft for that perfect chewy texture.
- Cool on Baking Sheets: Remove the baking sheets from the oven and let the cookies cool on the baking sheets for a few minutes before transferring them to a wire rack to cool completely. This allows the cookies to set up a bit and prevents them from breaking when you move them.
Tips and Tricks for Cookie Perfection:
- Use Room Temperature Butter: Softened butter is crucial for creaming properly with the sugars. If your butter is too cold, it won’t cream properly, and your cookies will be dense. If your butter is too melted, your cookies will spread too much. The butter should be soft enough that you can easily press a finger into it, but not melted.
- Don’t Overmix the Dough: Overmixing develops the gluten in the flour, which can result in tough cookies. Mix until the flour is just combined, then stop.
- Chill the Dough: Chilling the dough is essential for preventing the cookies from spreading too much during baking and for developing a more tender texture.
- Use High-Quality Chocolate: The quality of your chocolate chips will greatly impact the flavor of your cookies. I recommend using high-quality semi-sweet or dark chocolate chips for the best results.
- Adjust Baking Time: Baking times may vary depending on your oven. Keep a close eye on the cookies and adjust the baking time as needed. You want the edges to be golden brown, but the centers should still be slightly soft.
- Experiment with Flavors: Feel free to experiment with different flavors and add-ins. You can add different types of nuts, dried fruit, or even spices like cinnamon or nutmeg.
- For Chewier Cookies: Underbake the cookies slightly. They will continue to cook on the baking sheet as they cool.
- For Crispier Cookies: Bake the cookies a little longer.
- Storing the Cookies: Store the cooled cookies in an airtight container at room temperature for up to 3 days.
- Freezing the Dough: You can freeze the cookie dough for up to 2 months. Scoop the dough into balls and place them on a baking sheet lined with parchment paper. Freeze for 30 minutes, or until solid. Then, transfer the frozen dough balls to a freezer bag. When you’re ready to bake, simply bake the frozen dough balls as directed, adding a few extra minutes to the baking time.
Troubleshooting:
- Cookies Spreading Too Much: This can be caused by using butter that is too melted, not chilling the dough, or overmixing the dough. Make sure your butter is softened but not melted, chill the dough for at least 30 minutes, and avoid overmixing.
- Cookies Too Dry: This can be caused by overbaking the cookies or using too much flour. Make sure you don’t overbake the cookies and measure the flour accurately.
- Cookies Too Hard: This can be caused by overbaking the cookies or using too much sugar. Make sure you don’t overbake the cookies and measure the sugar accurately.
- Cookies Not Spreading Enough: This can be caused by using butter that is too cold or not using enough sugar. Make sure your butter is softened and measure the sugar accurately.
Variations:
- Double Chocolate Chip Cookies: Use both semi-sweet and milk chocolate chips.
- Peanut Butter Chocolate Chip Cookies: Add 1/2 cup of peanut butter to the dough.
- Oatmeal Chocolate Chip Cookies: Add 1 cup of rolled oats to the dough.
- White Chocolate Macadamia Nut Cookies: Substitute white chocolate chips for the semi-sweet chocolate chips and macadamia nuts for the walnuts or pecans.
- Salted Caramel Chocolate Chip Cookies: Add chopped caramel candies to the dough and sprinkle with sea salt flakes.
Conclusion:
And there you have it! These Bakery Style Chocolate Chip Cookies are truly something special, and I genuinely believe they’re a must-try for any cookie lover. From the perfectly crisp edges to the gooey, melt-in-your-mouth center, every bite is an explosion of flavor and texture. The secret ingredient, a touch of brown butter, elevates these cookies from ordinary to extraordinary, adding a depth of nutty richness that you simply won’t find in your average recipe.
But the best part? They’re surprisingly easy to make! No complicated techniques or fancy equipment required. Just a little bit of patience, a few simple ingredients, and you’ll be well on your way to enjoying the most incredible chocolate chip cookies you’ve ever tasted. Trust me, the aroma alone that fills your kitchen while these are baking is worth the effort.
Serving Suggestions and Variations
Now, let’s talk about how to enjoy these delectable treats. Of course, they’re absolutely perfect on their own, warm from the oven with a tall glass of cold milk. But don’t be afraid to get creative!
* Ice Cream Sandwich: Imagine these cookies sandwiching a scoop of your favorite ice cream vanilla bean, chocolate fudge brownie, or even salted caramel would be divine.
* Cookie Crumble Topping: Crumble a cookie or two over a bowl of yogurt or oatmeal for a delightful textural contrast and a burst of chocolatey goodness.
* Coffee Companion: These cookies are the perfect accompaniment to your morning coffee or afternoon tea. The rich chocolate flavor pairs beautifully with the warmth and bitterness of the beverage.
* Gift Giving: Package a batch of these cookies in a pretty box or tin for a thoughtful and homemade gift. They’re sure to be a hit with friends, family, and neighbors.
And if you’re feeling adventurous, here are a few variations you might want to try:
* Nutty Delight: Add a handful of chopped walnuts, pecans, or macadamia nuts to the dough for a crunchy and flavorful twist.
* Salted Caramel Swirl: Drizzle a bit of salted caramel sauce over the cookies before baking for an extra layer of indulgence.
* Dark Chocolate Decadence: Substitute the semi-sweet chocolate chips with dark chocolate chips for a richer and more intense chocolate flavor.
* Oatmeal Chocolate Chip: Add 1/2 cup of rolled oats to the dough for a chewier texture and a hint of nutty flavor.
* White Chocolate Raspberry: Replace the semi-sweet chocolate chips with white chocolate chips and add 1/2 cup of fresh or frozen raspberries for a sweet and tart combination.
I truly believe that mastering this Bakery Style Chocolate Chip Cookies recipe will become a staple in your baking repertoire. It’s a crowd-pleaser, a comfort food, and a guaranteed way to brighten anyone’s day.
So, what are you waiting for? Preheat your oven, gather your ingredients, and get ready to experience cookie perfection. I’m confident that you’ll love these cookies as much as I do.
I can’t wait to hear about your baking adventures! Please, try this recipe and share your photos and experiences in the comments below. Let me know what variations you tried and how they turned out. Happy baking!
Bakery Style Chocolate Chip Cookies: The Ultimate Recipe
Classic chocolate chip cookies with a chewy center and golden-brown edges. Optional walnuts or pecans add a delightful crunch.
Ingredients
- 1 cup (2 sticks) unsalted butter, softened
- 1 cup granulated sugar
- 1 cup packed brown sugar
- 2 large eggs
- 2 teaspoons vanilla extract
- 3 cups all-purpose flour
- 1 teaspoon baking soda
- 1 teaspoon salt
- 2 cups chocolate chips (semi-sweet or dark, your preference!)
- 1 cup chopped walnuts or pecans (optional)
- Sea salt flakes, for sprinkling (optional)
Instructions
- Cream the Butter and Sugars: In a large bowl, or the bowl of your stand mixer fitted with the paddle attachment, cream together the softened butter, granulated sugar, and brown sugar until light and fluffy (3-5 minutes). Scrape down the sides of the bowl occasionally.
- Incorporate the Eggs and Vanilla: Beat in the eggs one at a time, mixing well after each addition. Stir in the vanilla extract.
- Combine Dry Ingredients: In a separate medium bowl, whisk together the all-purpose flour, baking soda, and salt.
- Gradually Add Dry Ingredients to Wet Ingredients: Gradually add the dry ingredients to the wet ingredients, mixing on low speed until just combined. Be careful not to overmix.
- Fold in Chocolate Chips and Nuts (Optional): Gently fold in the chocolate chips and chopped nuts (if using).
- Chill the Dough (Important!): Cover the bowl with plastic wrap and chill the dough in the refrigerator for at least 30 minutes, or up to 24 hours.
- Preheat the Oven: Preheat your oven to 375°F (190°C). Place oven rack in the center position.
- Prepare Baking Sheets: Line baking sheets with parchment paper or silicone baking mats.
- Scoop the Dough: Use a cookie scoop or spoon to drop rounded tablespoons of dough onto the prepared baking sheets, leaving about 2 inches between each cookie.
- Sprinkle with Sea Salt (Optional): If desired, sprinkle the cookies with sea salt flakes before baking.
- Bake the Cookies: Bake for 9-11 minutes, or until the edges are golden brown and the centers are still slightly soft.
- Cool on Baking Sheets: Remove the baking sheets from the oven and let the cookies cool on the baking sheets for a few minutes before transferring them to a wire rack to cool completely.
Notes
- Use room temperature butter for best results.
- Don’t overmix the dough.
- Chilling the dough is essential.
- Use high-quality chocolate.
- Adjust baking time as needed.
- Experiment with flavors and add-ins.
- For chewier cookies, underbake slightly.
- For crisper cookies, bake a little longer.
- Store cooled cookies in an airtight container at room temperature for up to 3 days.
- Freeze cookie dough for up to 2 months. Scoop dough into balls, freeze on a baking sheet, then transfer to a freezer bag. Bake from frozen, adding a few extra minutes to the baking time.