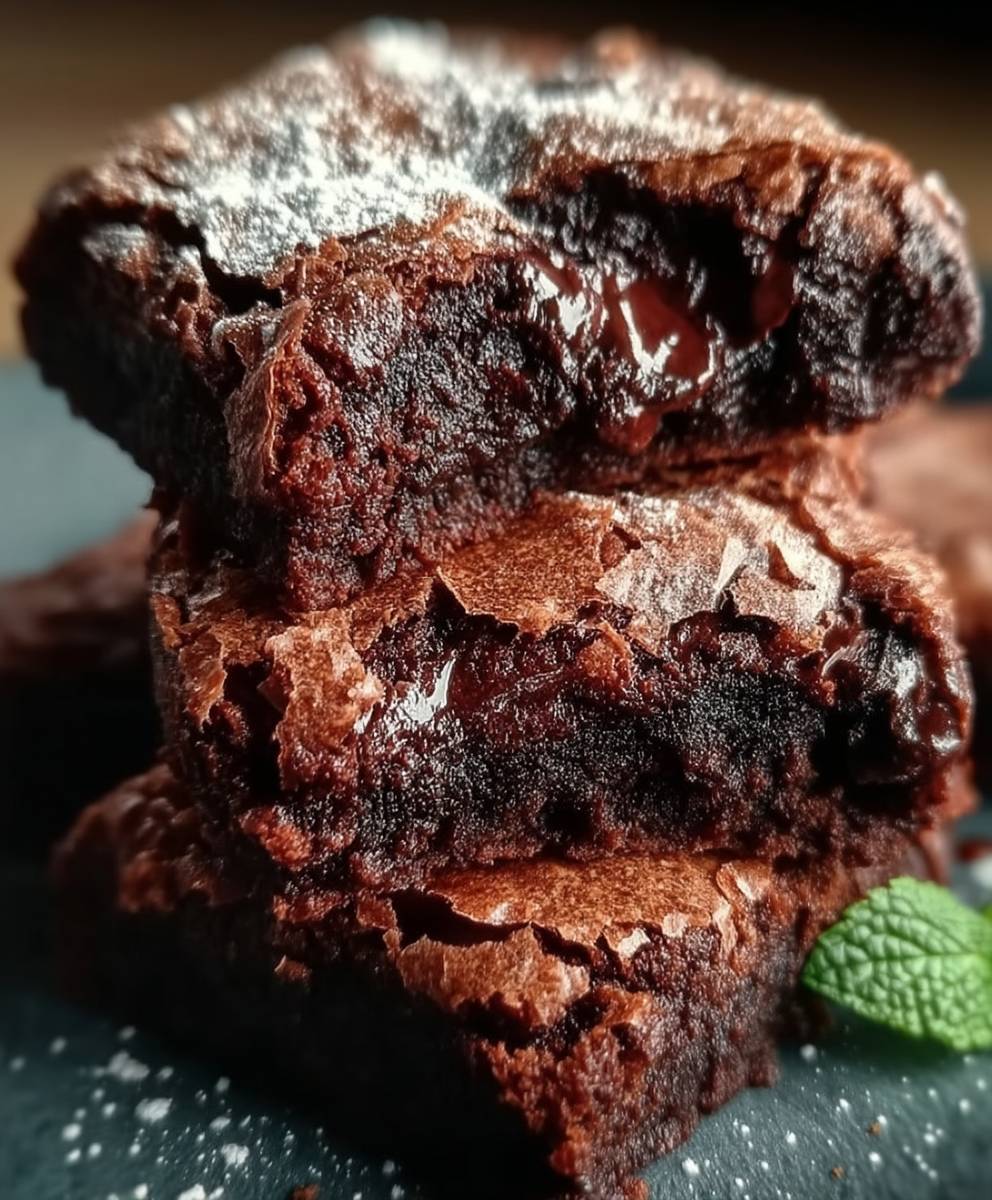
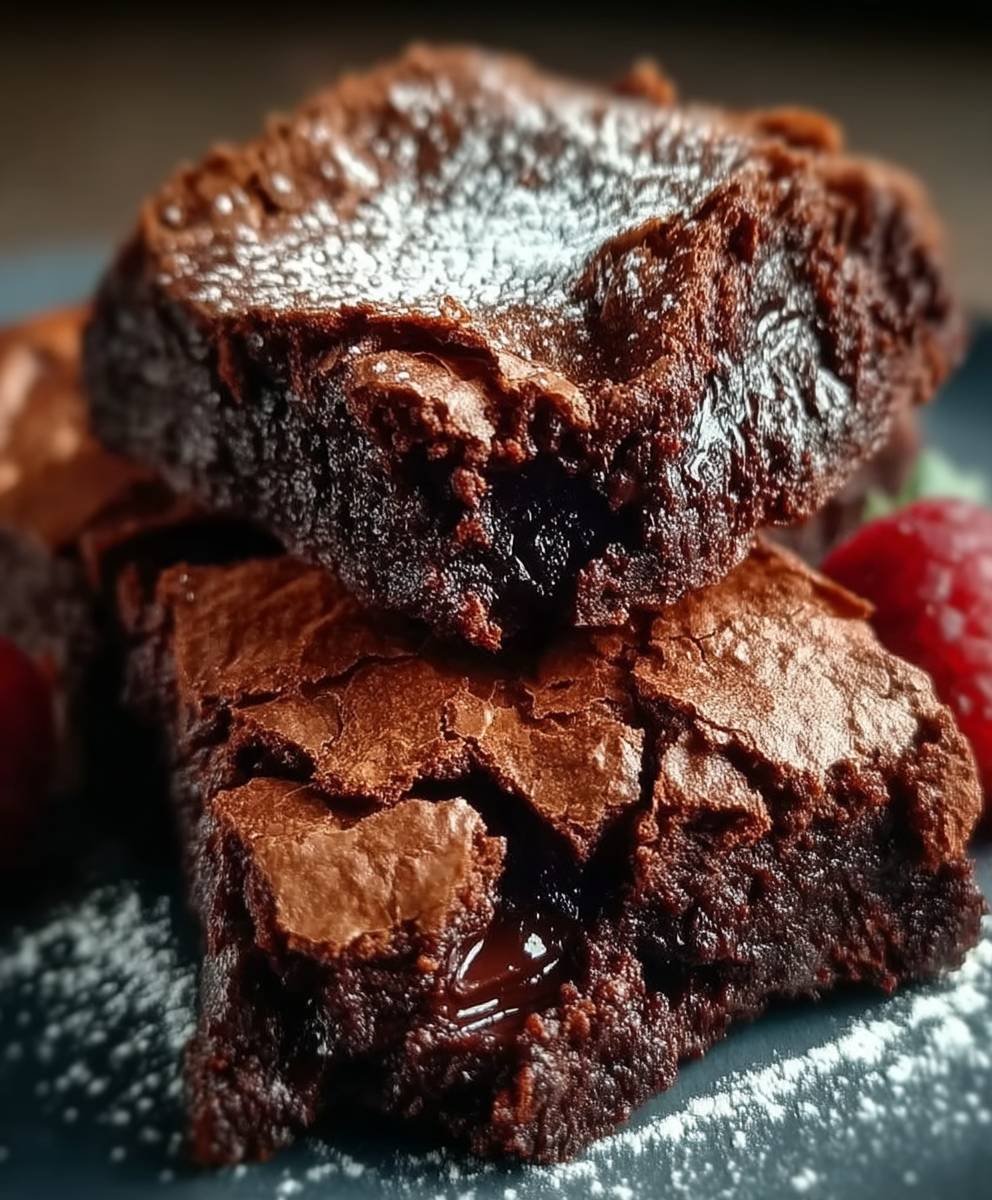
Soft melt in mouth brownies just the name itself conjures up images of fudgy, decadent squares of chocolate heaven, doesnt it? Forget dry, cakey brownies that disappoint with every bite. We’re talking about brownies so intensely chocolatey and moist that they practically dissolve on your tongue. This isn’t just a recipe; it’s a journey to brownie perfection!
Brownies, in their various forms, have been a beloved treat in American households since the late 19th century. While their exact origins are debated, one popular story attributes their creation to a forgetful baker who accidentally omitted yeast from a chocolate cake recipe. Lucky for us, that “mistake” resulted in the dense, chewy delight we know and love today. Over the years, brownies have evolved, with countless variations incorporating nuts, chocolate chips, caramel, and more. But at their heart, they remain a simple pleasure, a comforting indulgence that brings joy to people of all ages.
What makes a truly great brownie? It’s the perfect balance of rich chocolate flavor, a slightly crisp top, and an unbelievably fudgy interior. People adore soft melt in mouth brownies because they offer an unparalleled textural experience. The gooey center contrasts beautifully with the delicate crust, creating a symphony of sensations with every bite. Plus, they’re incredibly easy to make! This recipe requires minimal ingredients and effort, making it the perfect treat for a weeknight dessert or a weekend baking project. Get ready to experience brownie bliss!
Ingredients:
- 1 cup (2 sticks) unsalted butter, melted
- 2 cups granulated sugar
- 4 large eggs
- 1 tablespoon vanilla extract
- 1 cup all-purpose flour
- ¾ cup unsweetened cocoa powder
- ½ teaspoon baking powder
- ¼ teaspoon salt
- 1 cup semi-sweet chocolate chips (optional, but highly recommended!)
Preparing the Brownie Batter:
- Melt the Butter: First things first, let’s melt that butter. You can do this in a saucepan over low heat, stirring constantly, or in the microwave in 30-second intervals, stirring in between, until completely melted. Be careful not to burn it! Once melted, set it aside to cool slightly. This is important because we don’t want to cook the eggs later.
- Combine Butter and Sugar: In a large mixing bowl, pour in the melted butter and add the granulated sugar. Now, whisk them together really well until the mixture is smooth and creamy. This step is crucial for achieving that fudgy texture we’re after. Don’t skimp on the whisking! It should look almost like wet sand.
- Incorporate the Eggs: Add the eggs one at a time, whisking vigorously after each addition. This ensures that each egg is fully incorporated into the batter, creating a smooth and emulsified mixture. This step is key to the brownies’ structure and texture. After all the eggs are in, whisk in the vanilla extract.
- Dry Ingredients Time: In a separate bowl, whisk together the all-purpose flour, unsweetened cocoa powder, baking powder, and salt. Whisking these dry ingredients together ensures that they are evenly distributed throughout the batter, preventing any pockets of baking powder or cocoa powder.
- Combine Wet and Dry: Gradually add the dry ingredients to the wet ingredients, mixing until just combined. Be careful not to overmix! Overmixing can develop the gluten in the flour, resulting in tough brownies. Mix until you no longer see streaks of flour. A few lumps are okay!
- Chocolate Chip Addition (Optional, but encouraged!): If you’re using chocolate chips (and I highly recommend you do!), gently fold them into the batter until they are evenly distributed. This adds extra chocolatey goodness and a delightful textural element to the brownies.
Baking the Brownies:
- Preheat the Oven: Preheat your oven to 350°F (175°C). This is the ideal temperature for baking brownies to achieve that perfect balance of fudgy and slightly cakey.
- Prepare the Baking Pan: Grease and flour an 8×8 inch baking pan. You can also line the pan with parchment paper, leaving an overhang on the sides. This makes it super easy to lift the brownies out of the pan once they’re baked. If you don’t have parchment paper, greasing and flouring works just fine. Make sure you get into all the corners!
- Pour in the Batter: Pour the brownie batter into the prepared baking pan and spread it evenly. You can use a spatula or the back of a spoon to smooth out the surface.
- Baking Time: Bake for 25-30 minutes, or until a toothpick inserted into the center comes out with moist crumbs attached. The baking time may vary depending on your oven, so keep an eye on them. Don’t overbake them, or they’ll be dry! The key to fudgy brownies is to slightly underbake them.
- Cooling is Key: Once the brownies are baked, remove them from the oven and let them cool completely in the pan before cutting. This is the hardest part, I know! But it’s essential for achieving clean cuts and preventing the brownies from crumbling. Cooling allows the brownies to set properly. I usually wait at least an hour, but longer is even better.
Cutting and Serving:
- Cutting the Brownies: Once the brownies are completely cool, you can cut them into squares. If you lined the pan with parchment paper, simply lift the brownies out of the pan using the overhang. Use a sharp knife to cut them into even squares. For cleaner cuts, you can run the knife under hot water and wipe it clean between each cut.
- Serving Suggestions: Serve the brownies as is, or get creative! They’re delicious with a scoop of vanilla ice cream, a drizzle of chocolate sauce, or a sprinkle of powdered sugar. You can also warm them up slightly for an extra gooey treat.
Tips for the Best Brownies:
- Use High-Quality Ingredients: The quality of your ingredients will directly impact the taste of your brownies. Use good quality butter, cocoa powder, and chocolate chips for the best results.
- Don’t Overmix: Overmixing the batter can lead to tough brownies. Mix until just combined.
- Slightly Underbake: Underbaking the brownies slightly will result in a fudgier texture.
- Cool Completely: Cooling the brownies completely before cutting is essential for clean cuts and preventing them from crumbling.
- Experiment with Flavors: Feel free to experiment with different flavors and add-ins. You can add nuts, peanut butter chips, or even a swirl of caramel.
Storage Instructions:
Store leftover brownies in an airtight container at room temperature for up to 3 days, or in the refrigerator for up to a week. You can also freeze them for longer storage. Wrap them individually in plastic wrap and then place them in a freezer-safe bag or container. They can be frozen for up to 2 months. Thaw them at room temperature before serving.
Troubleshooting:
- Brownies are too dry: You may have overbaked them. Reduce the baking time next time.
- Brownies are too cakey: You may have overmixed the batter. Mix until just combined next time.
- Brownies are too fudgy: This isn’t necessarily a bad thing! But if you prefer a slightly cakier brownie, you can add a little more flour to the batter.
- Brownies are sinking in the middle: This can happen if the oven temperature is too high or if the brownies are underbaked. Make sure your oven is properly calibrated and bake them until a toothpick inserted into the center comes out with moist crumbs attached.
Variations:
- Peanut Butter Brownies: Swirl peanut butter into the batter before baking.
- Salted Caramel Brownies: Drizzle salted caramel over the baked brownies.
- Mint Chocolate Brownies: Add mint extract to the batter and top with mint chocolate chips.
- Espresso Brownies: Add a teaspoon of instant espresso powder to the dry ingredients for a richer, more intense chocolate flavor.
Why This Recipe Works:
This recipe is designed to deliver the ultimate soft, melt-in-your-mouth brownie experience. The high ratio of butter and sugar contributes to the fudgy texture, while the careful balance of dry ingredients prevents them from becoming too cakey. The slightly underbaked center ensures that each bite is rich, decadent, and utterly irresistible. The addition of chocolate chips (optional, but strongly encouraged) elevates the brownies to a whole new level of chocolatey goodness. And the detailed instructions and helpful tips ensure that even novice bakers can achieve perfect results every time.
Enjoy!
I hope you enjoy making and eating these delicious brownies as much as I do! They’re perfect for any occasion, from a simple weeknight dessert to a special celebration. Happy baking!

Conclusion:
And there you have it! These soft, melt-in-your-mouth brownies are truly something special, and I genuinely believe they’re a must-try for any brownie lover. From the rich, decadent chocolate flavor to the unbelievably fudgy texture, every bite is pure bliss. Forget those dry, cakey brownies you might have encountered before; these are in a league of their own. They’re the kind of treat that will have you sneaking back to the pan for “just one more” piece (trust me, I’ve been there!).
But what makes these brownies so irresistible? It’s the perfect balance of ingredients and the simple, straightforward method. There’s no complicated technique or fancy equipment required, just a little bit of patience and a whole lot of chocolate love. The result is a brownie that’s intensely chocolatey, incredibly moist, and practically melts on your tongue. It’s the ultimate comfort food, perfect for a cozy night in, a special occasion, or simply when you need a little pick-me-up.
Now, let’s talk serving suggestions and variations because the possibilities are endless! For a classic experience, serve these brownies warm with a scoop of vanilla ice cream. The contrast between the warm, fudgy brownie and the cold, creamy ice cream is simply divine. A dusting of powdered sugar adds a touch of elegance, or you could drizzle them with chocolate sauce for an extra dose of chocolate indulgence.
If you’re feeling adventurous, why not try adding some mix-ins? Chopped nuts, like walnuts or pecans, add a delightful crunch. Chocolate chips, whether milk, dark, or white, enhance the chocolate flavor even further. A swirl of peanut butter adds a salty-sweet twist that’s absolutely addictive. Or, for a truly decadent treat, try adding chunks of your favorite candy bar.
Another fun variation is to add a hint of coffee to the batter. The coffee enhances the chocolate flavor and adds a subtle depth that’s incredibly satisfying. You could also experiment with different extracts, like vanilla, almond, or peppermint, to create unique flavor profiles.
And for those who are gluten-free, you can easily adapt this recipe by using a gluten-free flour blend. Just be sure to choose a blend that’s designed for baking and that contains xanthan gum for binding.
But no matter how you choose to serve or customize them, I’m confident that these soft melt in mouth brownies will be a hit. They’re the perfect treat to share with friends and family, or to keep all to yourself (I won’t judge!).
So, what are you waiting for? Grab your ingredients, preheat your oven, and get ready to bake a batch of the most delicious brownies you’ve ever tasted. I promise you won’t be disappointed.
And once you’ve tried them, I’d love to hear about your experience! Share your photos and comments on social media using [Your Hashtag Here]. Let me know what variations you tried and how they turned out. I’m always looking for new ideas and inspiration, and I can’t wait to see what you create. Happy baking!
Soft Melt In Mouth Brownies: The Ultimate Recipe
Fudgy, decadent homemade brownies with a rich chocolate flavor. Easy to make and perfect for any occasion!
Ingredients
- 1 cup (2 sticks) unsalted butter, melted
- 2 cups granulated sugar
- 4 large eggs
- 1 tablespoon vanilla extract
- 1 cup all-purpose flour
- ¾ cup unsweetened cocoa powder
- ½ teaspoon baking powder
- ¼ teaspoon salt
- 1 cup semi-sweet chocolate chips (optional)
Instructions
- Melt the Butter: Melt butter in a saucepan over low heat or in the microwave in 30-second intervals, stirring until melted. Let cool slightly.
- Combine Butter and Sugar: In a large bowl, whisk together melted butter and sugar until smooth and creamy.
- Incorporate the Eggs: Add eggs one at a time, whisking vigorously after each addition. Whisk in vanilla extract.
- Dry Ingredients Time: In a separate bowl, whisk together flour, cocoa powder, baking powder, and salt.
- Combine Wet and Dry: Gradually add dry ingredients to wet ingredients, mixing until just combined. Be careful not to overmix.
- Chocolate Chip Addition (Optional): Gently fold in chocolate chips until evenly distributed.
- Preheat the Oven: Preheat oven to 350°F (175°C).
- Prepare the Baking Pan: Grease and flour an 8×8 inch baking pan or line with parchment paper.
- Pour in the Batter: Pour batter into the prepared pan and spread evenly.
- Baking Time: Bake for 25-30 minutes, or until a toothpick inserted into the center comes out with moist crumbs attached.
- Cooling is Key: Let cool completely in the pan before cutting.
- Cutting the Brownies: Cut into squares. For cleaner cuts, run the knife under hot water and wipe it clean between each cut.
- Serving Suggestions: Serve as is, with ice cream, chocolate sauce, or powdered sugar.
Notes
- Use high-quality ingredients for the best flavor.
- Don’t overmix the batter.
- Slightly underbake for a fudgier texture.
- Cool completely before cutting for clean cuts.
- Experiment with flavors and add-ins like nuts, peanut butter chips, or caramel.
- Store leftover brownies in an airtight container at room temperature for up to 3 days, or in the refrigerator for up to a week. You can also freeze them for longer storage.


