Microwave brownie cup: Prepare for a chocolatey revelation that will redefine your dessert expectations! Imagine sinking your spoon into a warm, gooey, intensely chocolatey brownie, all ready in under five minutes. Yes, you read that right! This isn’t just a dessert; it’s a chocolate emergency solution, a late-night craving satisfier, and a testament to the magic of modern cooking.
While the history of the brownie itself is rooted in late 19th-century America, the microwave brownie cup is a more recent innovation, born from our collective desire for instant gratification. It’s a single-serving sensation that eliminates the need for baking an entire batch, perfect for those moments when you crave a sweet treat without the commitment of a full-sized dessert.
What makes the microwave brownie cup so irresistible? It’s the perfect combination of convenience and indulgence. The fudgy texture, the rich chocolate flavor, and the sheer speed of preparation make it a winner every time. Whether you’re a student, a busy professional, or simply someone with a sweet tooth, this recipe is your secret weapon for instant chocolate bliss. So, grab your favorite mug, and let’s dive into the wonderful world of single-serving brownies!

Ingredients:
- 4 tablespoons (28g) all-purpose flour
- 4 tablespoons (20g) granulated sugar
- 2 tablespoons (10g) unsweetened cocoa powder
- 1/4 teaspoon baking powder
- 1/8 teaspoon salt
- 3 tablespoons milk
- 3 tablespoons vegetable oil
- 1/2 teaspoon vanilla extract
- Optional: Chocolate chips, nuts, or sprinkles for topping
Instructions:
- Combine Dry Ingredients: In a large, microwave-safe mug (at least 12-ounce capacity to prevent overflow), add the flour, sugar, cocoa powder, baking powder, and salt. Whisk these dry ingredients together thoroughly until they are evenly distributed. This is important to ensure a consistent texture and flavor throughout the brownie. Make sure there are no clumps of cocoa powder remaining.
- Add Wet Ingredients: Pour in the milk, vegetable oil, and vanilla extract into the mug with the dry ingredients.
- Mix Well: Using a fork or small whisk, mix the wet and dry ingredients together until a smooth batter forms. Be sure to scrape the bottom and sides of the mug to incorporate all the dry ingredients. Overmixing can lead to a tougher brownie, so mix just until everything is combined. The batter should be relatively thick but pourable.
- Add Toppings (Optional): If you’re using chocolate chips, nuts, or sprinkles, now is the time to add them. Gently fold them into the batter. You can also reserve some to sprinkle on top after cooking for a more visually appealing presentation. I personally love adding a mix of dark chocolate chips and chopped walnuts for a richer flavor and texture.
- Microwave: Microwave the mug brownie on high power for 60-90 seconds. The exact cooking time will depend on your microwave’s wattage. Start with 60 seconds and check for doneness. The brownie should be mostly set but still slightly soft in the center. If it’s still very liquid, microwave for another 15-30 seconds. Be careful not to overcook it, as it will become dry and rubbery. It’s better to err on the side of slightly undercooked, as it will continue to cook slightly from the residual heat.
- Check for Doneness: To check if the brownie is done, insert a toothpick into the center. If it comes out with a few moist crumbs attached, it’s ready. If it comes out with wet batter, microwave for a few more seconds. Remember, it will continue to cook slightly as it cools.
- Cool Slightly: Let the mug brownie cool for a minute or two before serving. This will allow it to set up a bit more and prevent you from burning your mouth!
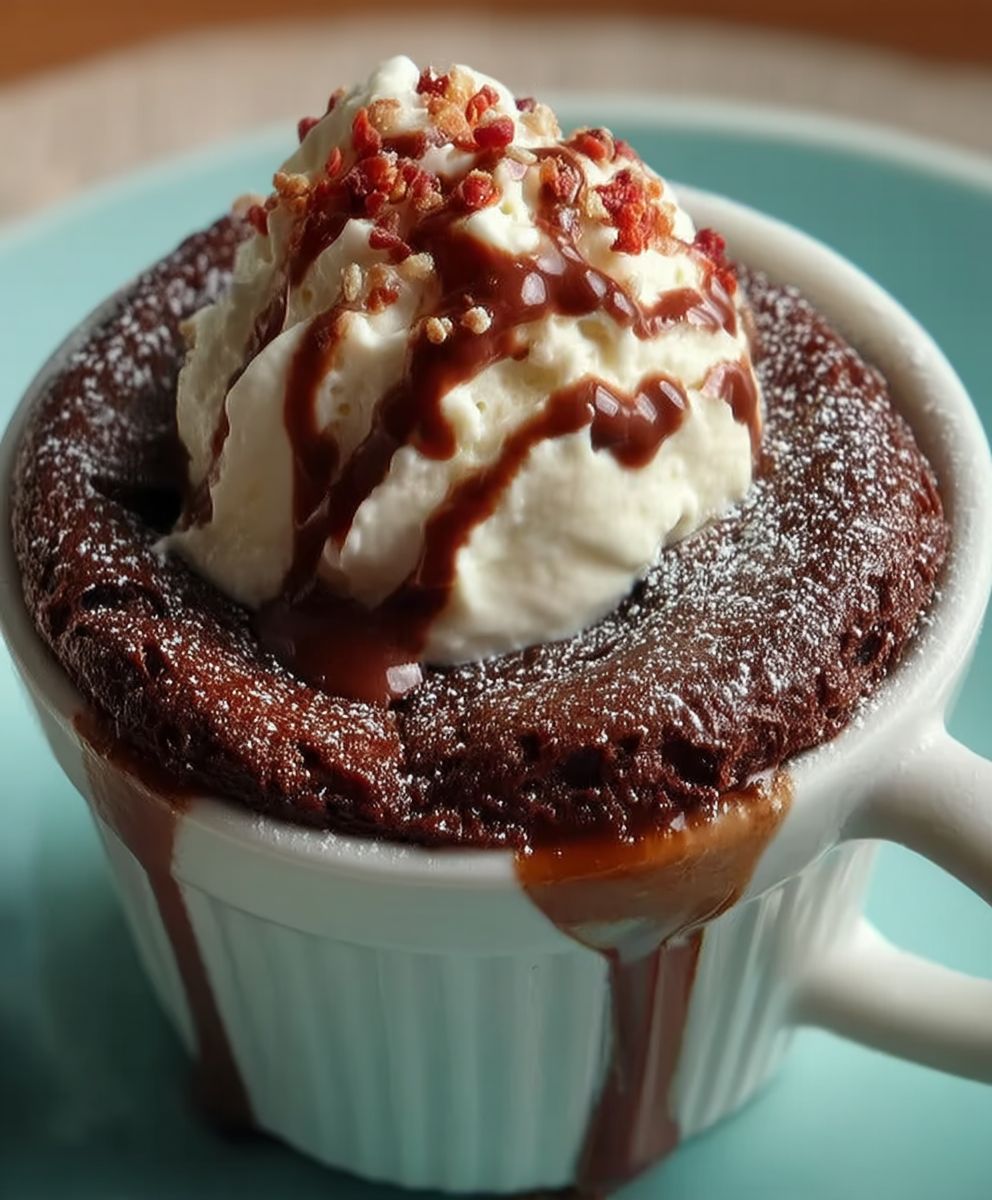
- Serve and Enjoy: You can eat the brownie directly from the mug, or you can invert it onto a plate. If you invert it, run a knife around the edges of the mug first to loosen the brownie. Serve it warm, and consider adding a scoop of vanilla ice cream, a dollop of whipped cream, or a drizzle of chocolate sauce for an extra decadent treat.
Tips and Variations:
- Adjust Sweetness: If you prefer a less sweet brownie, you can reduce the amount of sugar slightly. Start by reducing it by a tablespoon and adjust to your taste.
- Chocolate Intensity: For a richer, more intense chocolate flavor, use dark cocoa powder instead of regular unsweetened cocoa powder. You can also add a few extra chocolate chips.
- Nutty Goodness: Experiment with different types of nuts, such as pecans, almonds, or hazelnuts. Toast the nuts lightly before adding them to the batter for a more pronounced flavor.
- Spice It Up: Add a pinch of cinnamon or a dash of espresso powder to the batter for a warm, comforting flavor.
- Peanut Butter Swirl: Before microwaving, drop small dollops of peanut butter on top of the batter and swirl them in with a toothpick or knife.
- Caramel Delight: Drizzle caramel sauce over the brownie after it’s cooked for a sweet and gooey treat.
- Vegan Option: To make this brownie vegan, substitute the milk with almond milk, soy milk, or oat milk. Make sure your chocolate chips (if using) are also vegan.
- Gluten-Free Option: Use a gluten-free all-purpose flour blend instead of regular all-purpose flour. Make sure the blend contains xanthan gum or guar gum for binding.
- Microwave Wattage Matters: As mentioned earlier, microwave wattages vary. If your brownie is consistently overcooked, reduce the cooking time by 10-15 seconds. If it’s consistently undercooked, increase the cooking time by 10-15 seconds. Keep a close eye on it during the cooking process.
- Mug Size: Using the right size mug is crucial. A 12-ounce mug is recommended to prevent the brownie from overflowing while cooking. If you only have smaller mugs, you may need to reduce the recipe proportionally.
- Don’t Overmix: Overmixing the batter can develop the gluten in the flour, resulting in a tough brownie. Mix just until the ingredients are combined.
- Fresh Ingredients: Using fresh baking powder is important for the brownie to rise properly. Check the expiration date on your baking powder before using it.
- Serving Suggestions: This mug brownie is delicious on its own, but it’s even better with toppings! Consider serving it with a scoop of vanilla ice cream, a dollop of whipped cream, fresh berries, chocolate sauce, caramel sauce, or a dusting of powdered sugar.
- Make it a Sundae: Turn your mug brownie into a sundae by adding a scoop of ice cream, whipped cream, sprinkles, and a cherry on top!
- Double the Batch: If you want to make two mug brownies, simply double all the ingredients and use two separate mugs. Microwave each mug brownie separately.
- Storage: While this mug brownie is best enjoyed immediately, you can store leftovers in an airtight container at room temperature for up to a day. However, it may become slightly dry. Reheating it in the microwave for a few seconds can help to restore some of its moisture.
Troubleshooting:
- Brownie is too dry: You may have overcooked the brownie. Reduce the cooking time in future batches. You can also try adding a tablespoon of applesauce or mashed banana to the batter for added moisture.
- Brownie is too gooey: You may have undercooked the brownie. Increase the cooking time slightly in future batches. Make sure your microwave is working properly.
- Brownie is tough: You may have overmixed the batter. Mix just until the ingredients are combined in future batches.
- Brownie didn’t rise: Your baking powder may be old or expired. Use fresh baking powder in future batches.
- Brownie overflowed: Your mug may have been too small. Use a larger mug (at least 12-ounce capacity) in future batches. You may also have overfilled the mug with batter.
Enjoy your delicious and easy microwave mug brownie!
Conclusion:
This isn’t just another dessert recipe; it’s your express ticket to chocolatey bliss! Seriously, if you’re craving something sweet, satisfying, and incredibly easy, this microwave brownie cup is an absolute must-try. Forget complicated baking processes and mountains of dishes. This recipe delivers a warm, gooey, and intensely chocolatey brownie in a single serving, ready in minutes. What’s not to love?
I know what you might be thinking: “Microwave brownies? Can they really be that good?” And my answer is a resounding YES! The secret lies in the careful balance of ingredients and the precise cooking time. We’ve perfected this recipe to ensure a fudgy center and slightly crisp edges, mimicking the texture of a traditionally baked brownie, but with a fraction of the effort. It’s the perfect solution for those late-night cravings, unexpected guests, or simply when you need a little chocolate therapy.
But the best part? This recipe is incredibly versatile! Feel free to experiment with different mix-ins to create your own signature brownie cup. Add a handful of chocolate chips (milk, dark, or white the choice is yours!), chopped nuts (walnuts, pecans, or almonds would be fantastic), or even a swirl of peanut butter for an extra layer of indulgence. For a hint of spice, try adding a pinch of cinnamon or chili powder. And if you’re feeling adventurous, a few drops of peppermint extract can transform this brownie into a festive treat.
Serving suggestions are endless! Enjoy your warm brownie cup straight from the microwave for a truly decadent experience. Or, let it cool slightly and top it with a scoop of vanilla ice cream for a classic pairing. A dollop of whipped cream and a sprinkle of chocolate shavings also make for an elegant presentation. For a truly over-the-top dessert, drizzle with caramel sauce and sprinkle with sea salt. You could even crumble it over yogurt or use it as a base for a mini sundae. The possibilities are limited only by your imagination!
I’m confident that this microwave brownie cup recipe will become a staple in your kitchen. It’s quick, easy, customizable, and utterly delicious. It’s the perfect way to satisfy your sweet tooth without spending hours in the kitchen.
So, what are you waiting for? Grab your favorite mug, gather your ingredients, and get ready to experience the magic of a homemade brownie in minutes. I promise you won’t be disappointed.
And most importantly, I’d love to hear about your experience! Once you’ve tried this recipe, please share your thoughts, variations, and photos in the comments below. Let me know what mix-ins you used, how you served it, and what you thought of the overall taste and texture. Your feedback is invaluable and helps me to continue creating delicious and easy recipes for you to enjoy. Happy baking (or microwaving!) and I can’t wait to see your creations! Don’t forget to share this recipe with your friends and family who are also looking for a quick and easy dessert fix. Enjoy!
Microwave Brownie Cup: Quick & Easy Dessert Recipe
A quick and easy single-serving chocolate brownie made in a mug in the microwave. Perfect for satisfying a chocolate craving in minutes!
Ingredients
- 4 tablespoons (28g) all-purpose flour
- 4 tablespoons (20g) granulated sugar
- 2 tablespoons (10g) unsweetened cocoa powder
- 1/4 teaspoon baking powder
- 1/8 teaspoon salt
- 3 tablespoons milk
- 3 tablespoons vegetable oil
- 1/2 teaspoon vanilla extract
- Optional: Chocolate chips, nuts, or sprinkles for topping
Instructions
- Combine Dry Ingredients: In a large, microwave-safe mug (at least 12-ounce capacity), add the flour, sugar, cocoa powder, baking powder, and salt. Whisk together thoroughly.
- Add Wet Ingredients: Pour in the milk, vegetable oil, and vanilla extract.
- Mix Well: Mix the wet and dry ingredients until a smooth batter forms, scraping the bottom and sides of the mug. Don’t overmix.
- Add Toppings (Optional): Gently fold in chocolate chips, nuts, or sprinkles, if using.
- Microwave: Microwave on high power for 60-90 seconds. Start with 60 seconds and check for doneness.
- Check for Doneness: Insert a toothpick into the center. If it comes out with a few moist crumbs, it’s ready.
- Cool Slightly: Let the mug brownie cool for a minute or two before serving.
- Serve and Enjoy: Eat directly from the mug or invert onto a plate. Serve warm with ice cream, whipped cream, or chocolate sauce.
Notes
- Microwave wattages vary, so adjust cooking time accordingly.
- A 12-ounce mug is recommended to prevent overflow.
- Don’t overmix the batter for a tender brownie.
- Use fresh baking powder for best results.
- Adjust sweetness by reducing sugar slightly.
- Use dark cocoa powder for a richer chocolate flavor.
- Experiment with different nuts or spices.
- Make it vegan by using plant-based milk and vegan chocolate chips.
- Make it gluten-free by using a gluten-free all-purpose flour blend.