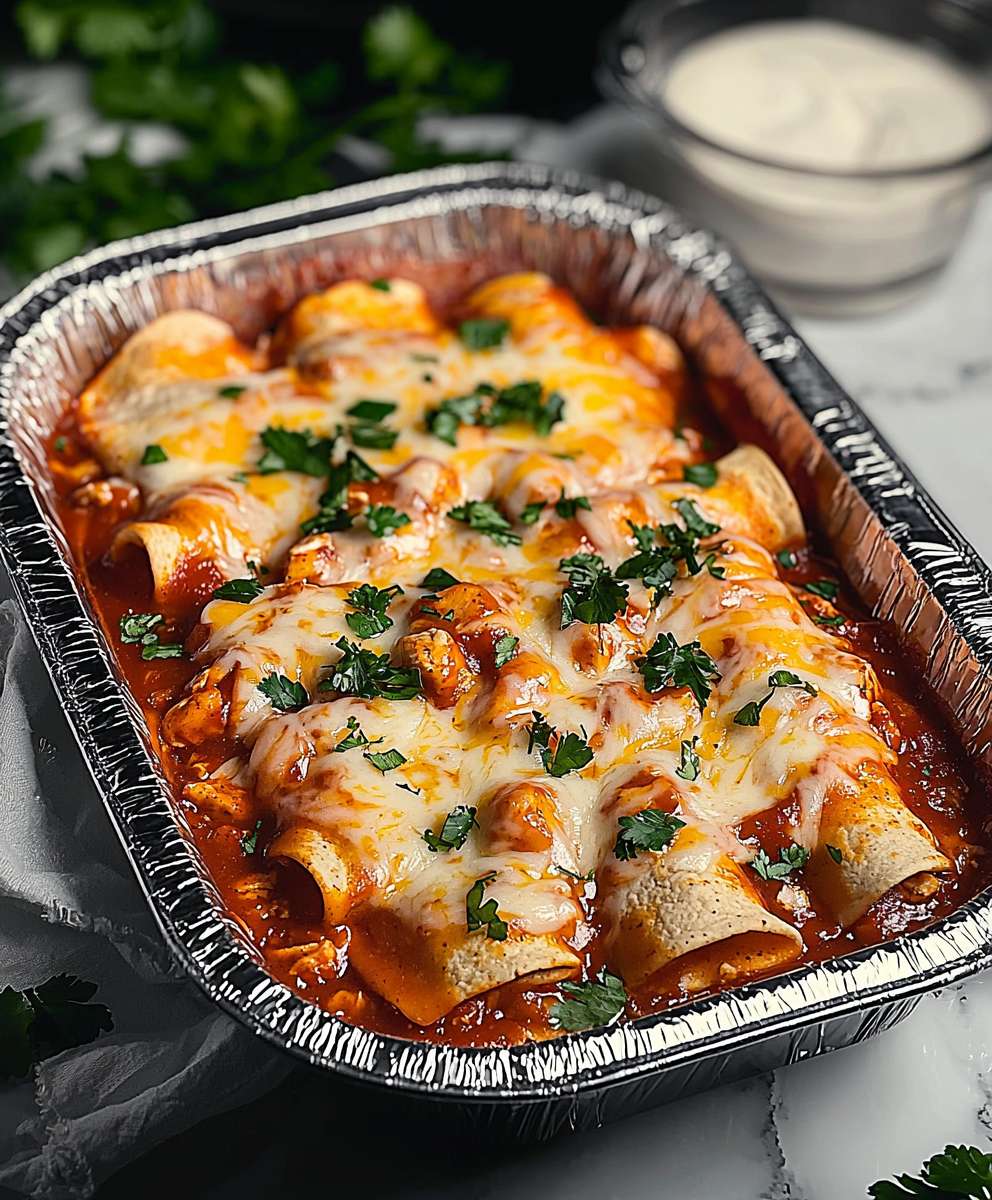
Chicken Enchiladas Freezer meals are a lifesaver, aren’t they? Imagine coming home after a long, tiring day, and instead of facing the daunting task of cooking, you simply pull out a delicious, ready-to-bake pan of cheesy, saucy chicken enchiladas. No chopping, no sautéing, just pure, unadulterated comfort food bliss. That’s the magic of preparing enchiladas ahead of time and freezing them for later!
Enchiladas, a cornerstone of Mexican cuisine, have a rich history dating back to Mayan times. Originally, they were simple corn tortillas dipped in chili sauce. Over centuries, the dish evolved, incorporating various fillings like meat, cheese, and vegetables, reflecting the diverse regional flavors of Mexico. Today, enchiladas are enjoyed worldwide, a testament to their deliciousness and adaptability.
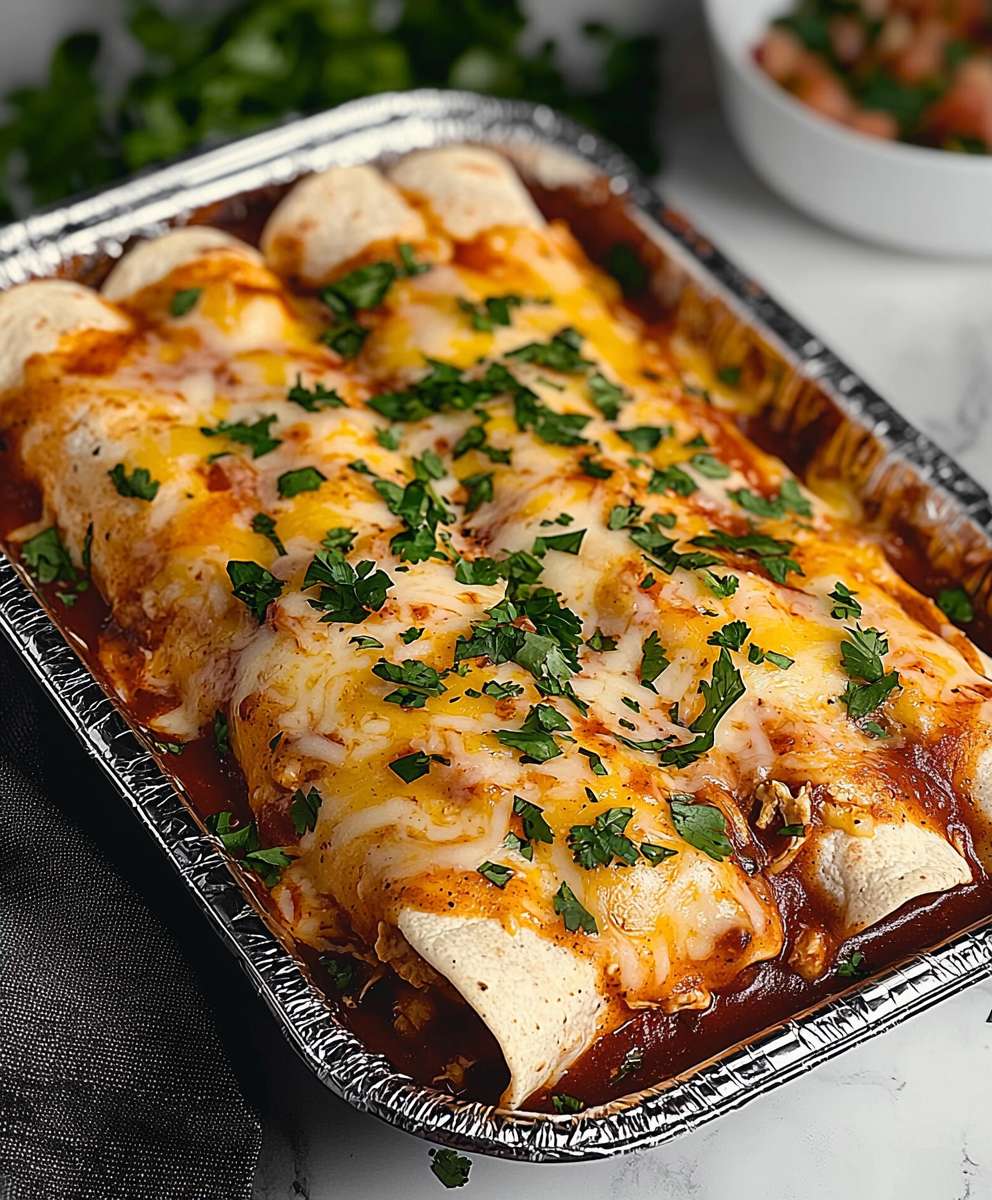
But why do people adore enchiladas so much? It’s a combination of factors! The savory filling, often chicken in our case, nestled within a soft tortilla, smothered in a flavorful sauce, and topped with melted cheese it’s a symphony of textures and tastes. Plus, the convenience factor is undeniable. And that’s where our Chicken Enchiladas Freezer recipe truly shines. I’m going to show you how to easily assemble a batch (or two!) of these crowd-pleasing enchiladas, so you can have a delicious and satisfying meal ready whenever you need it. Get ready to say goodbye to weeknight dinner stress!
Ingredients:
- For the Chicken Filling:
- 2 lbs boneless, skinless chicken breasts
- 1 tbsp olive oil
- 1 medium yellow onion, chopped
- 2 cloves garlic, minced
- 1 (10 oz) can diced tomatoes and green chilies (like Rotel), undrained
- 1 (4 oz) can chopped green chilies, undrained
- 1 tsp chili powder
- 1/2 tsp cumin
- 1/4 tsp garlic powder
- 1/4 tsp onion powder
- 1/4 tsp smoked paprika
- Salt and pepper to taste
- For the Enchiladas:
- 12 corn tortillas (6-inch)
- 3 cups shredded cheddar cheese, Monterey Jack cheese, or a Mexican blend, divided
- 1 (28 oz) can red enchilada sauce
- Optional Toppings:
- Sour cream or Greek yogurt
- Chopped cilantro
- Diced avocado
- Sliced green onions
Preparing the Chicken Filling:
- First, we need to cook the chicken. You have a few options here. You can boil the chicken breasts in water until cooked through (about 15-20 minutes), shredding them afterwards. Alternatively, you can bake them at 375°F (190°C) for about 20-25 minutes, or until the internal temperature reaches 165°F (74°C). My personal favorite method, though, is to use a slow cooker. Place the chicken breasts in the slow cooker with about 1/2 cup of chicken broth or water. Cook on low for 6-8 hours or on high for 3-4 hours. The chicken will be incredibly tender and easy to shred.
- Once the chicken is cooked, let it cool slightly before shredding it with two forks. Set aside.
- Now, let’s prepare the flavor base. Heat the olive oil in a large skillet over medium heat. Add the chopped onion and cook until softened, about 5-7 minutes.
- Add the minced garlic to the skillet and cook for another minute, until fragrant. Be careful not to burn the garlic!
- Stir in the diced tomatoes and green chilies (Rotel), chopped green chilies, chili powder, cumin, garlic powder, onion powder, smoked paprika, salt, and pepper. Bring the mixture to a simmer and cook for about 5 minutes, allowing the flavors to meld together beautifully.
- Add the shredded chicken to the skillet and stir well to combine it with the sauce. Make sure the chicken is evenly coated. Taste and adjust the seasoning as needed. You might want to add a little more chili powder for extra heat or a pinch of salt if it needs it.
- Remove the skillet from the heat and set aside. The chicken filling is now ready!
Assembling the Enchiladas:
- Preheat your oven to 350°F (175°C).
- Lightly grease a 9×13 inch baking dish. This will prevent the enchiladas from sticking to the bottom.
- Pour about 1/2 cup of the enchilada sauce into the bottom of the prepared baking dish and spread it evenly. This creates a flavorful base for the enchiladas.
- Now, we need to soften the tortillas. This step is crucial to prevent them from cracking when you roll them. There are a few ways to do this. You can lightly fry each tortilla in a dry skillet for a few seconds per side, just until pliable. Alternatively, you can wrap a stack of tortillas in a damp paper towel and microwave them for about 30-60 seconds. Be careful not to overcook them, or they will become tough.
- Take one softened tortilla and spoon about 1/3 cup of the chicken filling down the center.
- Sprinkle about 2 tablespoons of shredded cheese over the chicken filling.
- Roll the tortilla up tightly and place it seam-side down in the prepared baking dish.
- Repeat steps 5-7 with the remaining tortillas, chicken filling, and cheese, arranging the enchiladas snugly in the baking dish.
- Once all the enchiladas are in the dish, pour the remaining enchilada sauce evenly over the top, making sure to cover all the tortillas.
- Sprinkle the remaining shredded cheese evenly over the enchiladas.
Baking and Serving:
- Cover the baking dish with aluminum foil. This will help to keep the enchiladas moist and prevent the cheese from burning.
- Bake in the preheated oven for 20 minutes.
- Remove the foil and bake for another 10-15 minutes, or until the cheese is melted and bubbly and the enchiladas are heated through.
- Let the enchiladas cool for a few minutes before serving. This will make them easier to handle and prevent you from burning your mouth!
- Serve hot, garnished with your favorite toppings, such as sour cream or Greek yogurt, chopped cilantro, diced avocado, and sliced green onions. Enjoy!
Freezing Instructions:
These enchiladas are perfect for making ahead and freezing for a quick and easy meal later. Here’s how to do it:
- Assemble the enchiladas as described above, but do not bake them.
- Cover the baking dish tightly with plastic wrap, pressing it down to remove as much air as possible.
- Then, cover the plastic wrap with a layer of aluminum foil for extra protection.
- Label the dish with the date and contents.
- Freeze for up to 3 months.
Baking from Frozen:
- When you’re ready to bake the frozen enchiladas, remove them from the freezer and let them thaw in the refrigerator overnight. This will ensure that they cook evenly.
- Preheat your oven to 350°F (175°C).
- Remove the plastic wrap and foil from the baking dish.
- Cover the baking dish with fresh aluminum foil.
- Bake in the preheated oven for 30 minutes.
- Remove the foil and bake for another 15-20 minutes, or until the cheese is melted and bubbly and the enchiladas are heated through.
- Let the enchiladas cool for a few minutes before serving.
- Serve hot, garnished with your favorite toppings.
Alternatively, you can bake the enchiladas directly from frozen, but you will need to increase the baking time. Preheat your oven to 350°F (175°C). Cover the frozen enchiladas with aluminum foil and bake for 45 minutes. Remove the foil and bake for another 20-25 minutes, or until the cheese is melted and bubbly and the enchiladas are heated through. Make sure the internal temperature reaches 165°F (74°C).
Tips and Variations:
- Spice it up: Add a pinch of cayenne pepper or a dash of hot sauce to the chicken filling for extra heat.
- Use different cheese: Experiment with different types of cheese, such as pepper jack, queso quesadilla, or even a sprinkle of cotija cheese on top after baking.
- Add vegetables: Sauté some bell peppers, corn, or black beans with the onion and garlic for a more nutritious and flavorful filling.
- Make it vegetarian: Substitute the chicken with cooked black beans, pinto beans, or a vegetarian ground meat substitute.
- Use flour tortillas: While corn tortillas are traditional, you can also use flour tortillas if you prefer. They are generally more pliable and easier to roll.
- Creamy enchiladas: Stir in a can of cream of chicken soup or a cup of sour cream to the enchilada sauce for a creamier texture.
- Green enchiladas: Use green enchilada sauce instead of red for a different flavor profile.
- Individual enchiladas: Assemble the enchiladas in individual oven-safe dishes for easy portion control.
Make Ahead Tip:
The chicken filling can be made up to 2 days in advance and stored in the refrigerator. This will save you time when you’re ready to assemble the enchiladas.
Serving Suggestions:
These chicken enchiladas are delicious served with a side of:
Conclusion:
This Chicken Enchiladas Freezer recipe isn’t just another meal; it’s a game-changer for busy weeknights and a delicious way to ensure you always have a comforting, home-cooked dinner ready to go. I truly believe this is a must-try recipe for anyone who values convenience without sacrificing flavor. The combination of tender chicken, flavorful sauce, and cheesy goodness is simply irresistible, and the fact that you can prepare it ahead of time and freeze it makes it an absolute lifesaver. Think about it: no more last-minute takeout decisions or settling for something less satisfying. With these enchiladas tucked away in your freezer, you’re always just a quick bake away from a crowd-pleasing meal. And the best part? You can customize them to your liking!Serving Suggestions and Variations:
For a complete meal, I love serving these enchiladas with a side of Mexican rice and refried beans. A dollop of sour cream, a sprinkle of fresh cilantro, and a few slices of avocado add the perfect finishing touches. If you’re feeling adventurous, try adding some chopped onions and bell peppers to the chicken mixture for extra flavor and texture. Here are a few other variations you might enjoy: * Spicy Kick: Add a pinch of cayenne pepper or a dash of hot sauce to the enchilada sauce for a fiery twist. * Vegetarian Option: Substitute the chicken with black beans, corn, and sweet potatoes for a delicious vegetarian version. * Creamy Dreamy: Stir in a cup of sour cream or cream cheese into the chicken mixture for an extra creamy and decadent filling. * Different Cheese: Experiment with different types of cheese, such as Monterey Jack, pepper jack, or even a blend of Mexican cheeses. The possibilities are endless! Don’t be afraid to get creative and make this recipe your own. The beauty of this Chicken Enchiladas Freezer recipe lies in its versatility. It’s a blank canvas for your culinary creativity. I’m confident that once you try this recipe, it will become a staple in your household. It’s perfect for meal prepping, feeding a crowd, or simply enjoying a delicious and satisfying dinner on a busy weeknight. So, what are you waiting for? Gather your ingredients, roll up your sleeves, and get ready to experience the joy of having a delicious and convenient meal waiting for you in the freezer. I promise you won’t regret it! I’m so excited for you to try this recipe and experience the convenience and deliciousness for yourself. Once you’ve made it, I would absolutely love to hear about your experience! Did you make any variations? What did you serve it with? What did your family think? Share your photos and stories in the comments below. Your feedback is invaluable and helps me continue to create recipes that you’ll love. Happy cooking, and enjoy your delicious, freezer-friendly chicken enchiladas! Print
Chicken Enchiladas Freezer: Make Ahead & Freeze for Easy Meals
- Total Time: 70 minutes
- Yield: 12 enchiladas 1x
Description
Easy chicken enchiladas with flavorful chicken, tomato, and chili filling, topped with cheese and baked until bubbly. Great for weeknights or freezing!
Ingredients
- 2 lbs boneless, skinless chicken breasts
- 1 tbsp olive oil
- 1 medium yellow onion, chopped
- 2 cloves garlic, minced
- 1 (10 oz) can diced tomatoes and green chilies (like Rotel), undrained
- 1 (4 oz) can chopped green chilies, undrained
- 1 tsp chili powder
- 1/2 tsp cumin
- 1/4 tsp garlic powder
- 1/4 tsp onion powder
- 1/4 tsp smoked paprika
- Salt and pepper to taste
- 12 corn tortillas (6-inch)
- 3 cups shredded cheddar cheese, Monterey Jack cheese, or a Mexican blend, divided
- 1 (28 oz) can red enchilada sauce
- Sour cream or Greek yogurt
- Chopped cilantro
- Diced avocado
- Sliced green onions
Instructions
- Cook the chicken breasts using your preferred method: boiling, baking at 375°F (190°C), or slow cooking with 1/2 cup chicken broth on low for 6-8 hours or high for 3-4 hours.
- Let the cooked chicken cool slightly, then shred it with two forks. Set aside.
- Heat olive oil in a large skillet over medium heat. Add chopped onion and cook until softened, about 5-7 minutes.
- Add minced garlic to the skillet and cook for another minute, until fragrant.
- Stir in diced tomatoes and green chilies (Rotel), chopped green chilies, chili powder, cumin, garlic powder, onion powder, smoked paprika, salt, and pepper. Bring to a simmer and cook for about 5 minutes.
- Add the shredded chicken to the skillet and stir well to combine with the sauce. Taste and adjust seasoning as needed.
- Remove from heat and set aside.
- Preheat oven to 350°F (175°C).
- Lightly grease a 9×13 inch baking dish.
- Pour about 1/2 cup of enchilada sauce into the bottom of the dish and spread evenly.
- Soften the tortillas by lightly frying in a dry skillet or microwaving wrapped in a damp paper towel for 30-60 seconds.
- Take one softened tortilla and spoon about 1/3 cup of chicken filling down the center.
- Sprinkle about 2 tablespoons of shredded cheese over the chicken filling.
- Roll the tortilla up tightly and place it seam-side down in the prepared baking dish.
- Repeat steps 5-7 with the remaining tortillas, chicken filling, and cheese, arranging the enchiladas snugly in the baking dish.
- Pour the remaining enchilada sauce evenly over the top, covering all the tortillas.
- Sprinkle the remaining shredded cheese evenly over the enchiladas.
- Cover the baking dish with aluminum foil.
- Bake in the preheated oven for 20 minutes.
- Remove the foil and bake for another 10-15 minutes, or until the cheese is melted and bubbly and the enchiladas are heated through.
- Let the enchiladas cool for a few minutes before serving.
- Serve hot, garnished with your favorite toppings.
Notes
- Freezing Instructions: Assemble enchiladas (unbaked), cover tightly with plastic wrap and foil, label, and freeze for up to 3 months.
- Baking from Frozen: Thaw overnight in the refrigerator or bake directly from frozen (increase baking time).
- Spice it up: Add cayenne pepper or hot sauce to the chicken filling.
- Use different cheese: Experiment with pepper jack, queso quesadilla, or cotija cheese.
- Add vegetables: Sauté bell peppers, corn, or black beans with the onion and garlic.
- Make it vegetarian: Substitute chicken with cooked beans or vegetarian ground meat.
- Use flour tortillas: If preferred, use flour tortillas instead of corn.
- Creamy enchiladas: Stir in cream of chicken soup or sour cream to the enchilada sauce.
- Green enchiladas: Use green enchilada sauce instead of red.
- Individual enchiladas: Assemble in individual oven-safe dishes.
- Make Ahead Tip: Chicken filling can be made up to 2 days in advance.
- Prep Time: 25 minutes
- Cook Time: 45 minutes